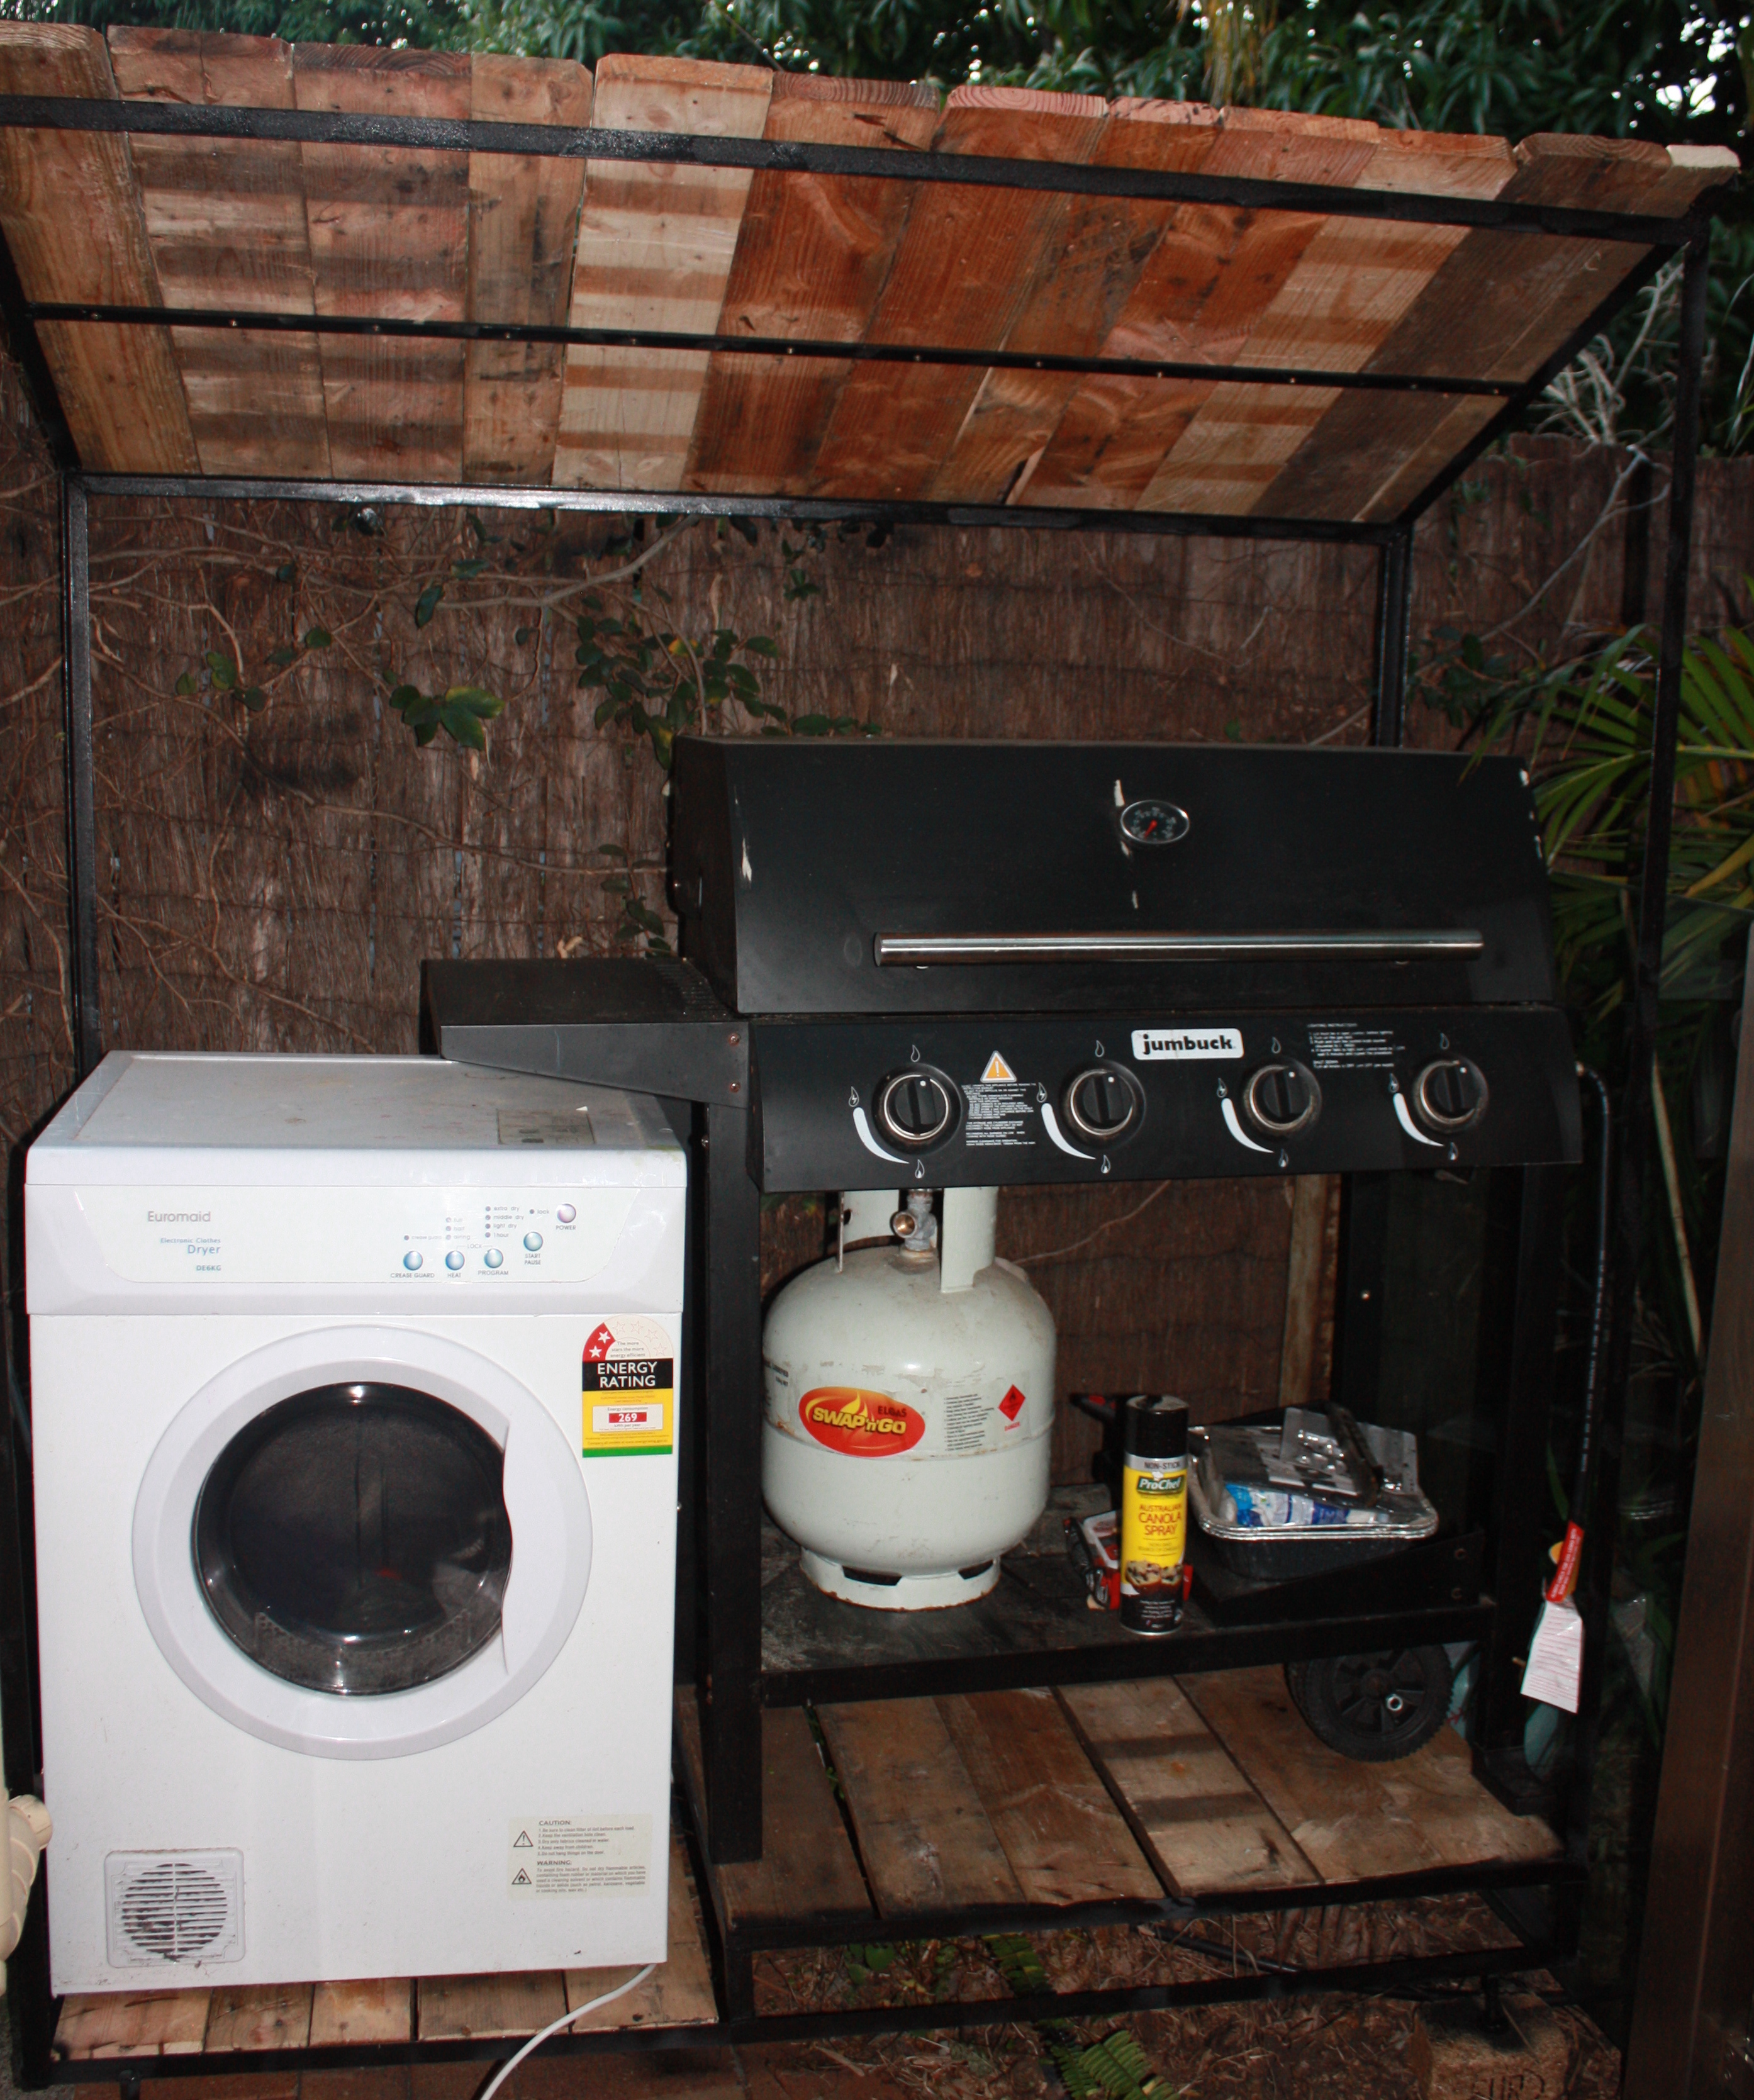
Hello again! Glad to have you back. We have been two very busy little bees over the last few weeks. Bridget has been putting a lot of blood, sweat & tears (quite literally) into our new TV cabinet, and I have made a… well, I don’t really know what you’d call it. It’s essentially a covered platform, acting as a little home for our beloved barbeque and clothes dryer.
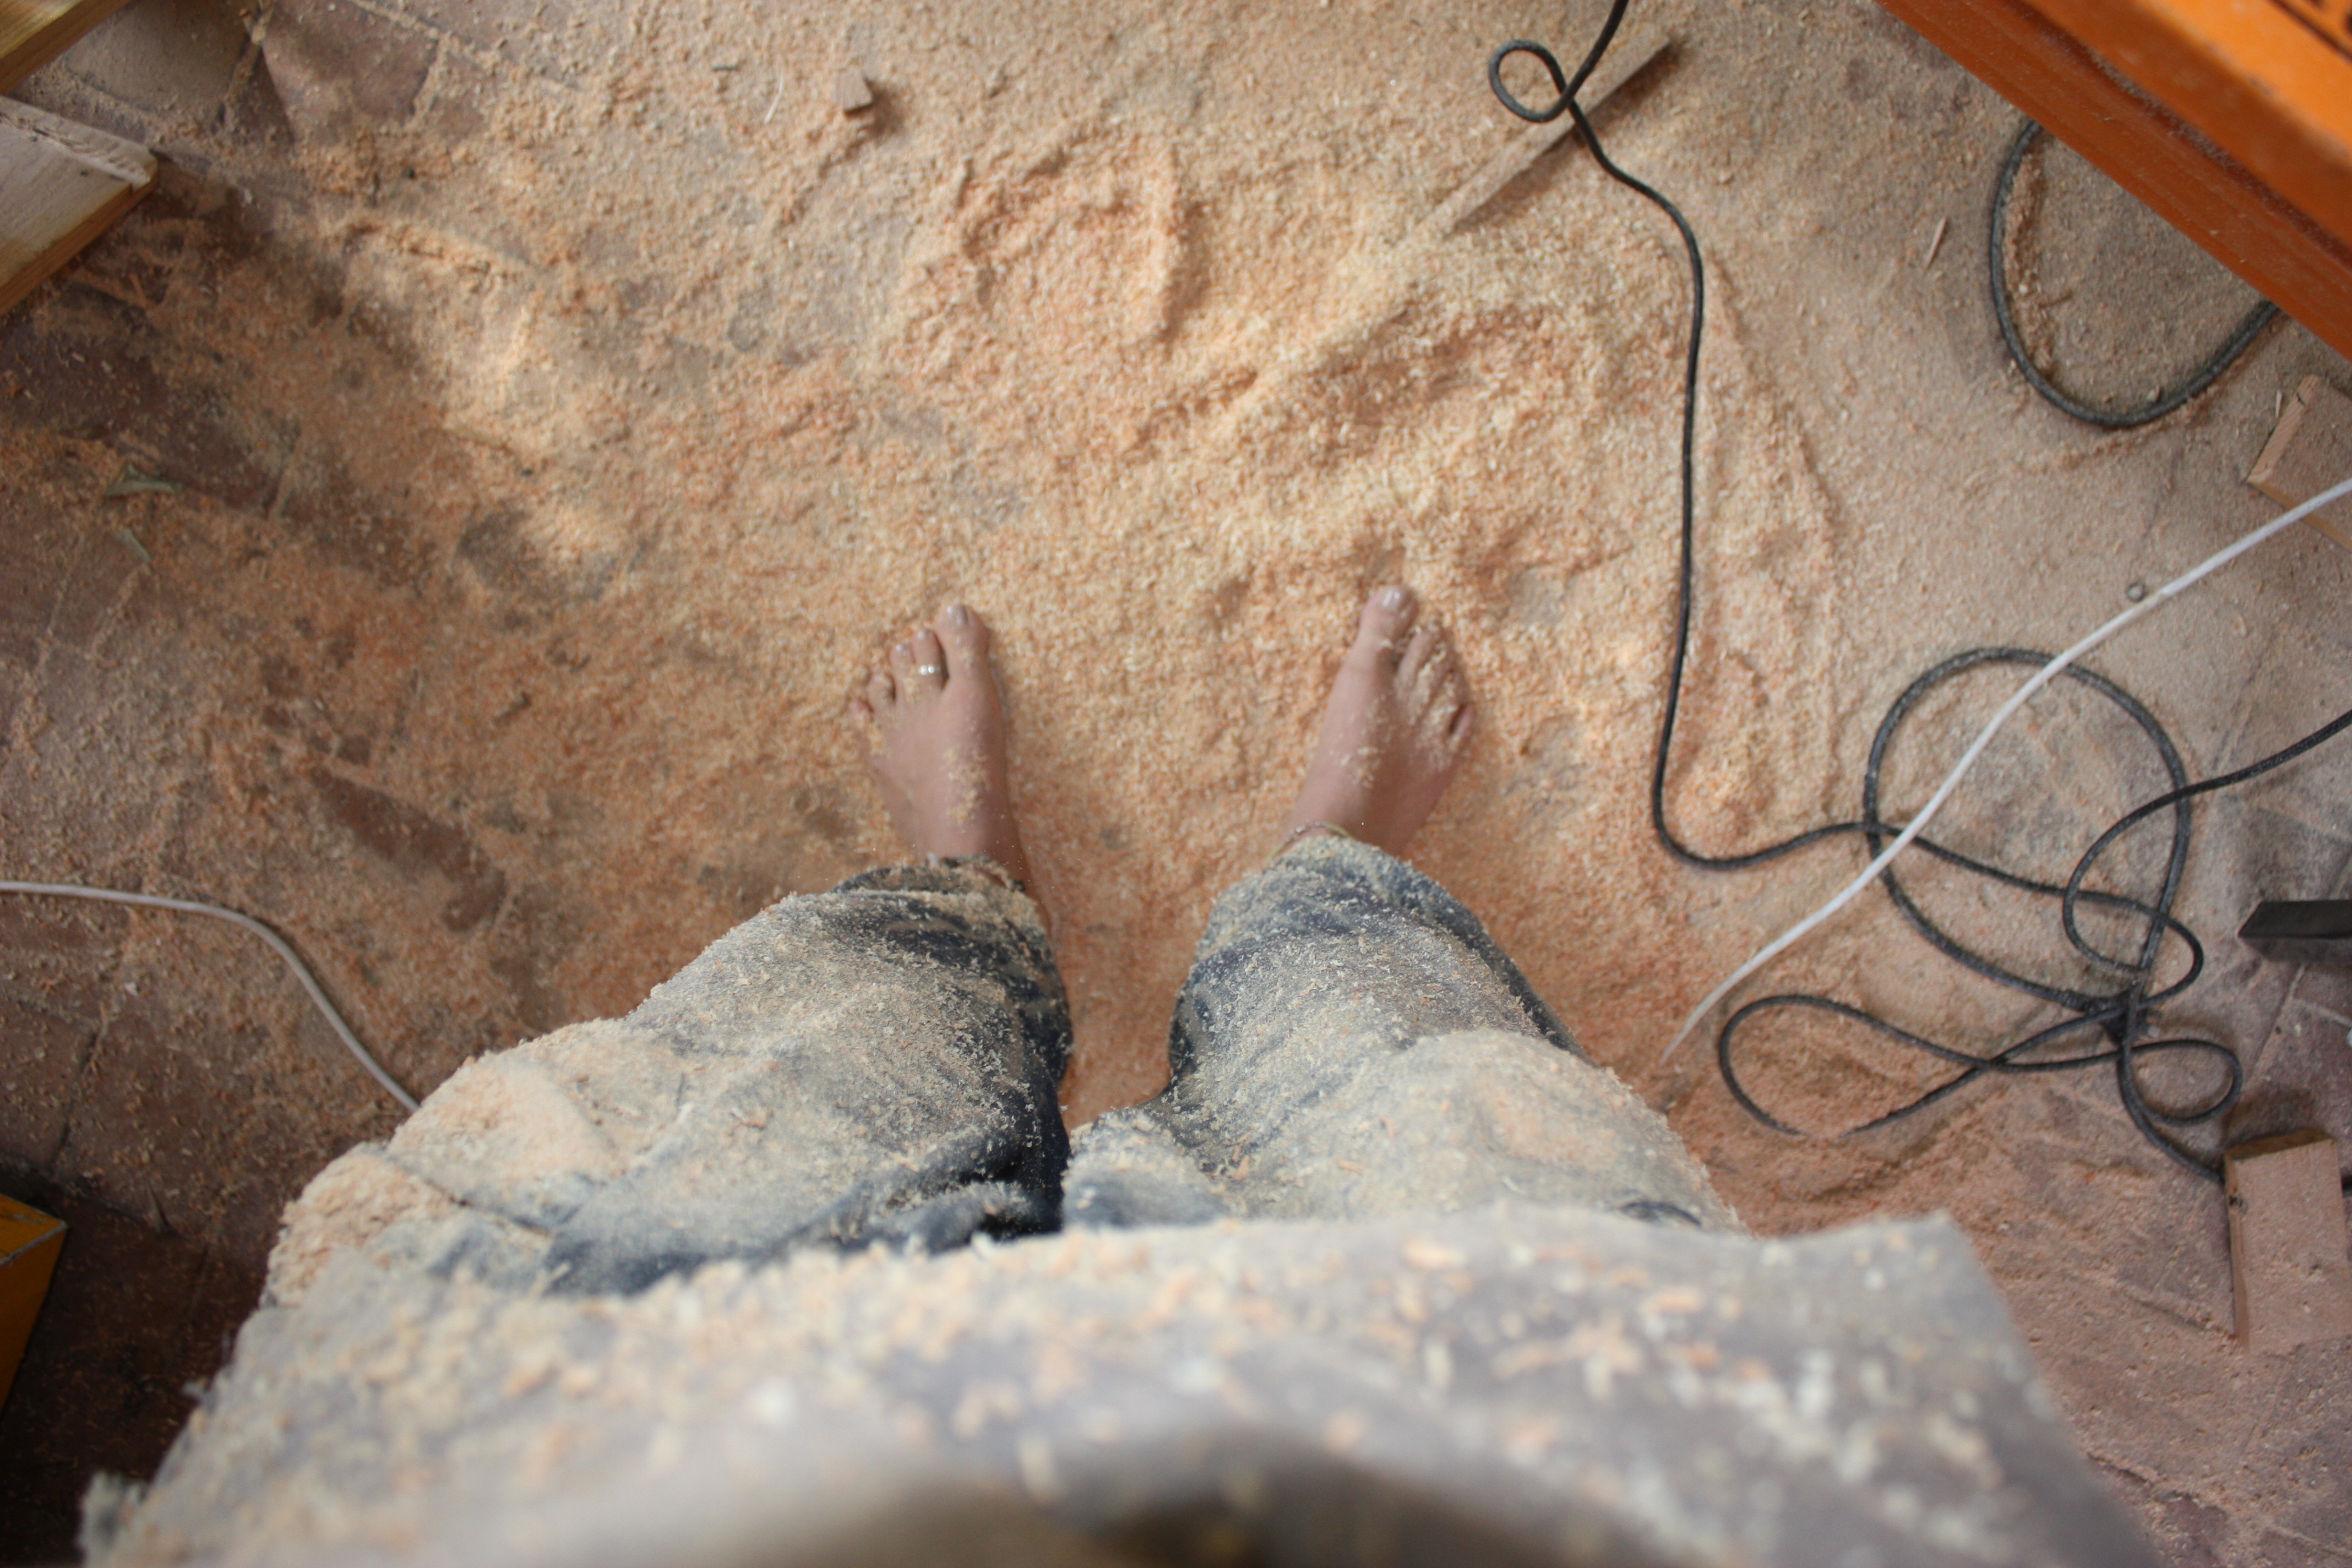 The worst part about woodworking… sawdust everywhere
This might sound a little odd (and it probably is), but both BBQ and dryer live out in the yard and have always looked a bit lost. Now they look slightly less lost, and more importantly, they’re lost together (being lost with someone else is always more fun). But the main purpose of my project was to test and improve my welding skills, and it has certainly done that. It was also great practice coming up with a creative and practical way to fit something in a very tight space, something we will have to have mastered when the time comes to build the bus.
But that’s my next blog post. This post is about Bridget and her TV cabinet. She had two main reasons for making the TV cabinet. Firstly, she was very keen to put to practice everything she had learnt on YouTube about tongue and groove. And secondly, she has become a bit of a wood snob and was all of a sudden disgusted by our painted MDF TV cabinet that she’d never even noticed previously.
After making the outdoor couch from scrap pallet wood recently, she quickly learnt that she loved “that rough, almost unfinished look”. As soon as I saw the finished pallet couch, I knew that all our wooden furniture would slowly but surely be replaced with recycled pallet furniture. And she proved me right a few weeks later, with this design for a new pallet TV cabinet.
We used 12 lengths of pallet wood (4 per layer) as the slats and 50mm wide pine sleepers for the frame. We used our new router table to notch out the pieces so they would line up perfectly (At least that’s what we hoped). Pallet wood is badly sawn at the best of times. Couple that with the requirements of furniture building and you get a lot of mistakes, by two novices like us. We had also left the wood outdoors for too long in between cuts (life kept getting in the way of woodworking), so some of the wood warped. Not ideal. We used 6 meters of sleeper when the cabinet only needed 3, due to us not following our plans, not making test cuts and just plain old poor measuring. Three mistakes we hope to make less and less of with time and practice.
That’s what’s so great about learning and working together. We always evaluate our work together once we’re finished, and pinpoint exactly where we’re going wrong, so we can try not to repeat the same mistakes next time. Every mistake we make is a blessing, as long as we learn from it.
So, our main learnings from this endeavour…
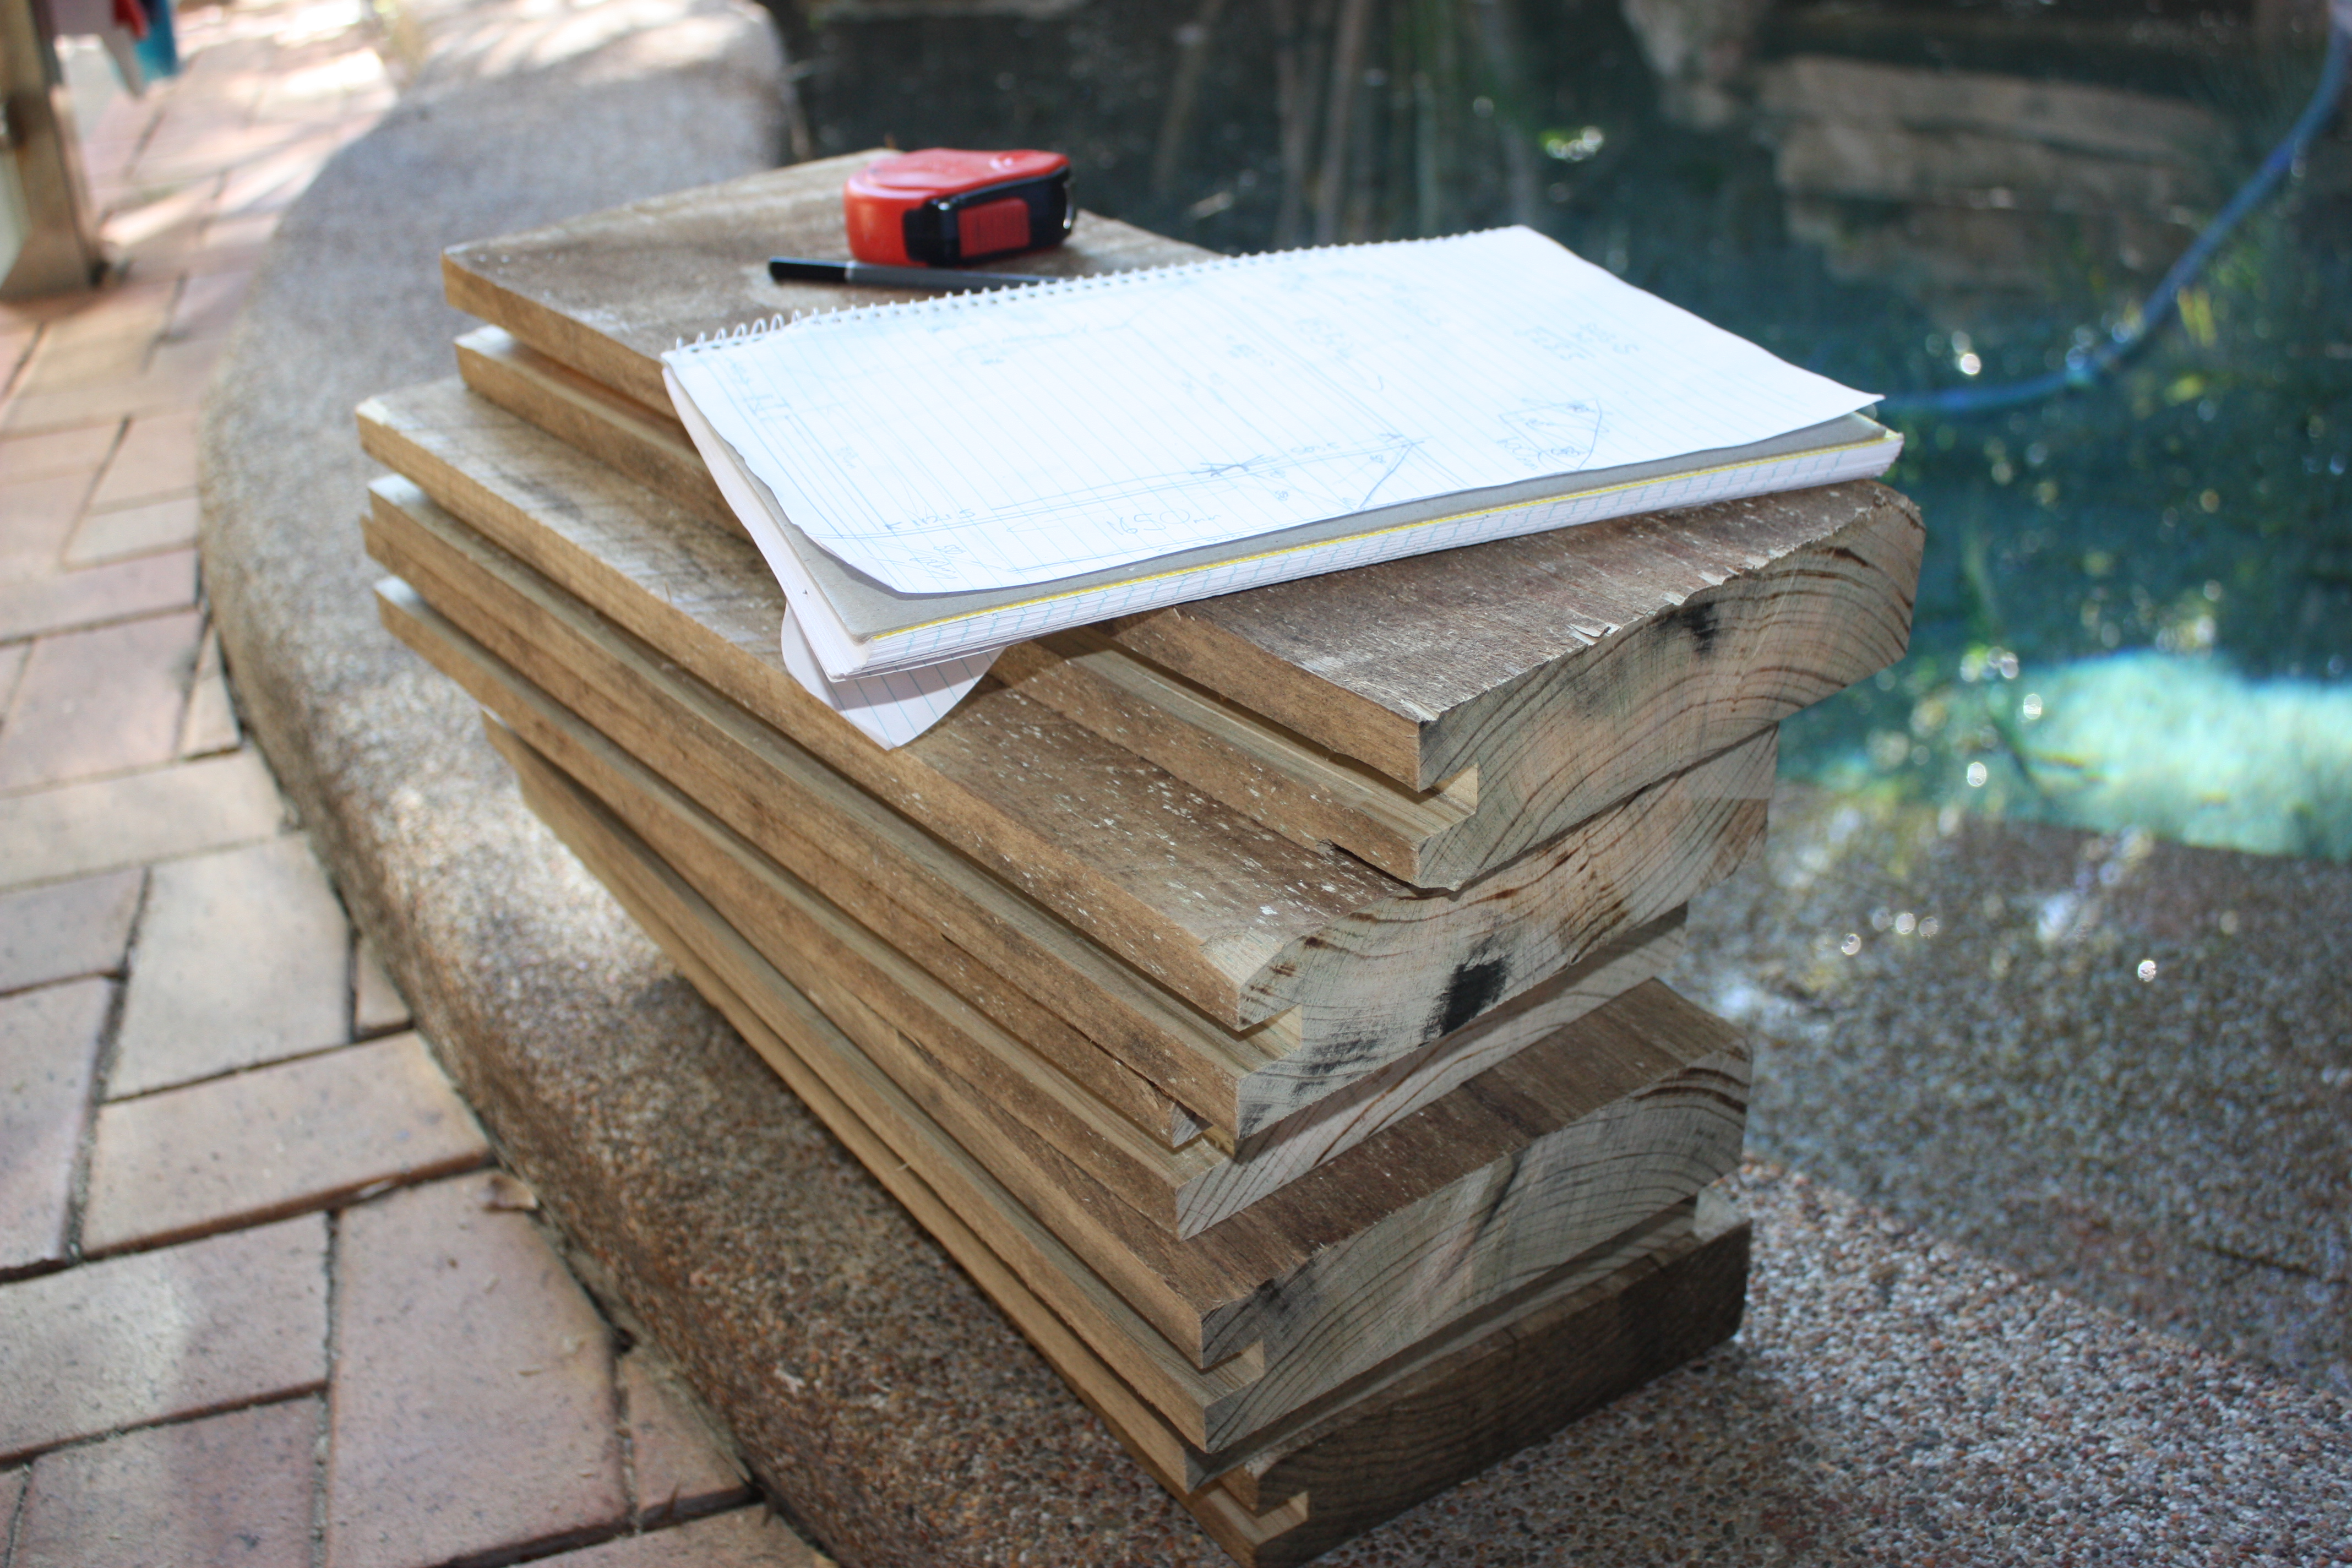
Firstly, ALWAYS draw out a scale plan of what you are trying to build. Mainly so that when you are mid-build you don’t have to be stalling to figure out lengths and angles. Instead, you can be focusing all your attention on the task at hand, which is making accurate cuts and welds. It always seems like a drag at the time, and an unnecessarily added step (especially if you’re as impatient as I am), but it saves so much time in the long run.
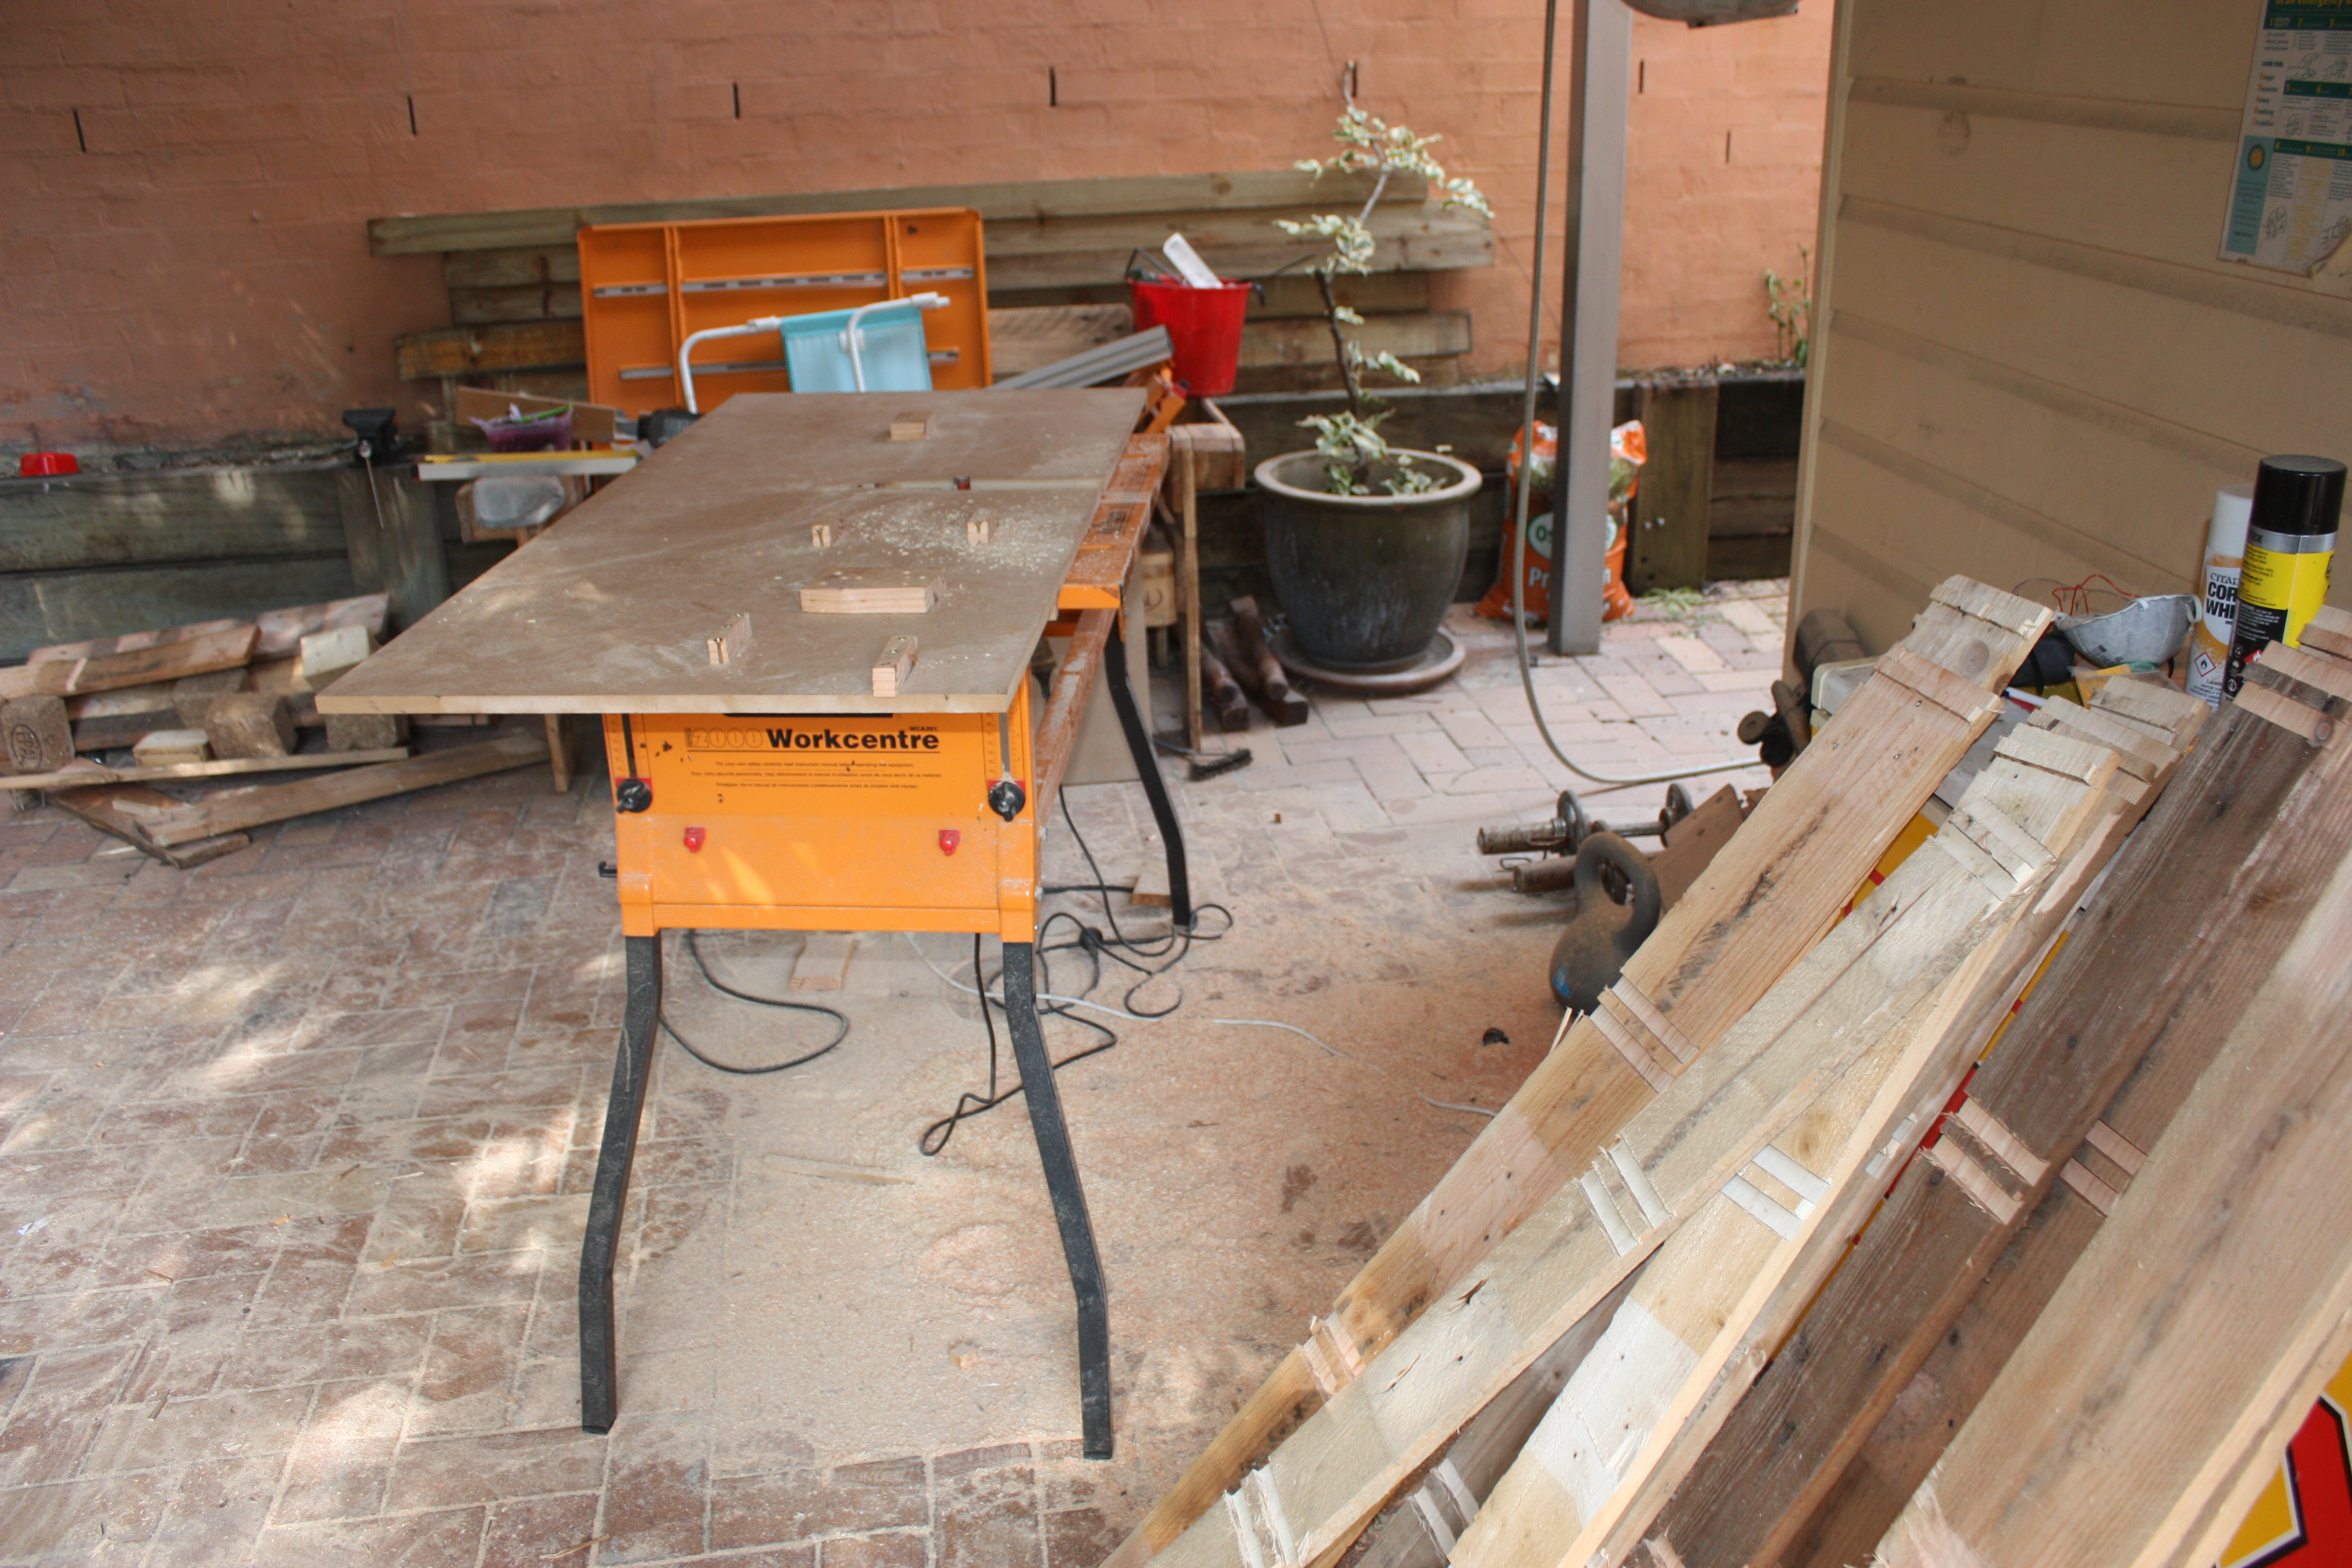
Secondly, test fit. And make sure you budget for test pieces. There were a couple of times we set up the router table and forgot what height we’d set the depth to, then we proceeded to cut grooves into six 500mm lengths of sleeper… to the wrong depth. By the end of the build, we would always make sure we tested the height and width of the cut, with a spare piece of scrap that was lying around. We found that prevents us from “assuming” anything (which we love to do). And, needless to say, we saved ourselves from making countless silly, unnecessary mistakes.
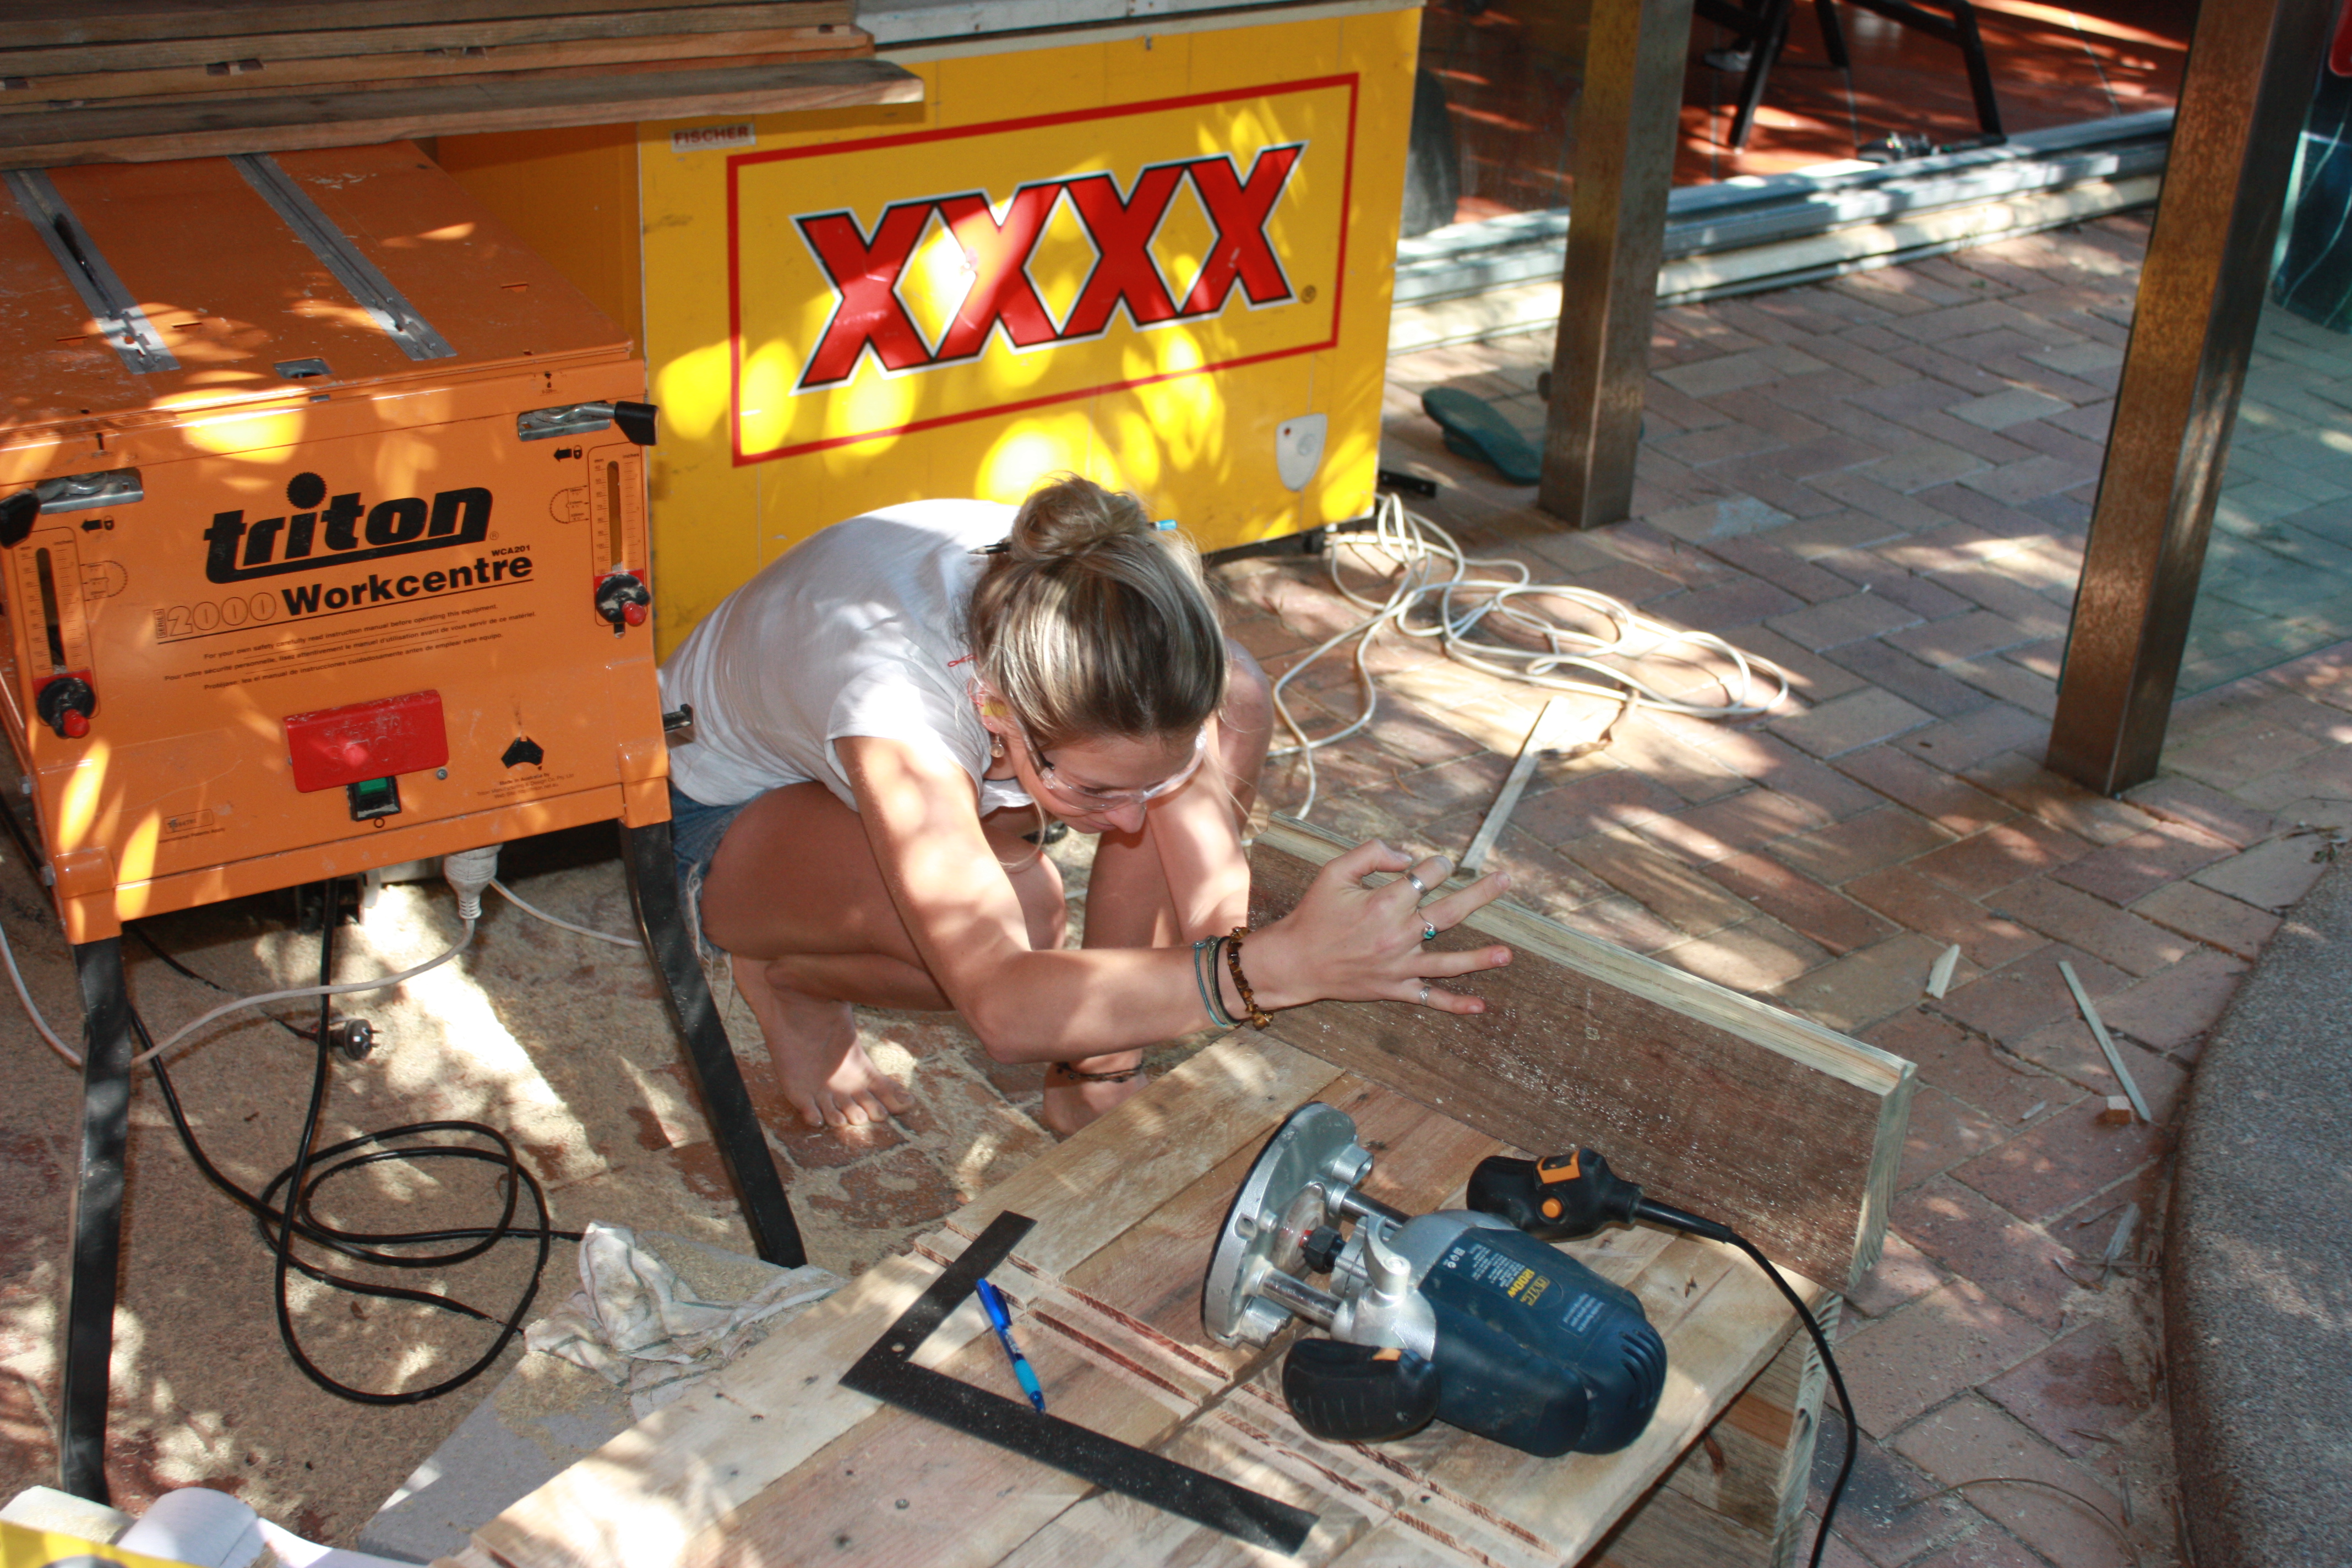 B learning from her mistakes and checking groove depth with a test piece
And last but certainly not least, is the age-old adage “measure twice cut once”. Like test fitting, measuring is one of the more tedious parts of the process. But, like test fitting, one of the most important. We found that the more time we spent measuring the more we started producing accurate pieces! Who’d have thought?
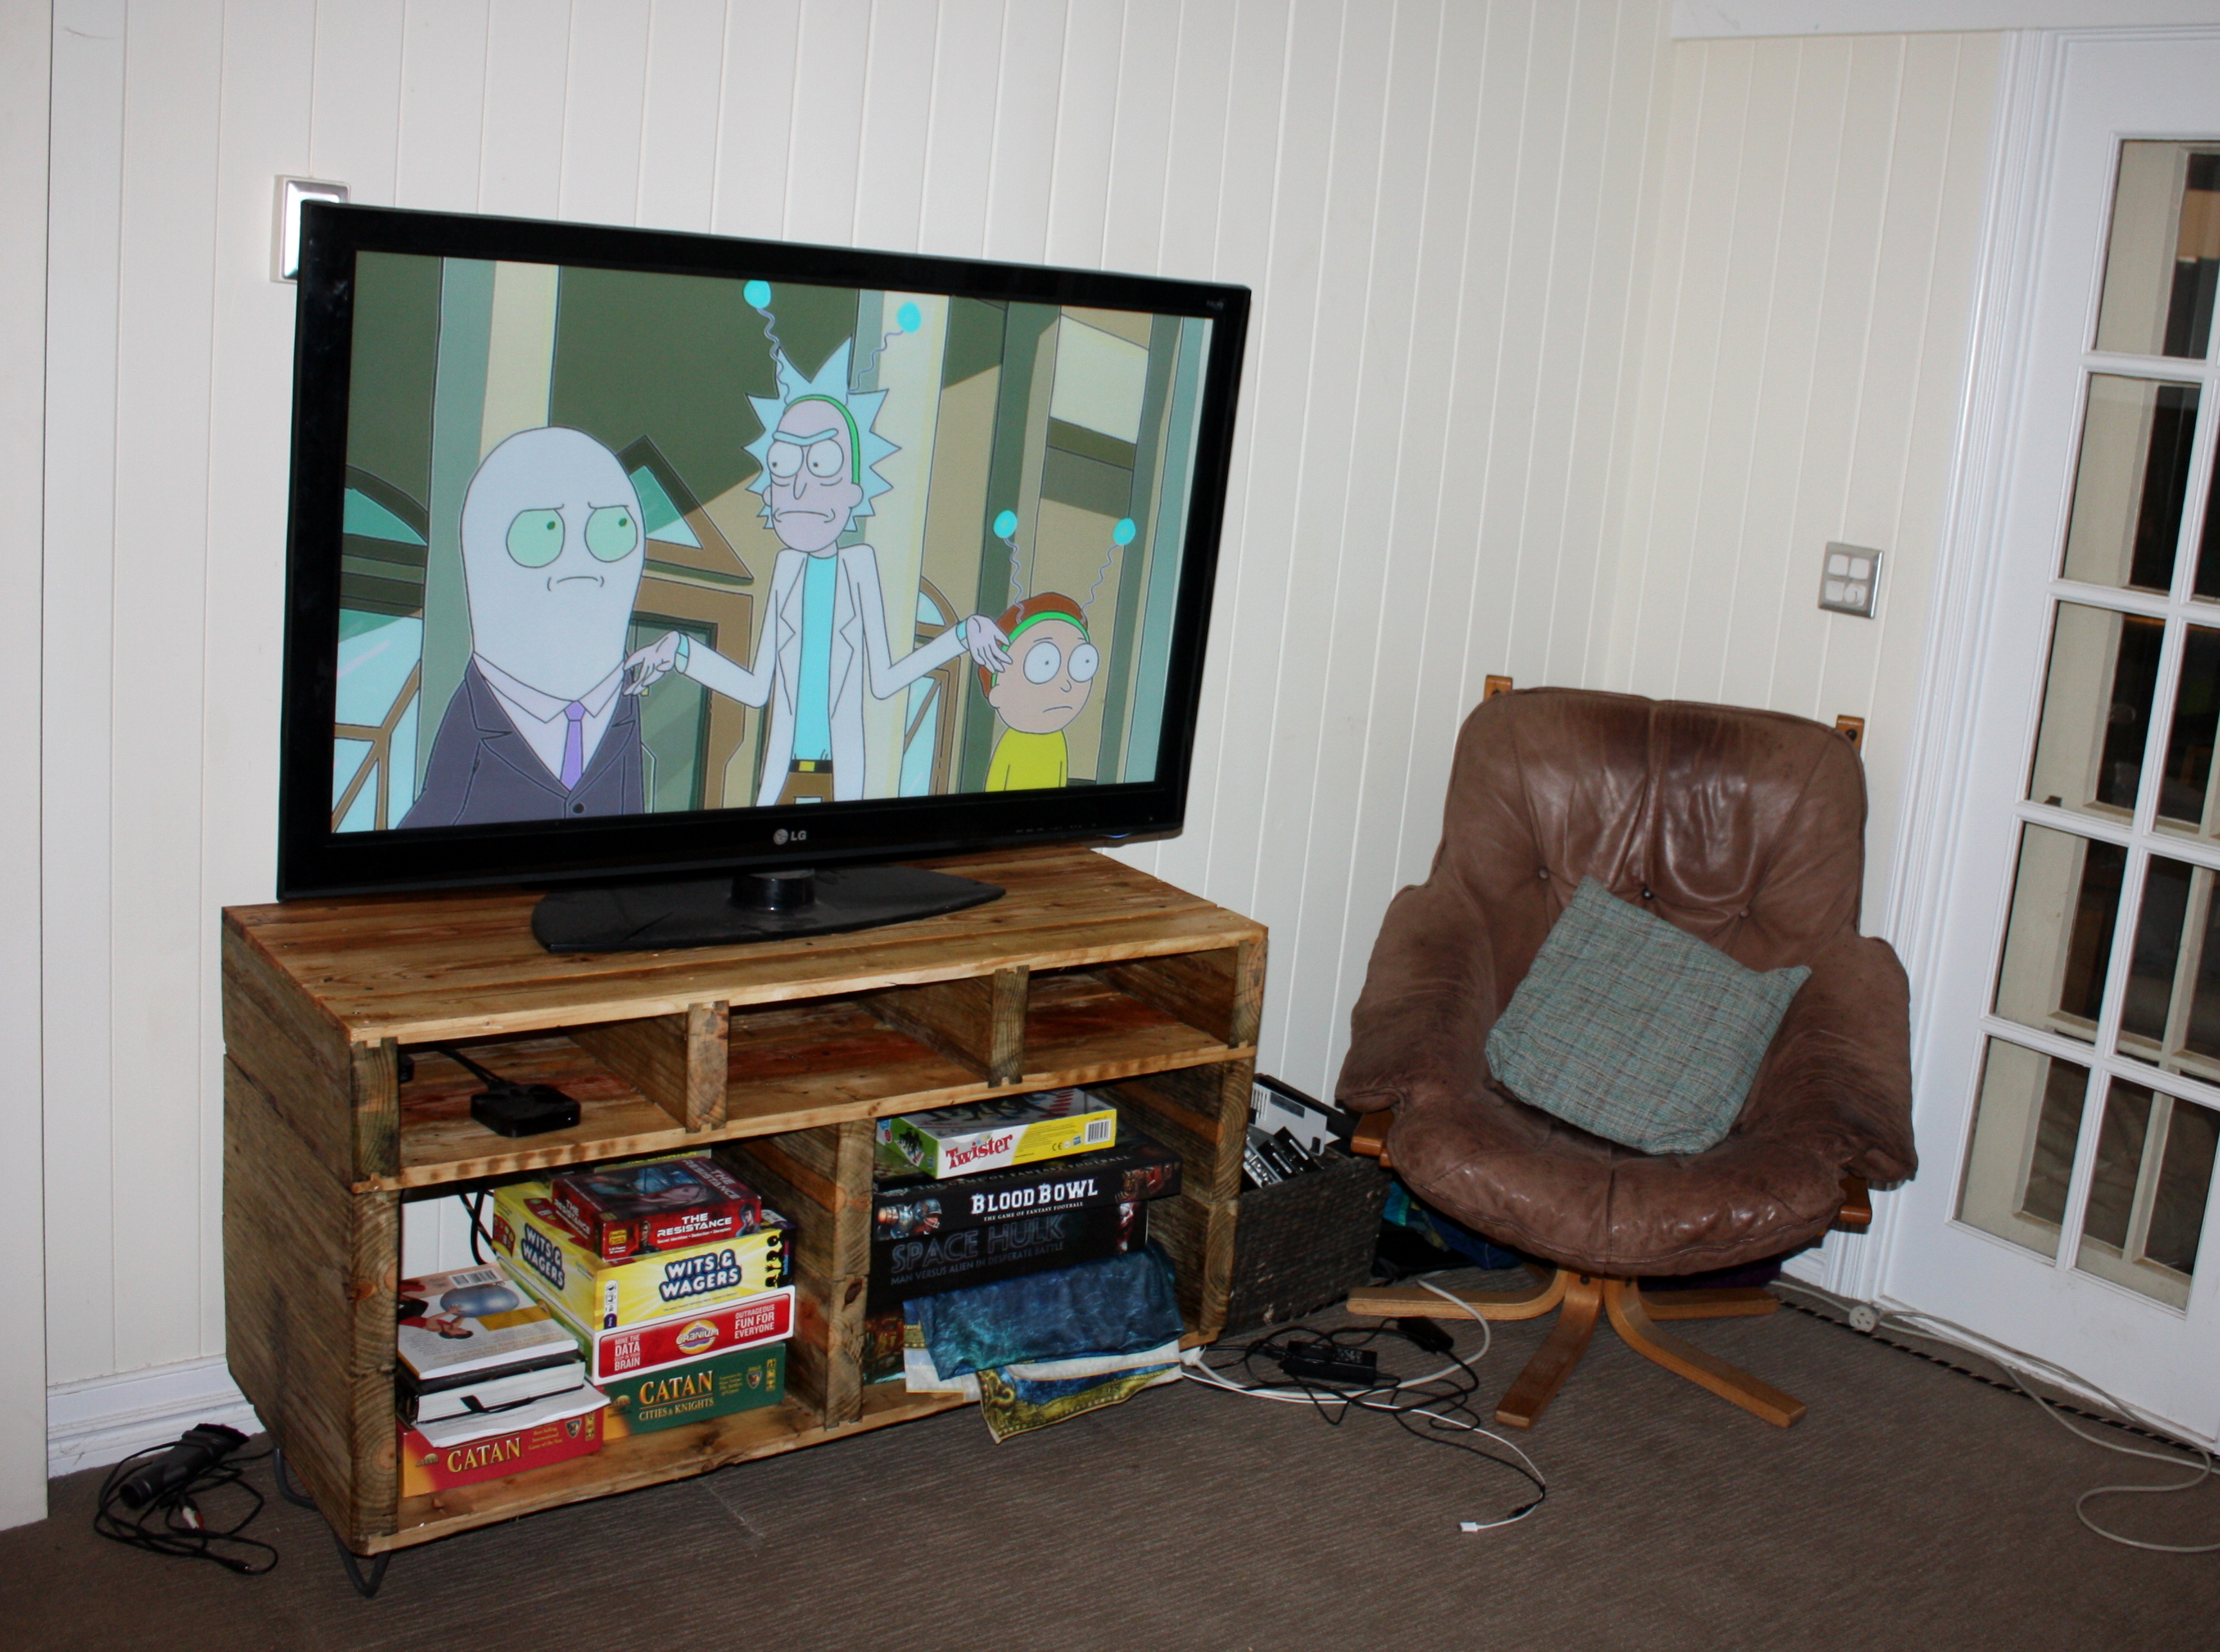 The final result ft. our two good friends Rick & Morty
Come back next time to read about how our barbeque’s new home came to be. Until then, keep learning! :-)