I started learning to weld with a gasless mig wilder about a year ago. Mig welding is a lot easier than stick welding for basic welds, due to the way the core is fed out of the tip by the welder. This is perfectly fine when you are making a bracket for your car inside your garage. But eventually we plan to raise the roof of our bus, and we won’t be fortunate enough to have an indoor workshop big enough to store it and work on it. And working outside, in the elements, mig welding just wouldn’t be appropriate. To achieve the strength of weld we would need, we’d have to use a gas mig welder, which is very susceptable to wind blowing away the shielding gas. This video here by ChuckE2009 also strongly influenced my decision to switch.
The “covered platform” was to be my first real stick welding project. I am quite happy with how strong and square it turned out. The shelf that the BBQ sits on however… is not square. But it is strong. It was the last welding job of the project, at the end of my third day working on this thing. I was tired and I rushed it. I am okay with my “unsquare” shelf, as the focus for this exersize was to build something solid and practical.
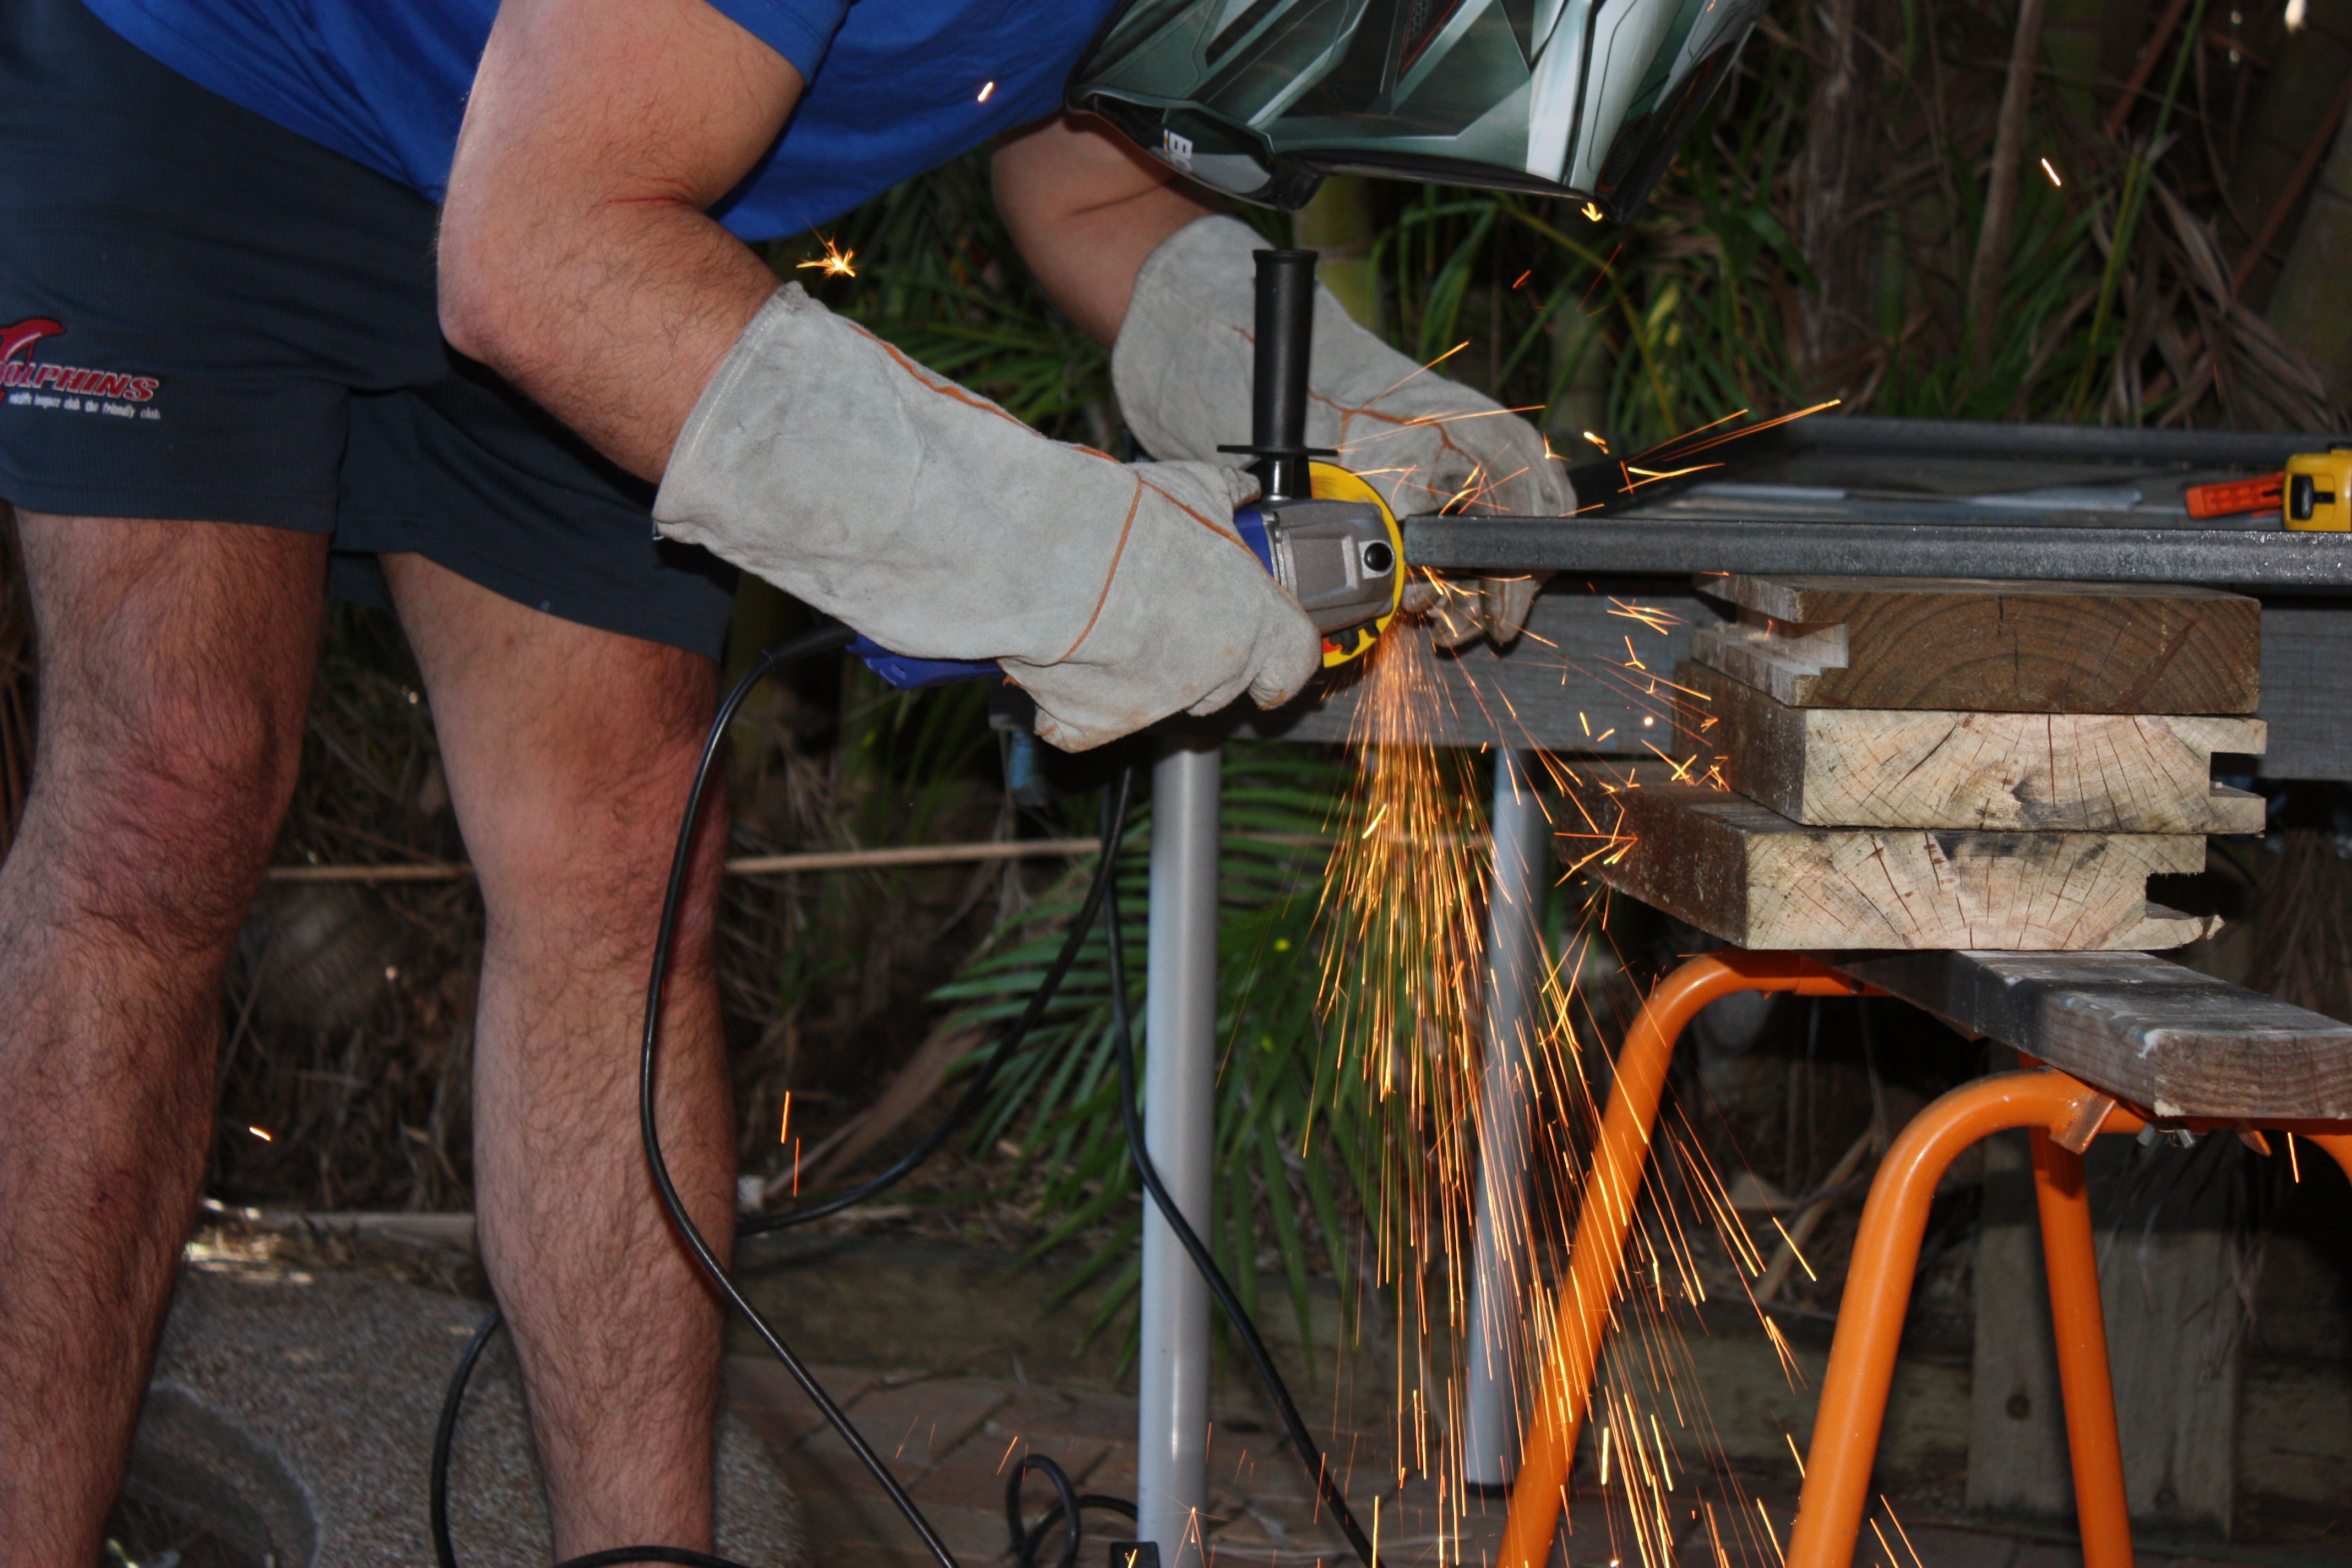 Grinding down bad welds is essential, for your ego :-)
The steel cost about $110 AUD. Not cheap, but what is $110 compared to having the skill to build your very own dream home? The answer is nothing, if youdidn’t get that. You may be asking yourself “How does one build a platform like this, without having any descernable stick welding skills?” I am glad you asked. YouTube is my answer. More specifically ChuckE2009’s channel. These videos give a great introduction to stick/arc welding and gave me enough knowledge to start practicing my beads.
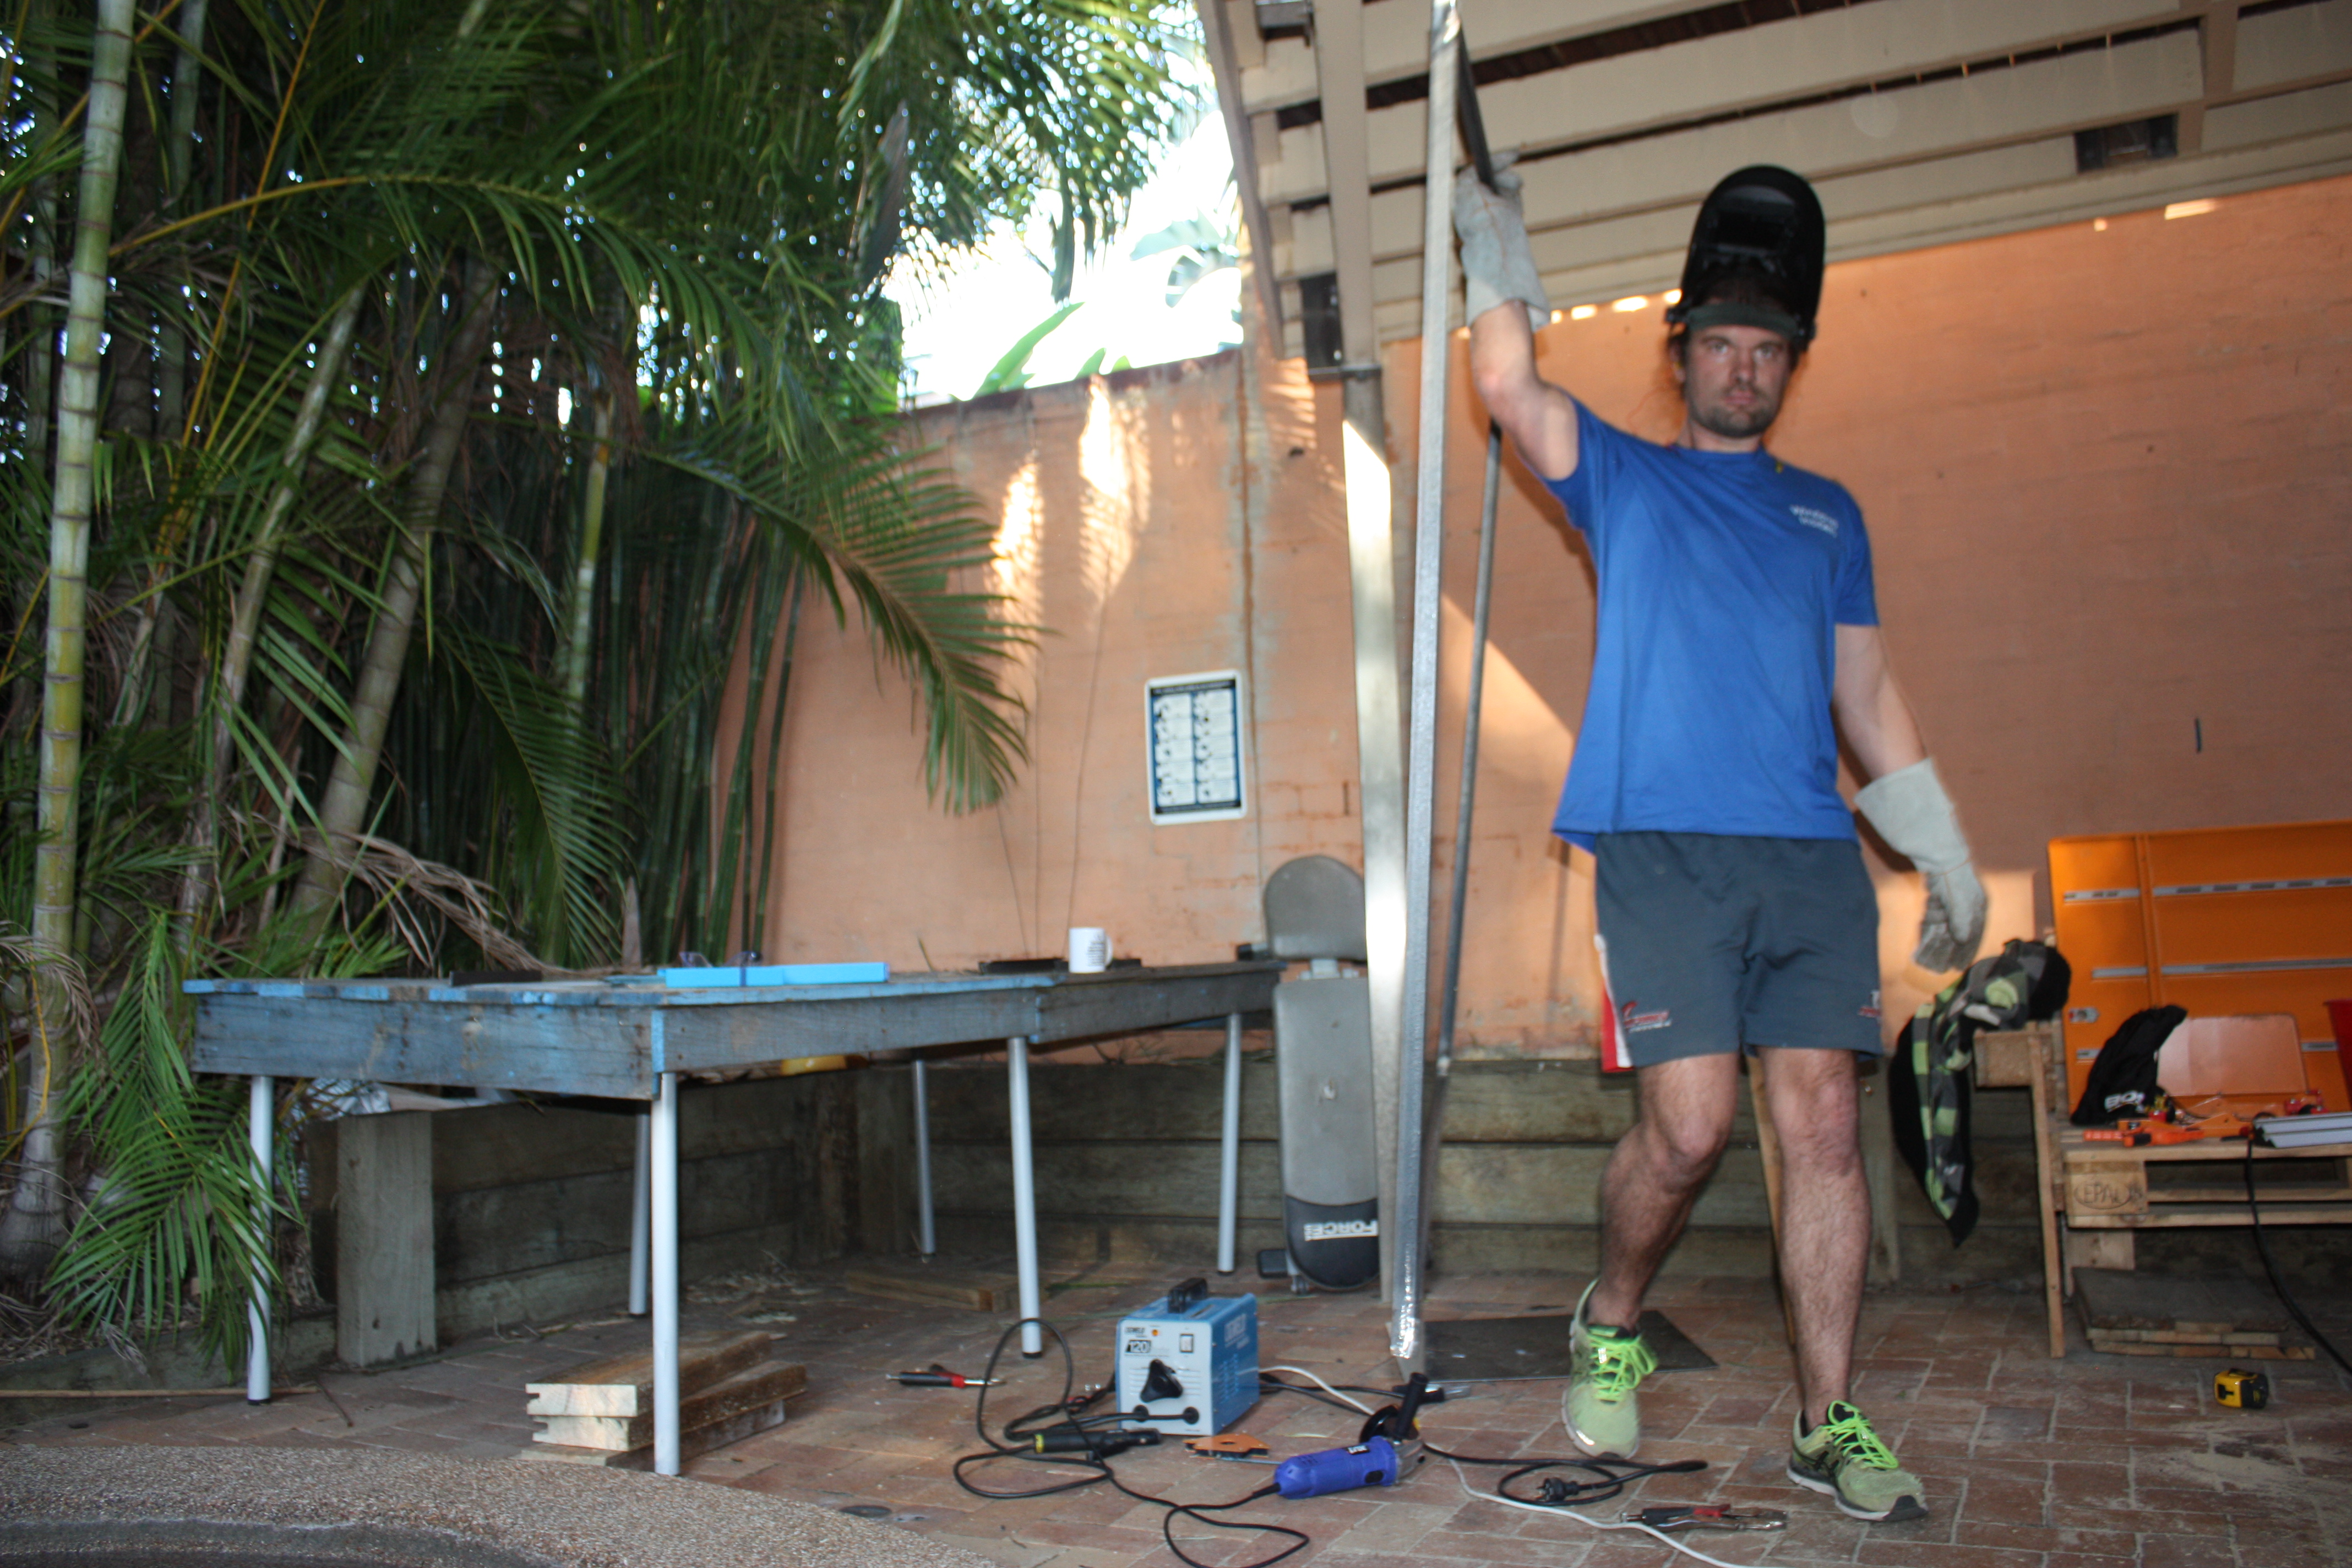
I used 24 meters of 25mm angle iron, partnered with more recycled pallet wood. I used some heavy-duty bolts to make some height adjustable feet, and a single length of 25mm flat iron to secure the pallet roof. This is the first of my projects that I’ve actually purchased the materials for, rather than only using recycled materials. This added more stress when cutting, as a bad cut would come straight out of my back pocket.
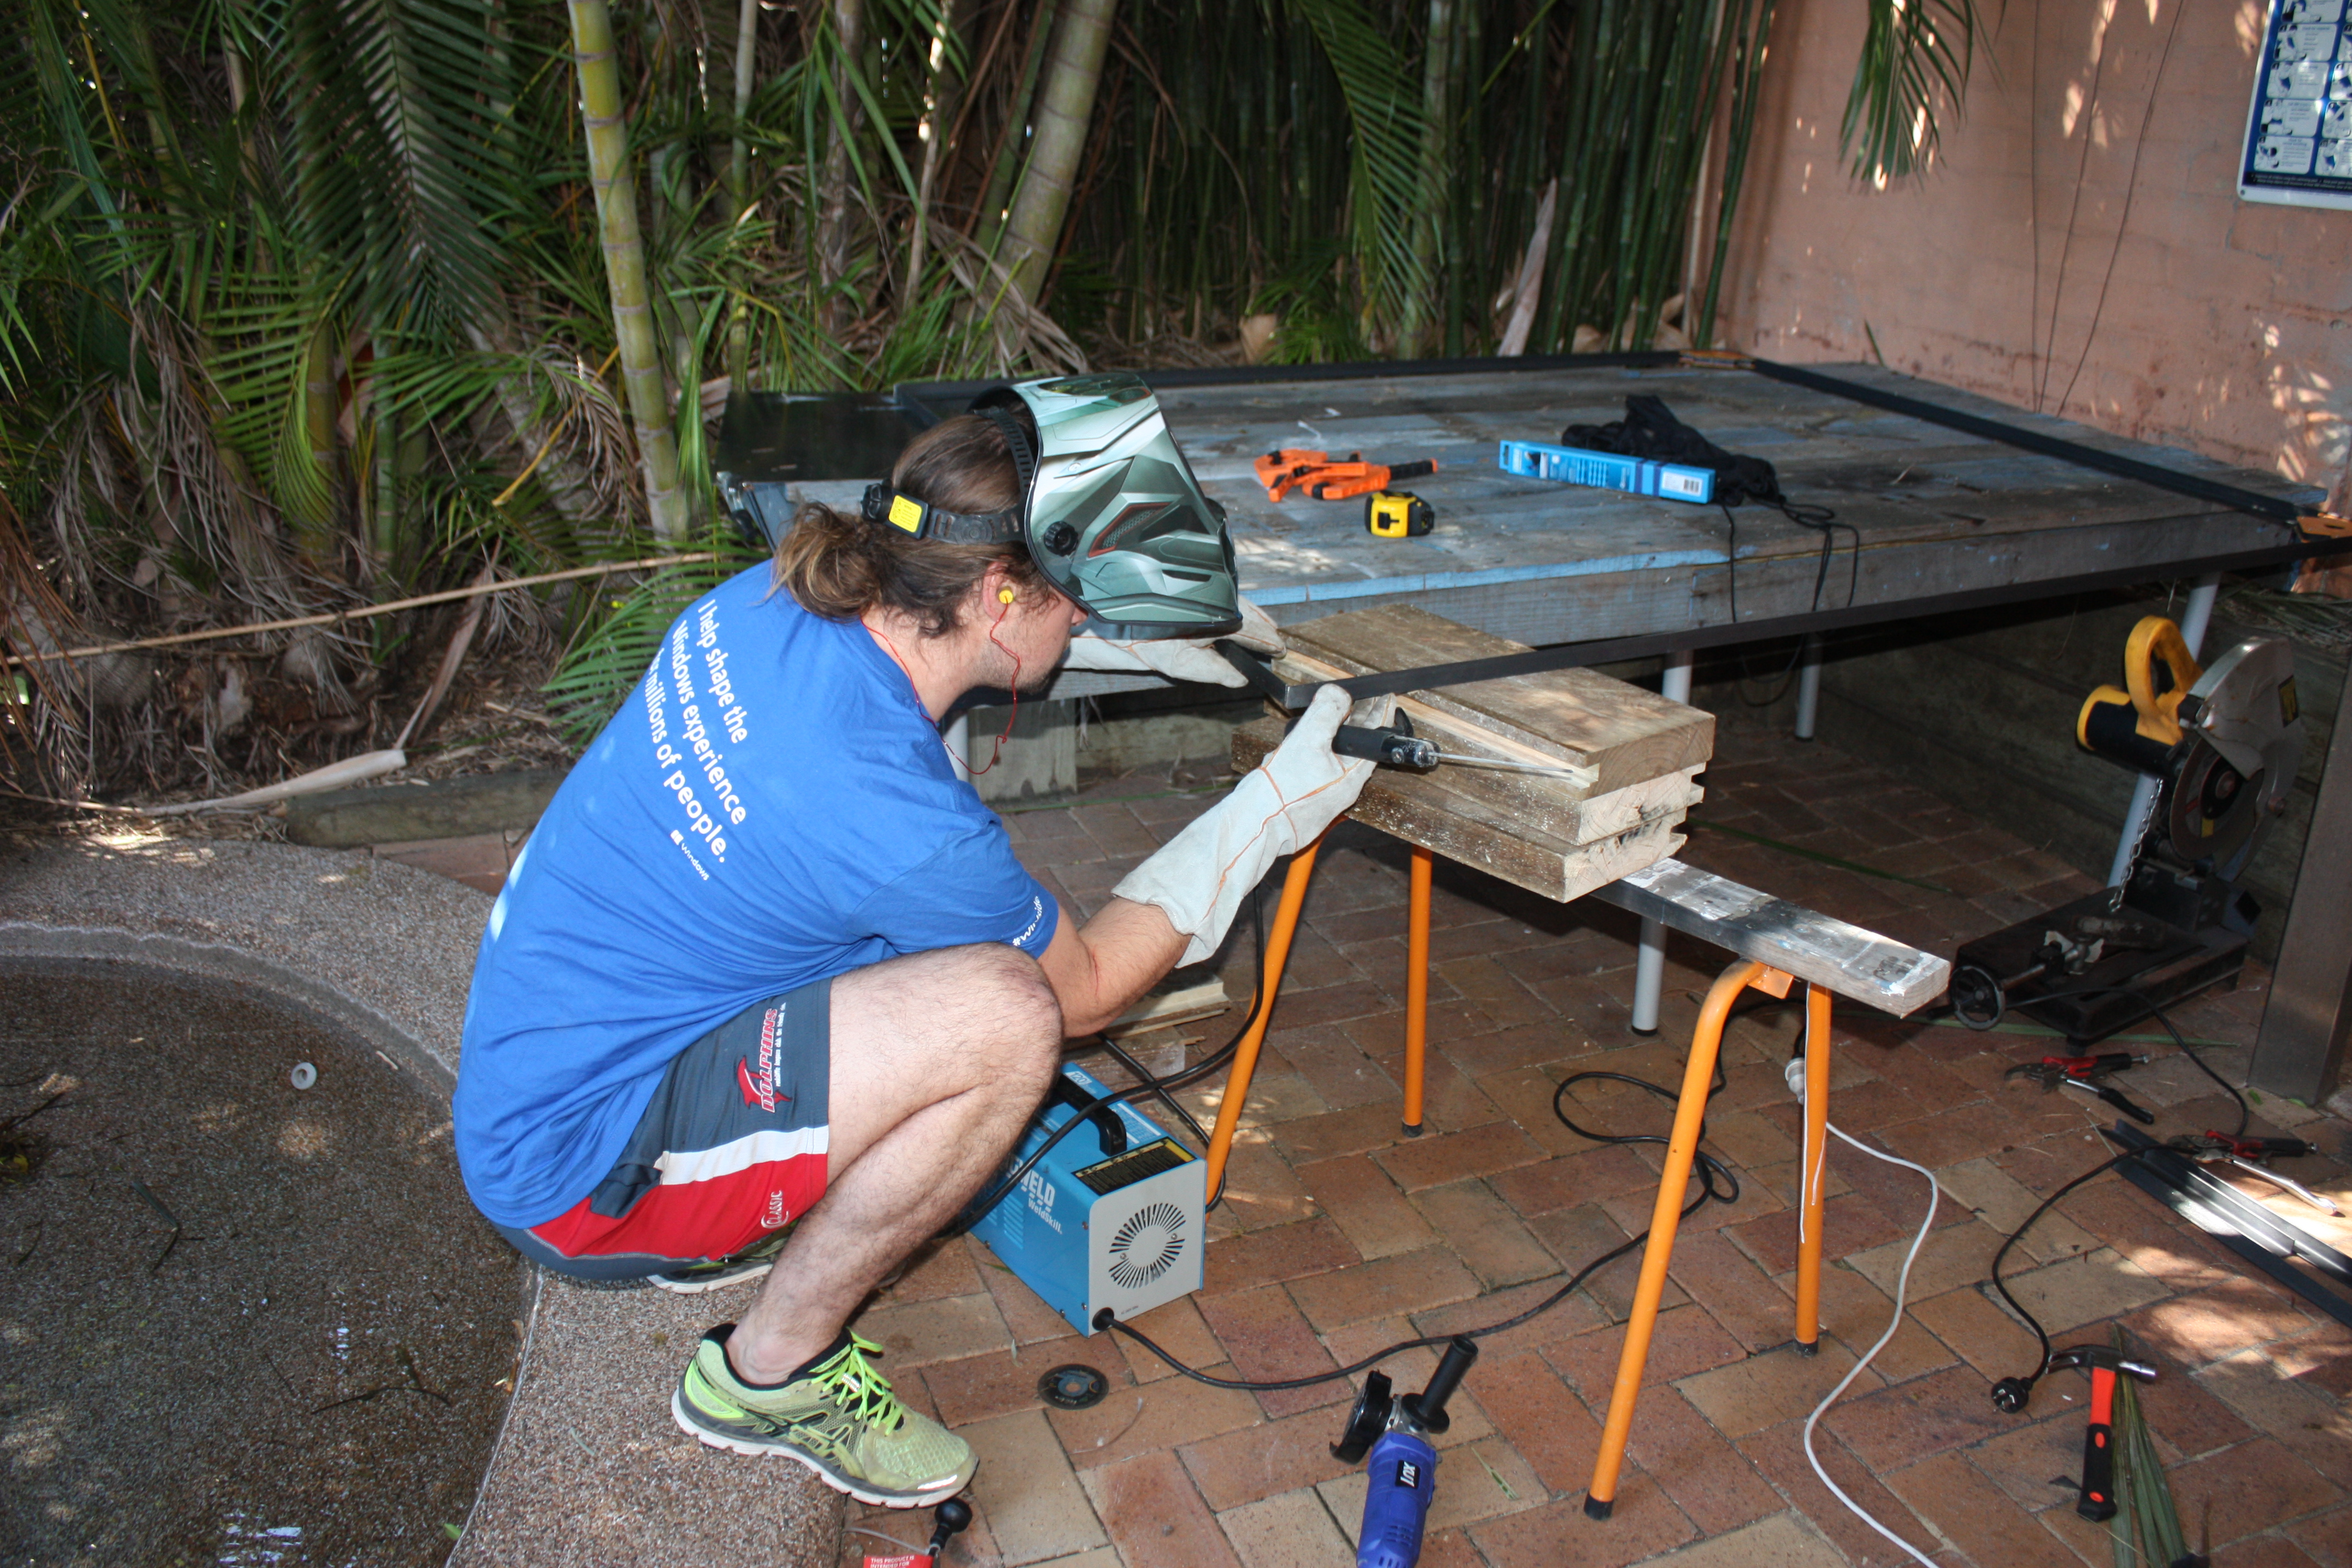
I spent quite a few hours practicing laying beads, until I felt confident with a) setting the voltage b) not sticking the electrode to my piece of work and c) knowing what a decent weld sounds like. Yes, you can hear a good weld, and being able to recognise the how it sounds is crucial. Once I felt confident enough to take on my first project, I started to draw up plans for the “covered platform” that would move our BBQ and clothes dryer from our outside entertaining area to what was previously an unusable space.
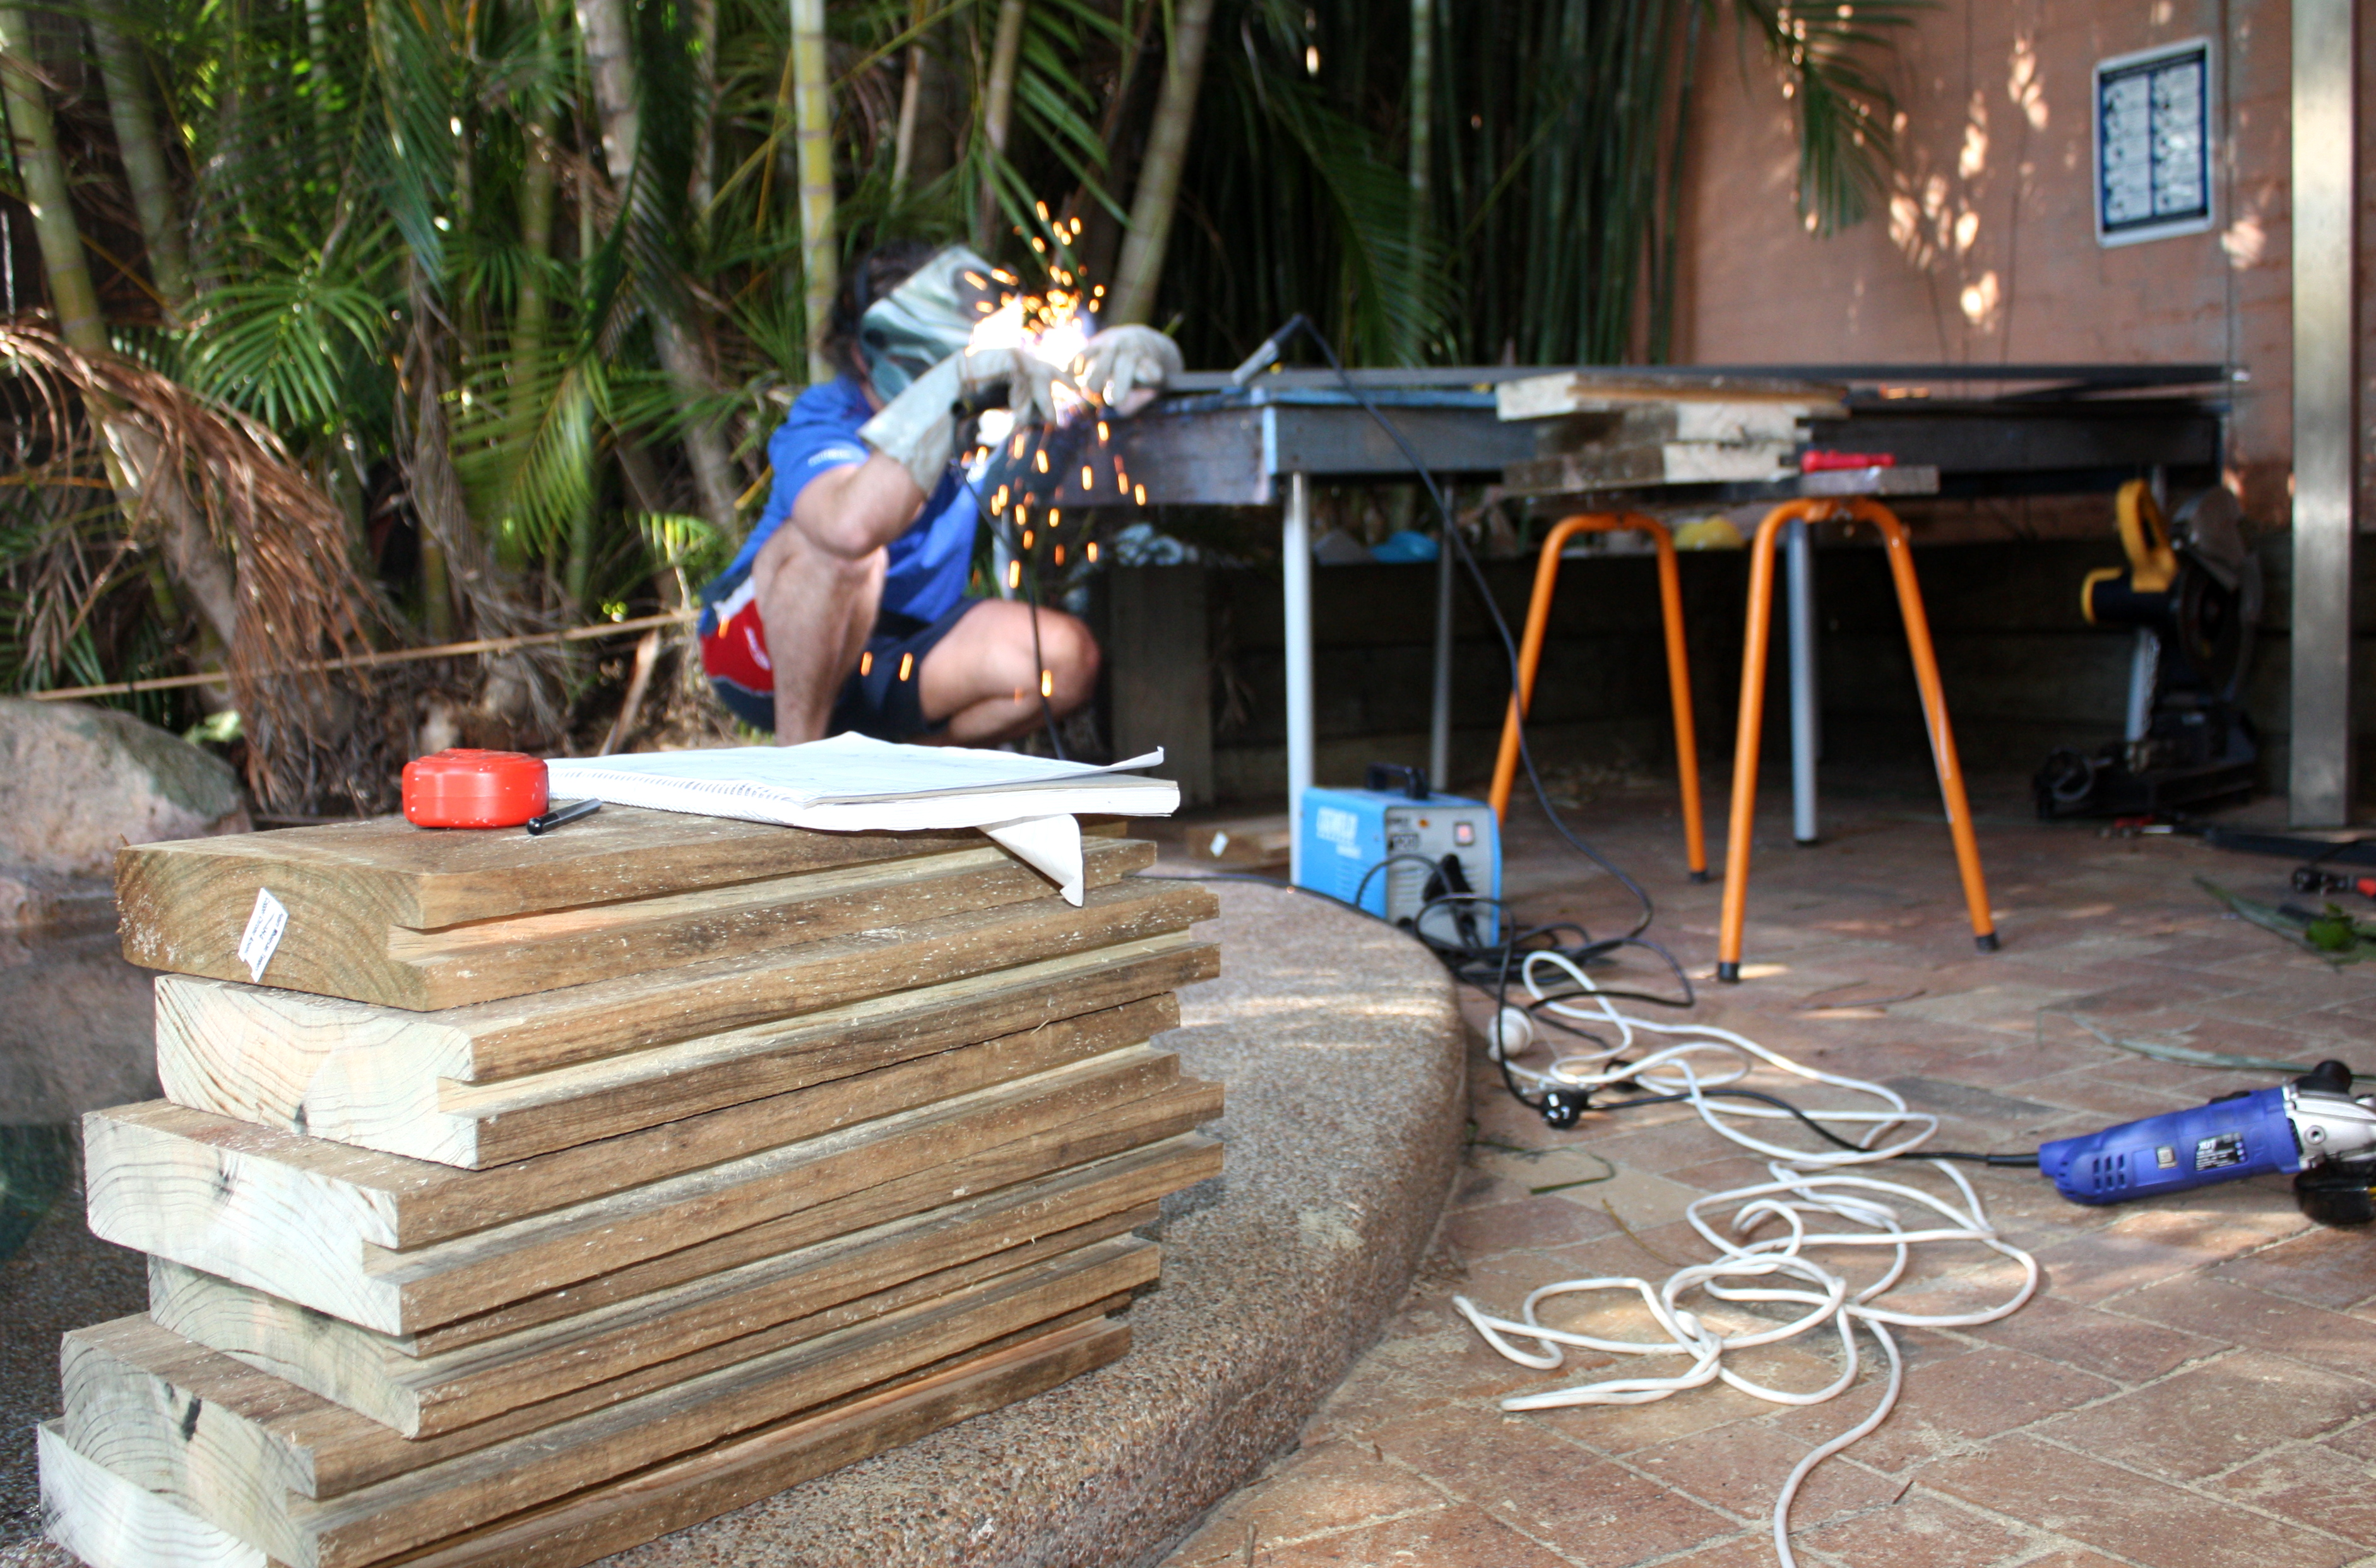
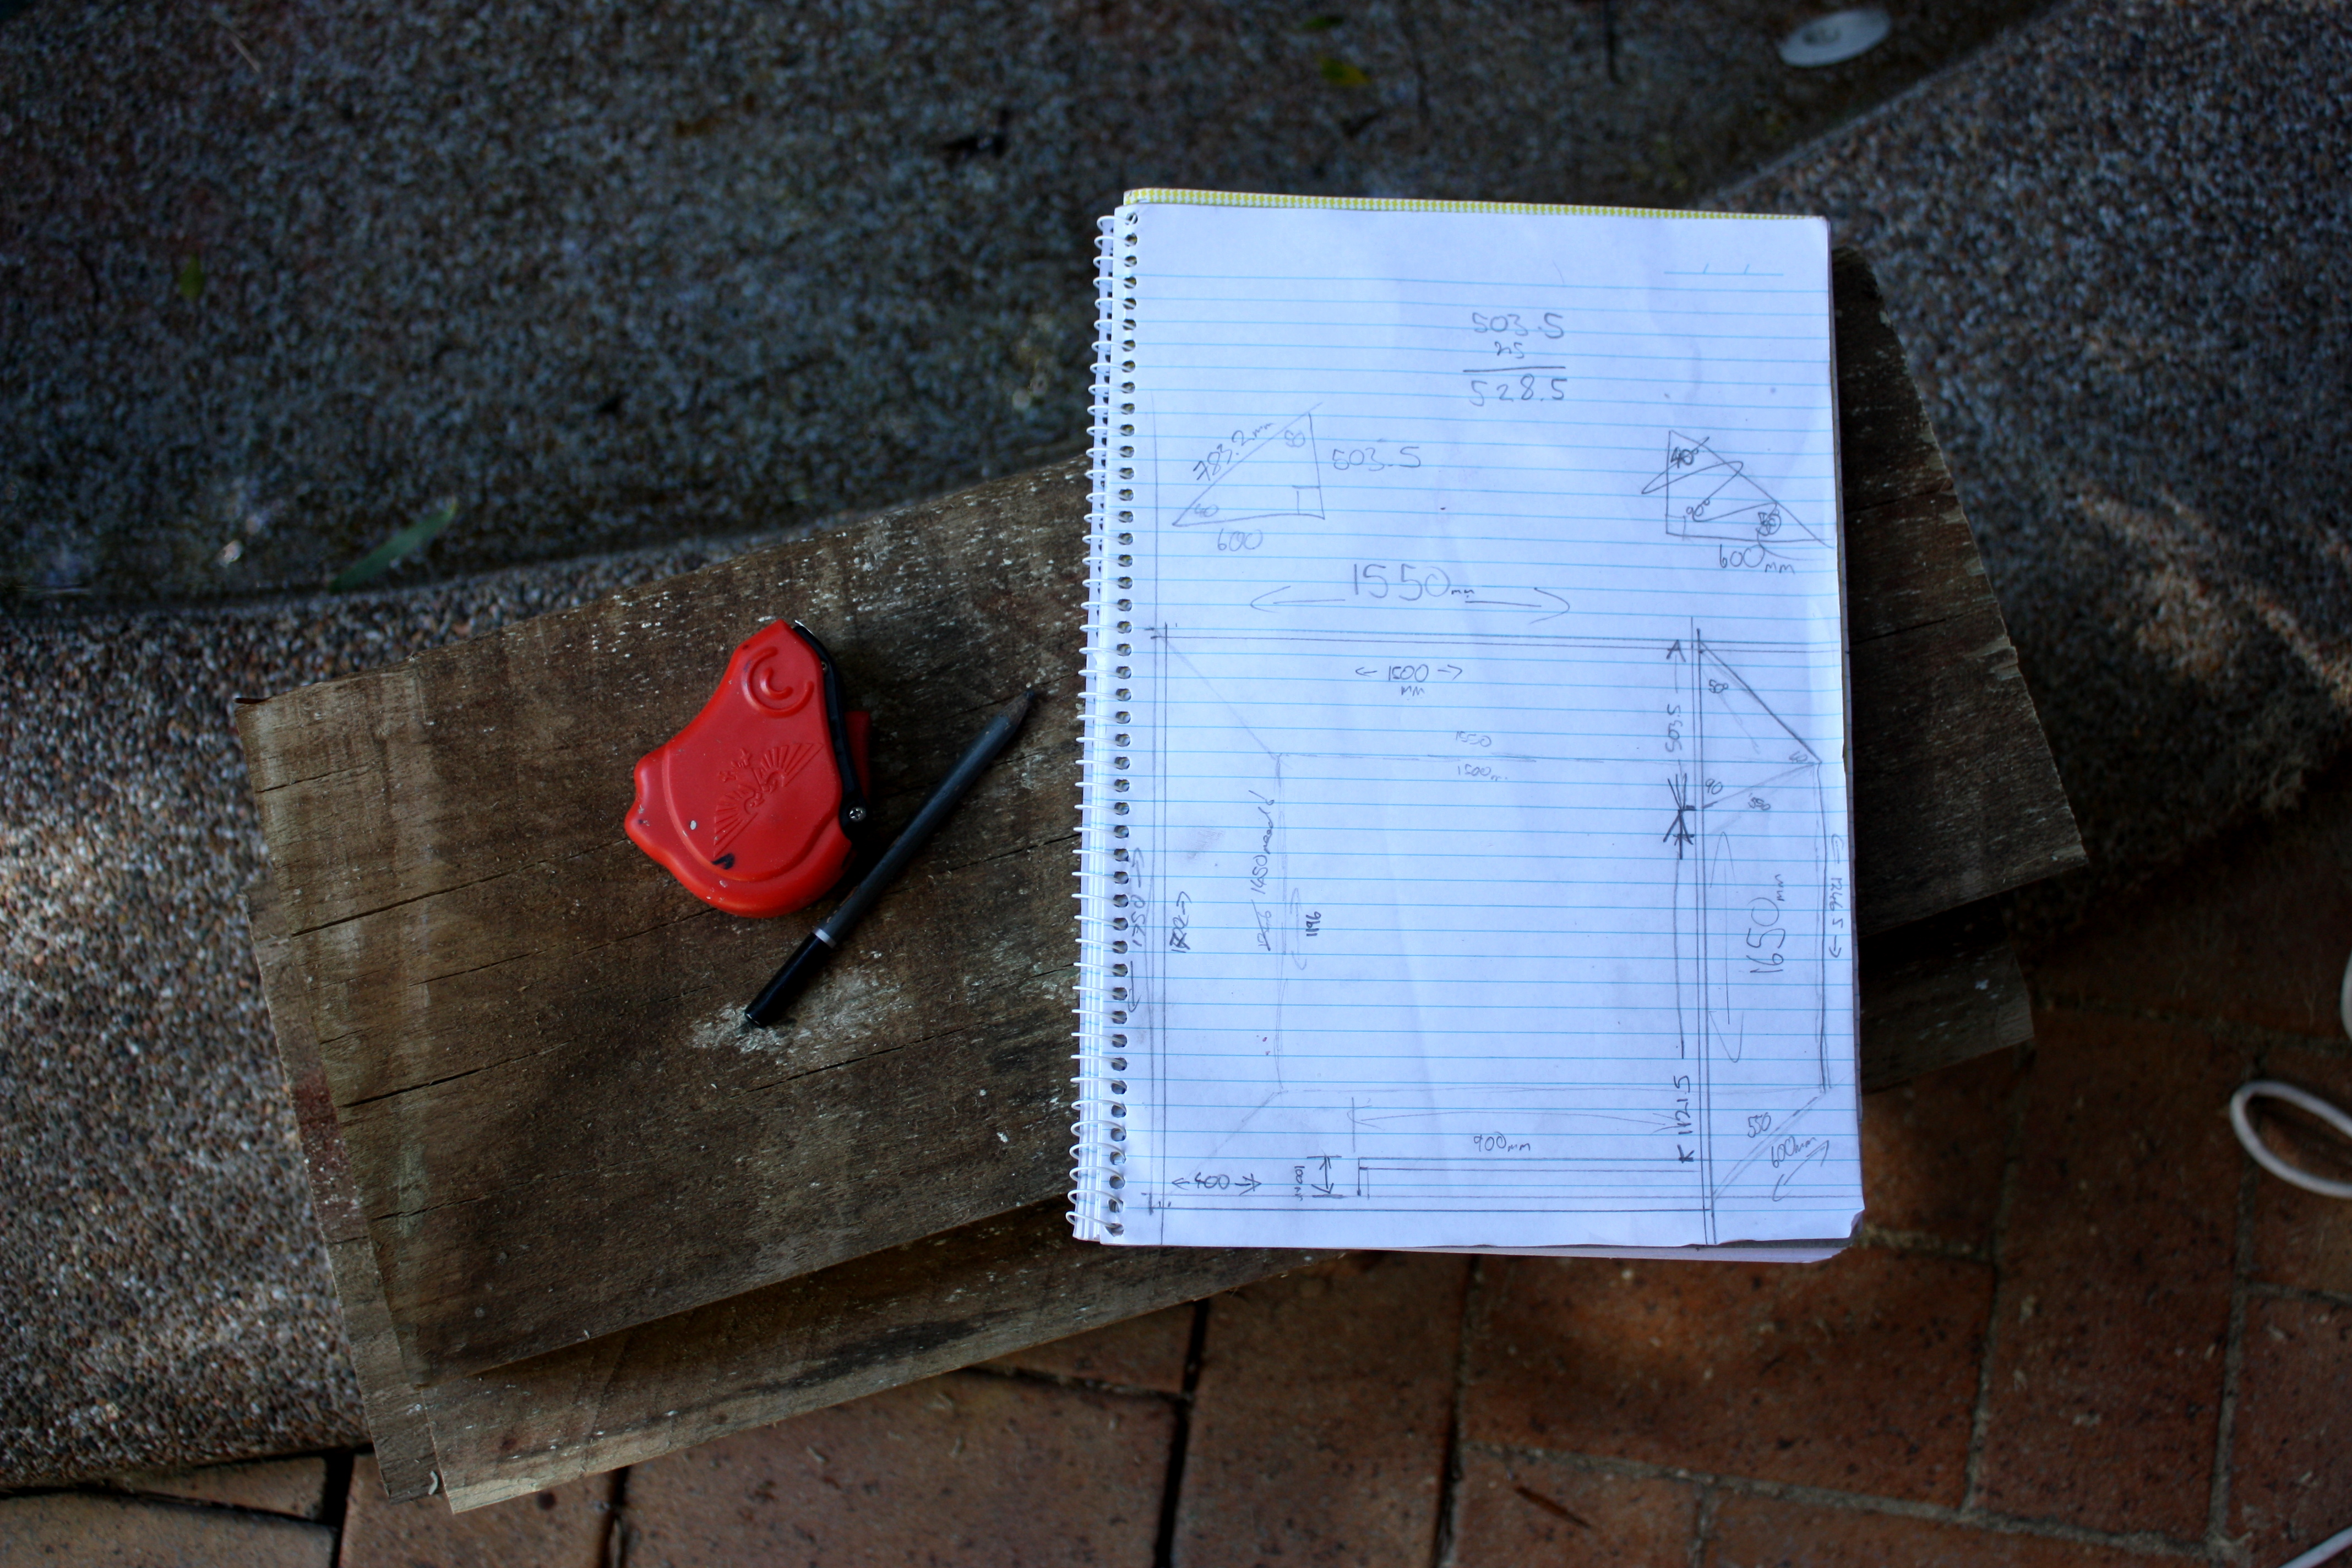 We learned last time plans aren’t just a good idea, they’re absolutely essential
I learnt a lot from building this platform, including setting up your weld, laying a bead, selecting the correct amperage on the welder… the list goes on. It gave me a real world application of all the tips I had gained from ChuckE2009. Real world applications are invaluable to a learner. It’s all very well spending days on ending binge watching tutorials, and knowing (in theory) how to weld, but putting these new found skills to the test, building your own project, gives you so much more exposure to all the little problems that inevitably arise during a build.
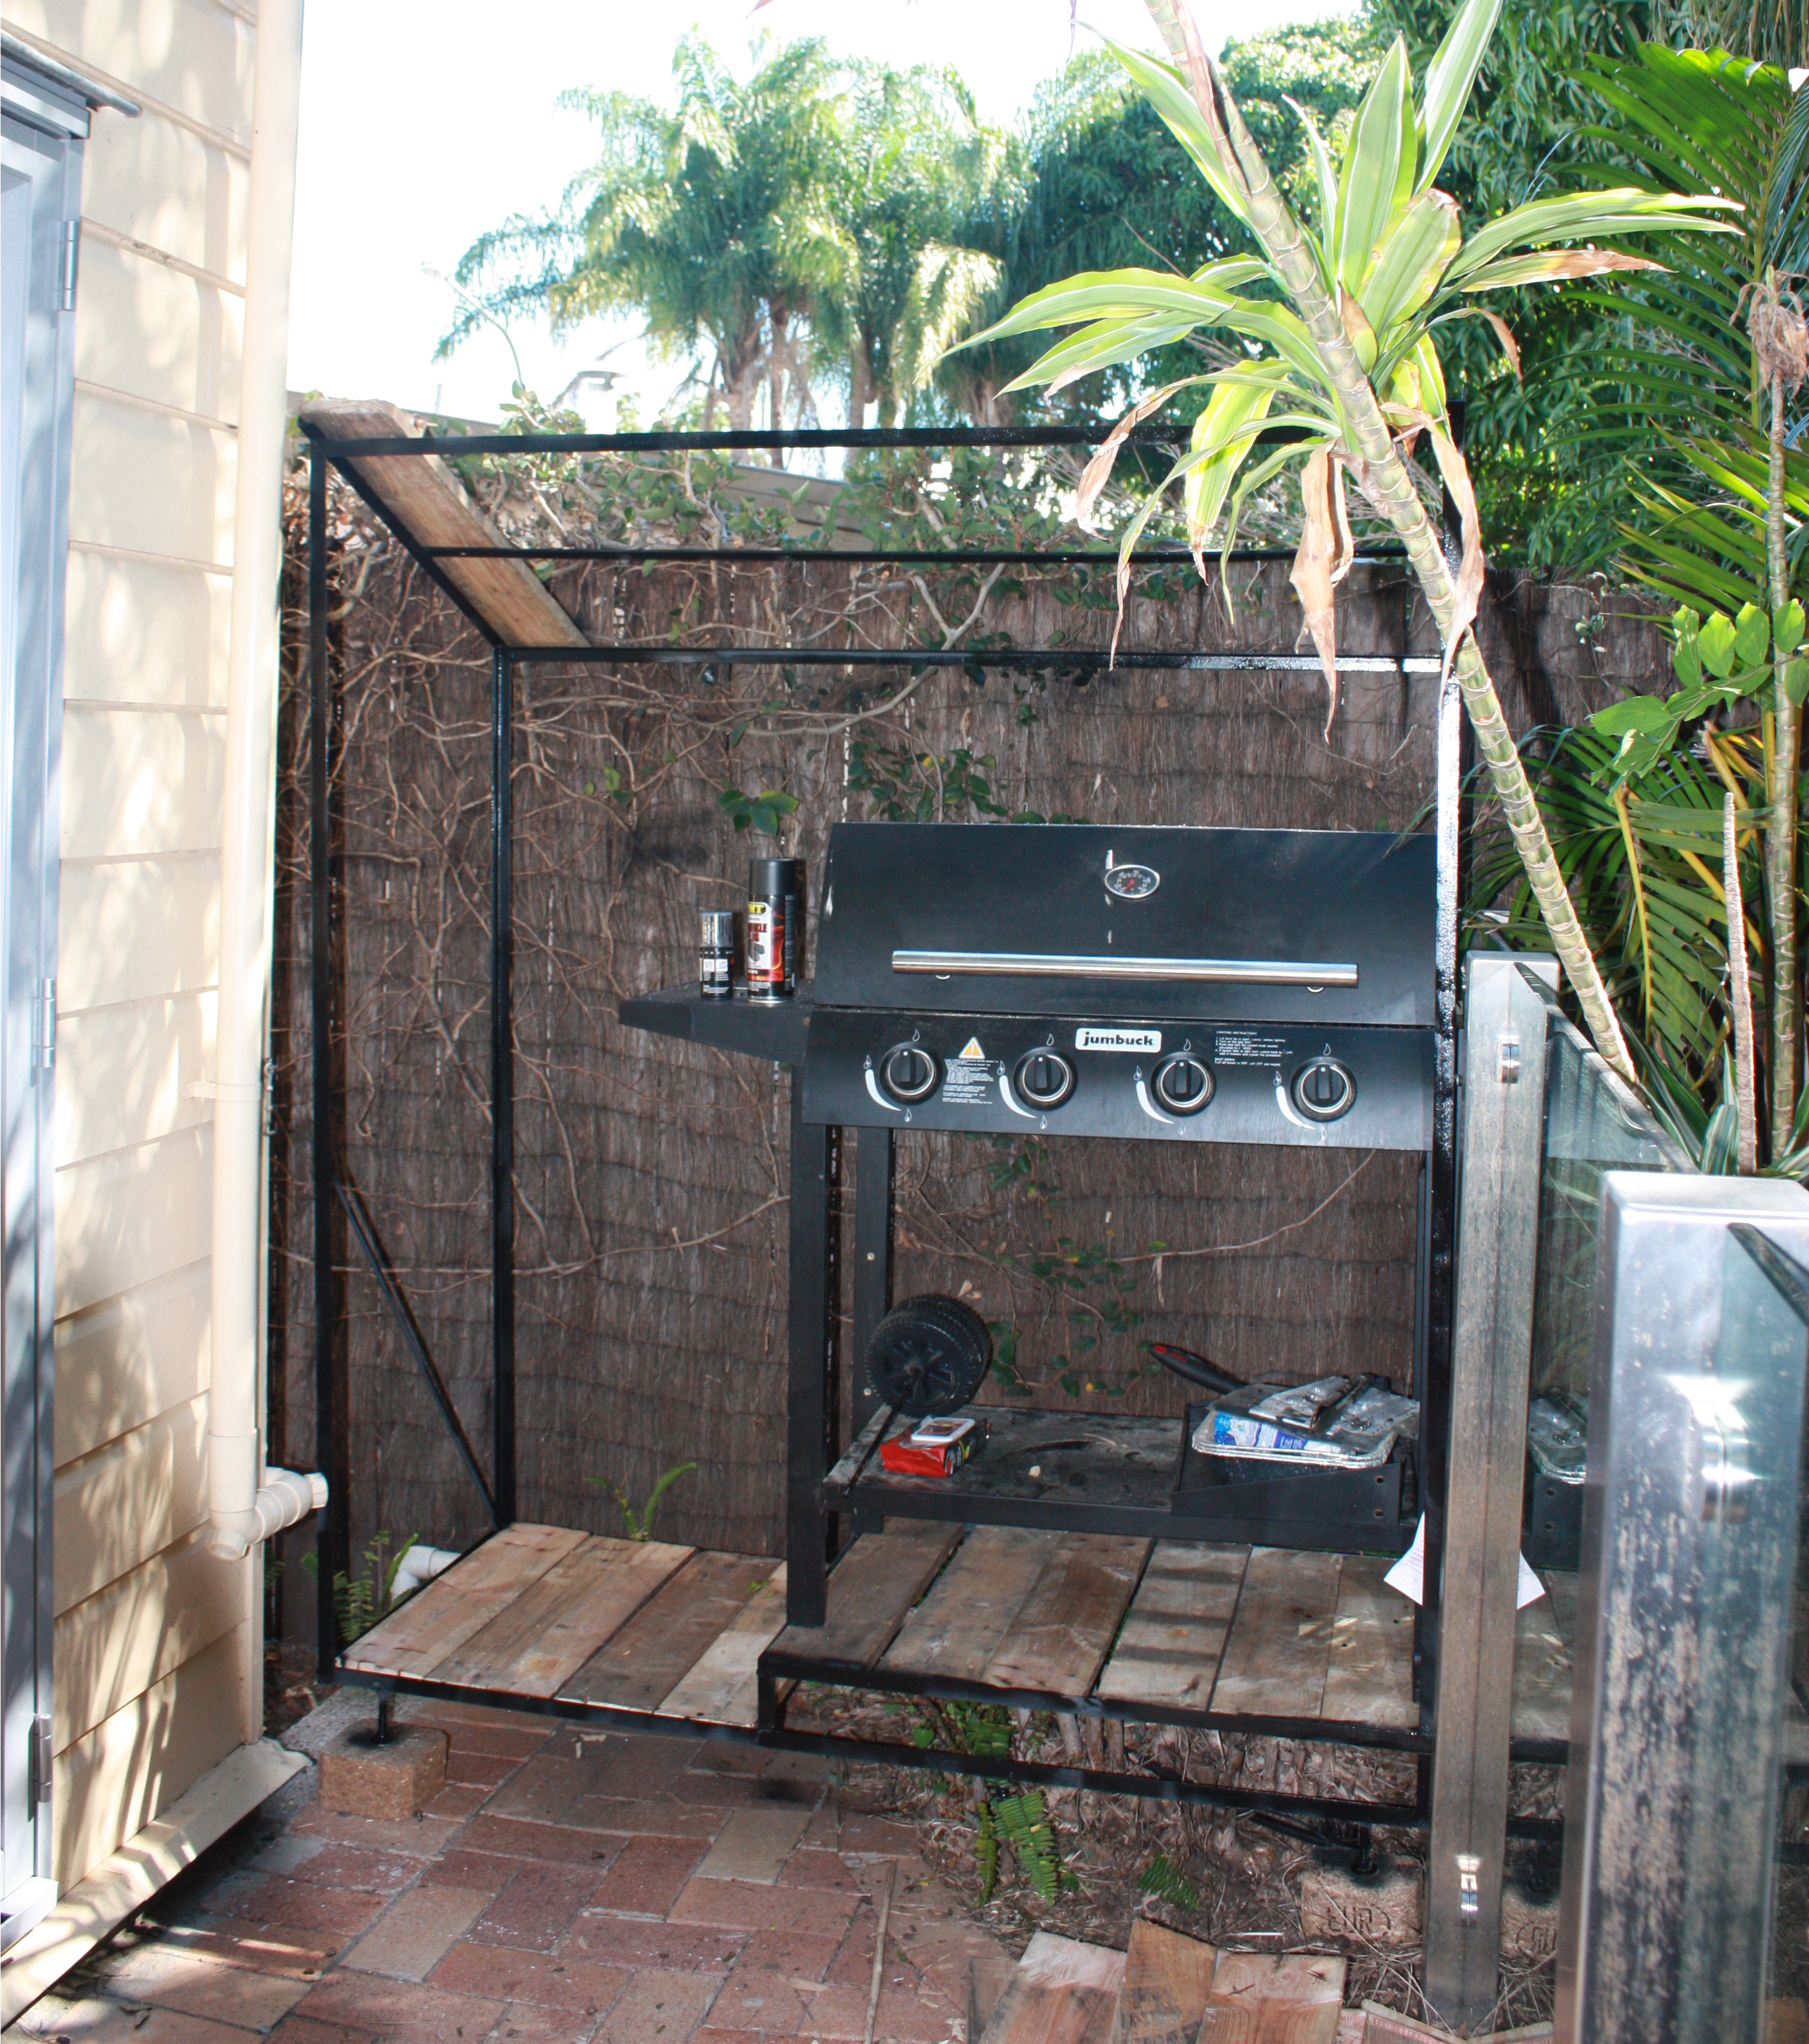
Here it is nearly finished. At this stage I was completely over the build. I just wanted it to be finished. Notice any of the tell-tale signs of a rushed job in the photo? Paint-overspray, uneven gaps in the pallet flooring… you’re just lucky you can’t see my disgruntled face on the other side of the camera. I was really rushing it at this stage, but I had been at it for three days straight, and this early summer we always seem to have here in Brisbane made it all ten times harder.
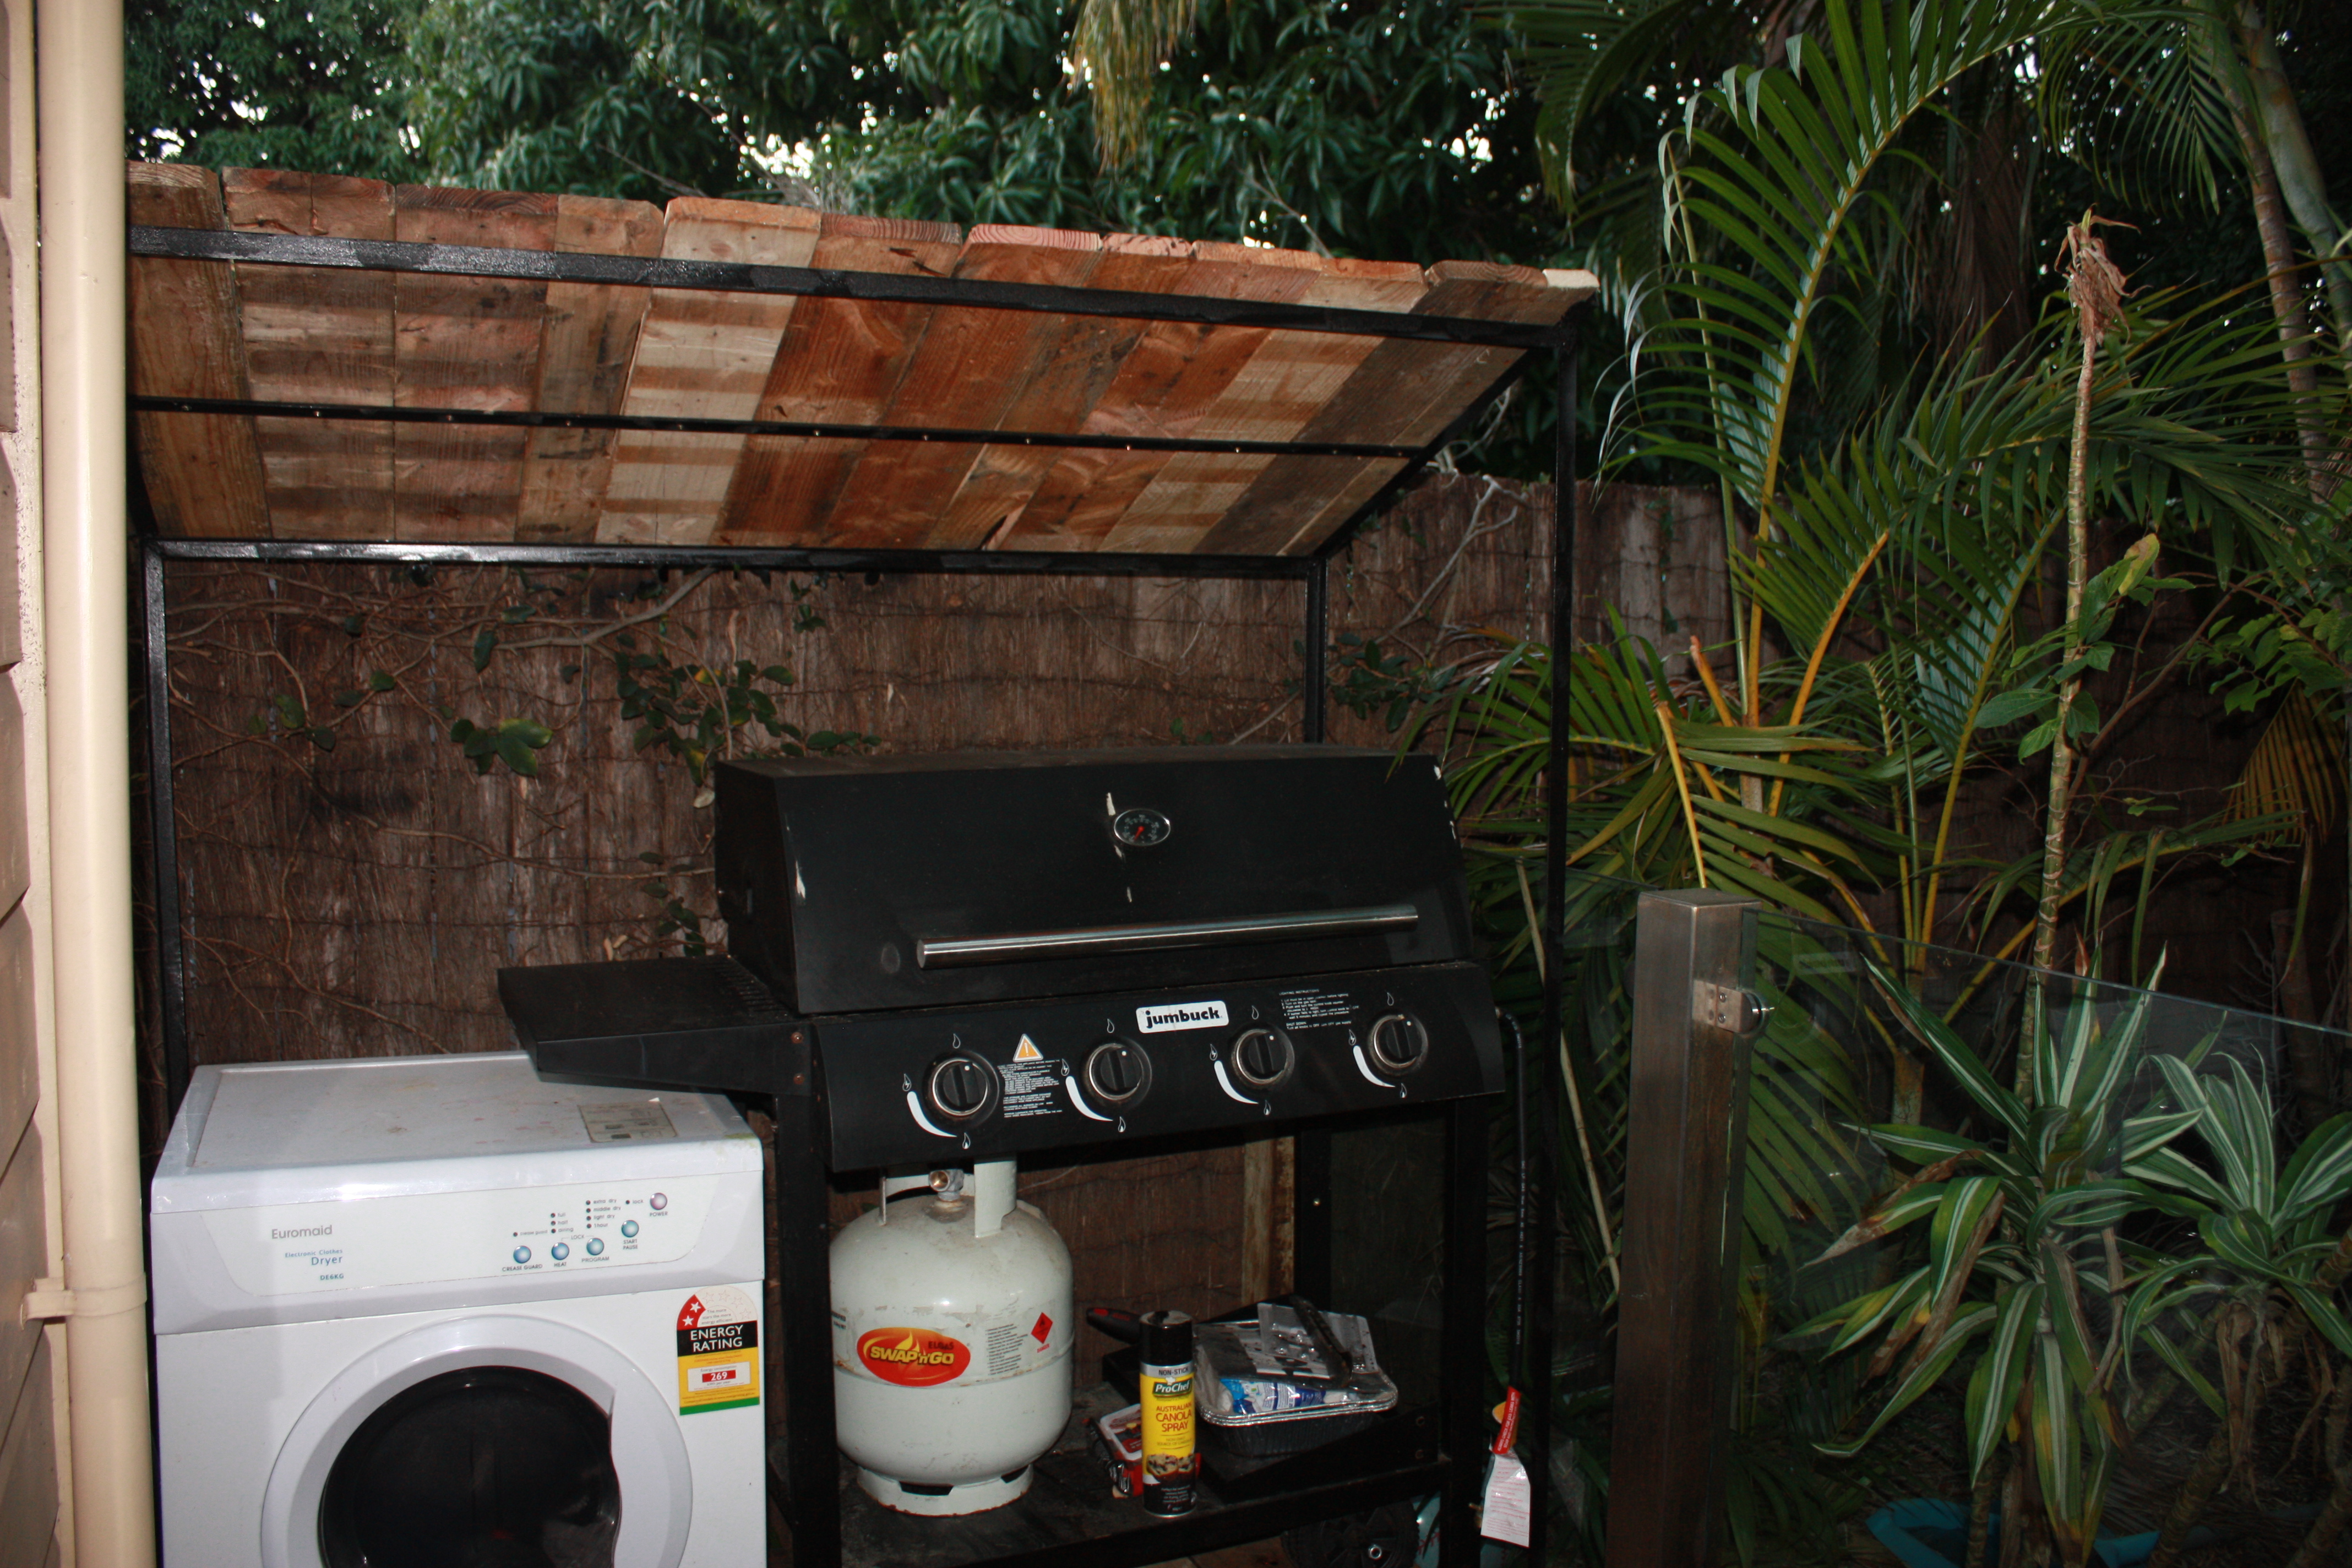
Pictured above is the final result. Our “covered platform”, providing a cosy little housing for our clothes dryer and our BBQ, utilising a piece of our yard that was previously wasted space, giving us so much more “room for activities” in the main section of our yard! Mission accomplished.
Thanks for stopping by again. Have a great day & see you next time! :-)