We’re back! Back into our routines after three inspiring weeks in New Zealand. We’re still blissfully full of ham, Christmas pudding & Terry’s Chocolate Oranges, and we even still have a bit of Christmas cheer.. but physically, we are pooped. Here we detail a few tips that we wish we knew at the start of our demolition and the tools we used.
 Alex’s “do we have to be taking a photo right now” face
 Getting into the Christmas spirit by making ourselves uncomfortably full
Here are some TLDR (too long didn’t read) links for those of you bus enthusiasts who are time poor and would rather skip the waffle and get straight to the helpful parts:
Tools
Rivets
Overhead Storge
Carpet
Wooden Floors
Anyway, back to our Christmas “break”. It was three weeks of physical labour. Exciting, but gruelling. Half our holiday was spent inside the bus in the sweltering heat; the other half was spent crouched down underneath the bus with all our new spider friends. It was a labour of love, one we would gladly do over again. (Not anytime soon, just so we’re clear.)
We had our ups and downs; physically, mentally and emotionally. Alex whacked both of us (on separate occasions) in the face with a crowbar. Accidentally, I should add. That was definitely a lowlight. We had our usual trivial disagreements. I tend to under-communicate while Alex tends to over-communicate; an endless source of contention between us. There were days when we put everything we had into the job at hand and had nothing to show for it at the end of the day. That was demoralising, to say the least.
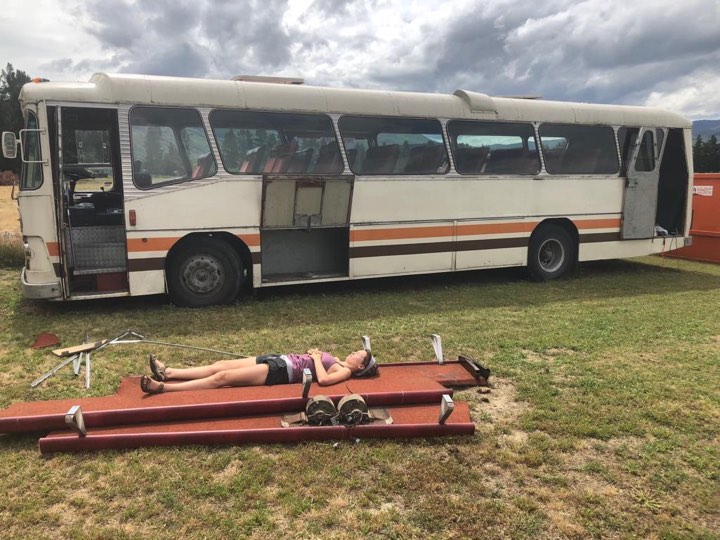 Siestas are absolutely vital for a successful demolition
But we accomplished everything we set out to and got through it in one piece. What really amazed me is how it took so long to tackle the first 10% of some tasks, but as soon as we’d figured out the most effective methods, the other 90% took relatively no time at all. And so this will be the focus of this blog post; how we overcame some of the more laborious tasks, what we found out along the way, and how we would do it more efficiently next time. And maybe you can cut through your 100% like we did our 90%.
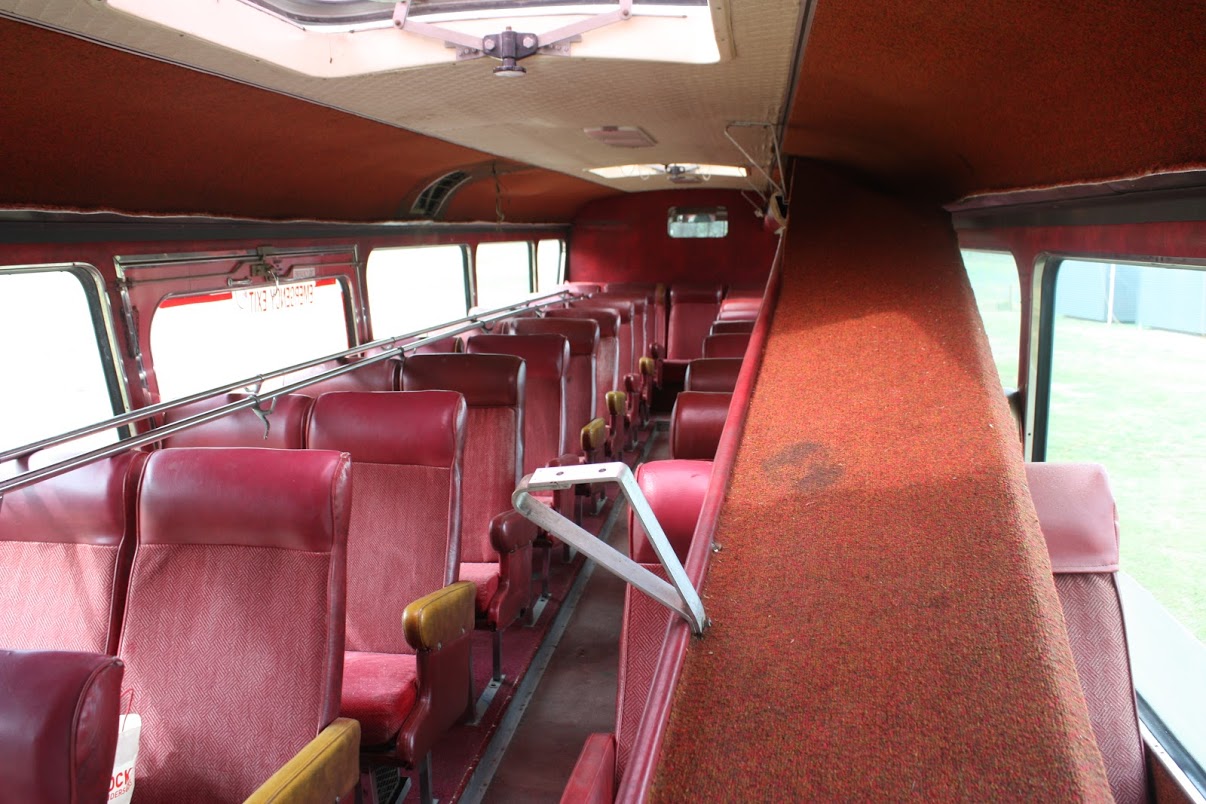
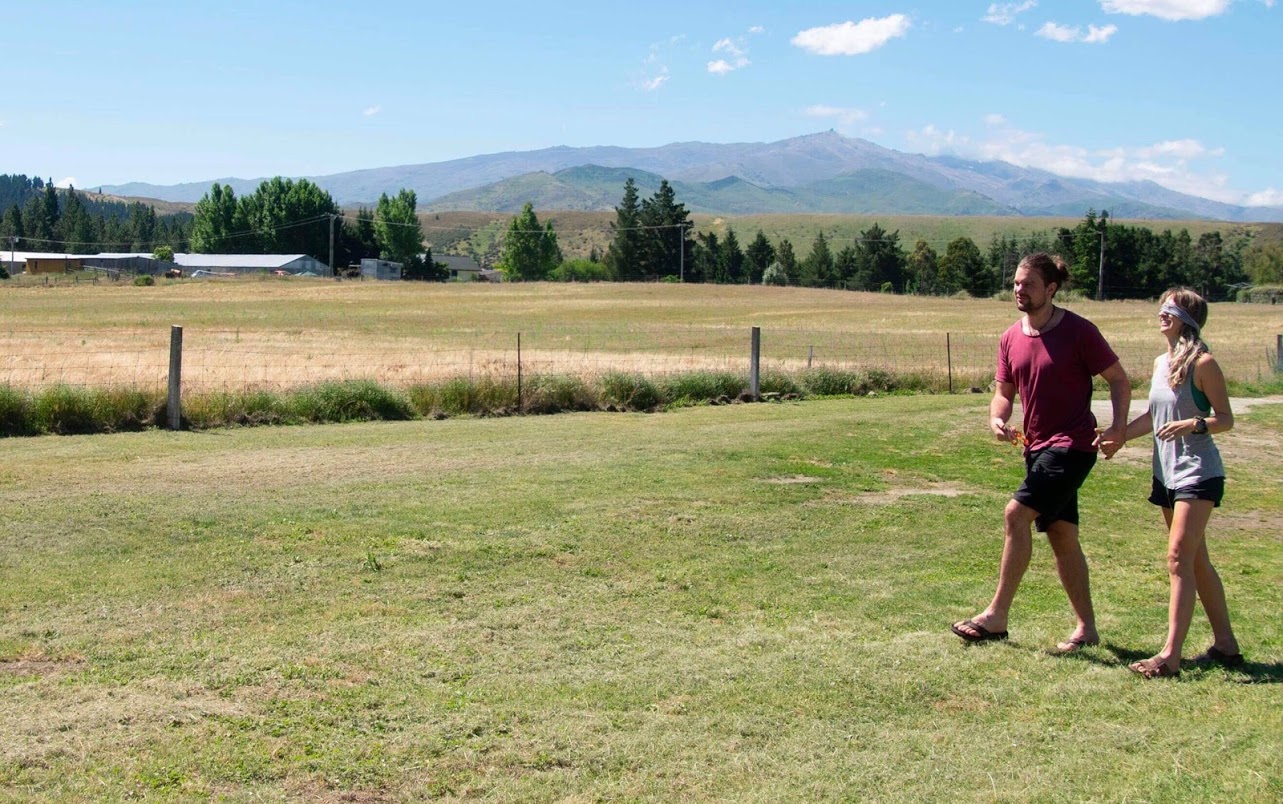 Being led to our bus, about to see her in the flesh for the first time! So nervous.
Tools
So, to get you started, here is a list of tools that will make the demolition stages a whole lot easier:
- Angle grinder. (get a chord powered one, our battery version was underwhelming)
- Reciprocating saw (and LOTS of blades if you chew through them as quickly as we do, and get a chord version, see above)
- Rivet remover (we couldn’t find one, but we sure wish we did)
- Drill (great for removing rivets without a rivet remover)
- Impact driver (great for lifting carpet)
- Chisel bit for impact driver
- Crowbars (at least one, great for everything demolition)
- Socket set (a good one, should be mandatory for car/bus work)
- Radio/music speaker (to maintain everyone’s sanity)
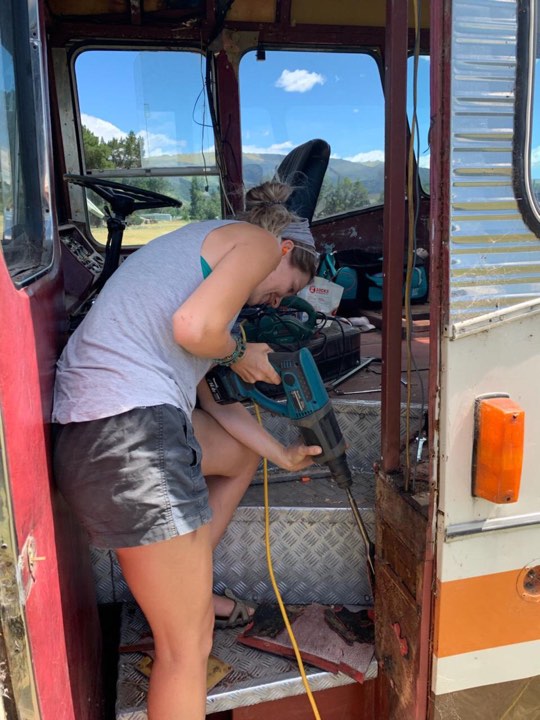
Rivets
Ah, the rivets. I’d never used, or even seen a rivet before this project. So removing the first rivet was almost fun. Now I never want to look at another rivet again.
We removed the rivets with a drill. The trick is to start with a drill bit slightly smaller than the rivet to make a pilot hole, and then change to a bit the same size as the rivet. My brother (who’s nearly more into this project than we are!) advised we should look for a “rivet remover”, but when we went to the local Mitre 10 (for the 6th time that morning >_<) they claimed it didn’t exist. As we were in a small town we didn’t really have any other options, so we went back to our drill. However we consulted senior Google later on and learnt that it definitely is a thing, you can get one on Amazon for $50. Damn you, small-town Mitre 10.
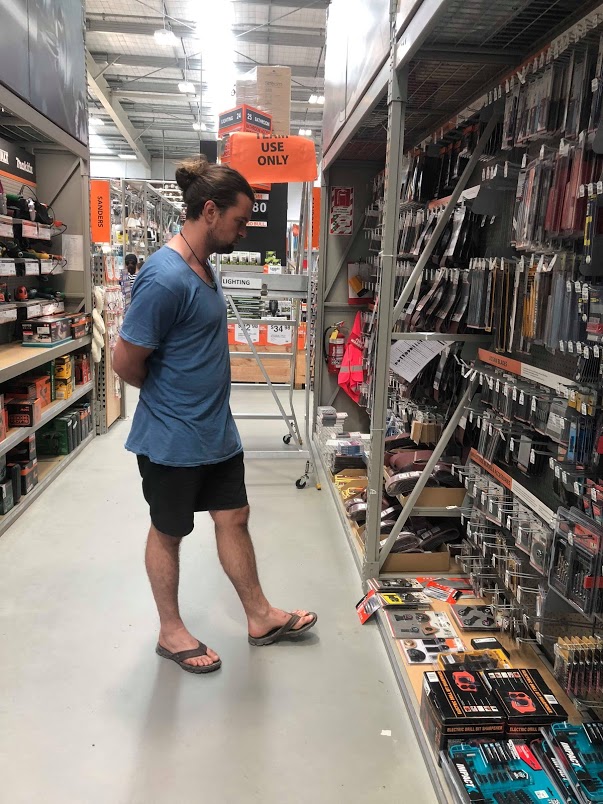
Mitre 10 quickly became our second home
TLDR
If I could give you just one piece of advice for your own demolition: get yourself a rivet remover! Drilling out a rivet is no fun at all. Drilling out thousands of rivets is even less fun. Thousands of rivets later, the inside skin from the bus was stripped. Weary, sore and dangerously low on enthusiasm, we moved on to the carpet.
Overhead storage
 It’s amazing how much space removing these opened up!
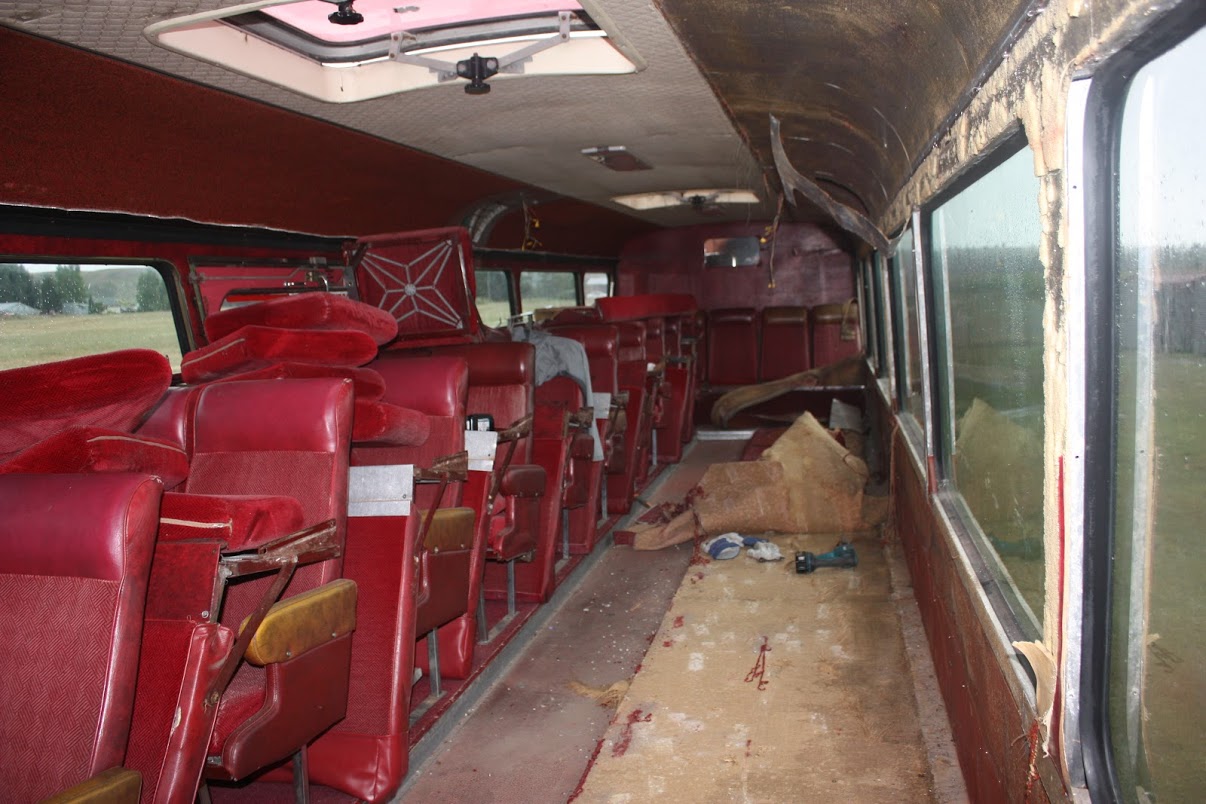
One of the tasks we had to tackle was the removal of the luggage compartments on the roof. We had already arranged to donate the seats to Otago Bus Heritage Society; they have a 1960s Bedford bus with no seats that they’re restoring, and we had a bus full of seats that would fit perfectly into it. We thought about trying to remove the overhead luggage compartments neatly, in case they had a use for them too. Unfortunately, these good intentions lasted about 10 minutes. After a closer examination of said luggage compartments, we realised that taking them out without destroying them wasn’t going to happen. The bus really wasn’t built with the intention of being pulled apart.
The compartments ran almost the whole length of the bus, and even if we could detach them without destroying them we wouldn’t have been able to get them out the door! So we turned to our favourite “shortcut tool”, the reciprocating saw. We decided to cut the compartments into thirds and cut as close to the edge as we could, allowing us to pull out the bulk of them so we could get to the rivets that were holding them in place.
TLDR
At the start of the demolition, decide what you are trying to keep and what you aren’t, don’t spend any time trying to preserve items you do not intend to keep. Cut those items in half and get rid of them as quickly as possible, you will spend enough time on the project struggling with unexpected setbacks, you don’t need to spend more time wondering if you should preserve “junk”.
Carpet
 That really shouldn’t have taken that much time or energy!
Then came the seemingly impossible job of removing the carpet from the wooden floors. It was seriously stuck to the floor. We tried and failed for hours. Remember the 10% I talked about earlier? Well, we spent hours on this 10%. We tried pulling it up without gloved hands, both individually and together. All we gained from this were two very sore backs and two very grumpy moods. In the end, we bought a chisel end for our impact driver, and one person drove the chisel in between the carpet and the floor while the other person yanked at the carpet. We did half of the carpet in one go. Needless to say, it was extremely hard, inefficient and demoralising.
TLDR
One trick we found made it all a lot easier was to cut the carpet into long strips with a sharp blade, and just try to remove one strip at a time, rather than trying to pull it all up at once. We managed to do the right-hand side of the bus in much less (about 1/4) time than the left, and with much less back-ache too.
Wooden Floors
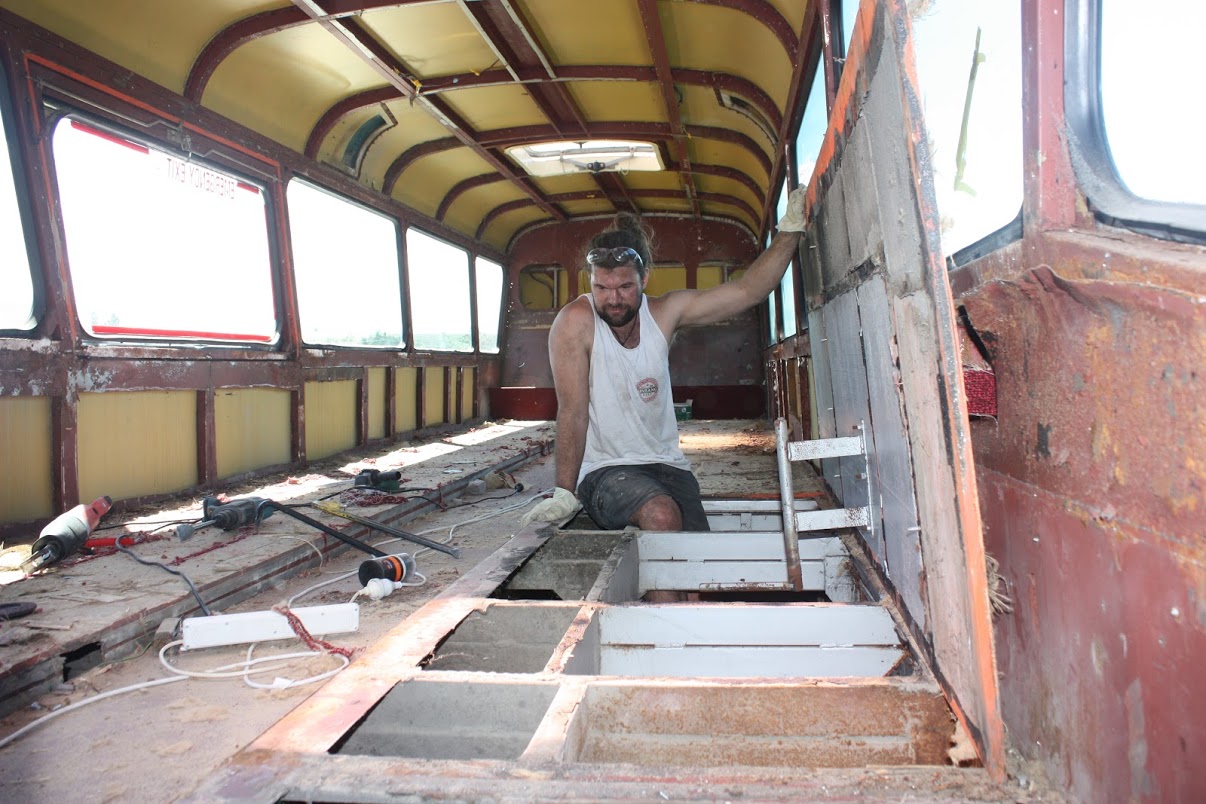
Once the carpet had been removed and discarded (good riddance!), we attempted to pull up the wooden boards underneath. We thought it would just be a case of wedging the crowbar underneath and forcing it up… Wishful thinking. I tried this. It didn’t budge. Alex tried this. It didn’t yield. After a lengthy fight between the crowbar and the wooden board (a battle with no winner and four losers) we noticed a big flathead screw holding it down. That explained that and it seemed like an easy fix; we just needed to follow the screw in a straight line to find the rest, and once we find one, and work out the exact distance between them, it will be easy…. right? Surely there will be a pattern to where the screws are? As we say here in Australia; yeah Nah. No pattern. Every time we thought we were onto something, we’d measure the distance where the next screw should be and we would find nothing. I should also point out that we couldn’t see the wooden board, as half the carpet was still stuck to it, so locating these mystery screws was not as straight forward as it should have been.
TLDR
If you’re ever faced with mystery screws hiding under a stubborn layer of 40-year-old carpet, we found the most effective way to tackle it was with a “flappy disk” sandpaper attachment on an angle grinder. This way, even if the screw isn’t where it should be, you’ve only wasted a second or two grinding through the layer of carpet to find this out. Secondly and more importantly, if you looking for fastening bolts, have a look around the back, and if you can see what they are bolted into, we found this out way too late.
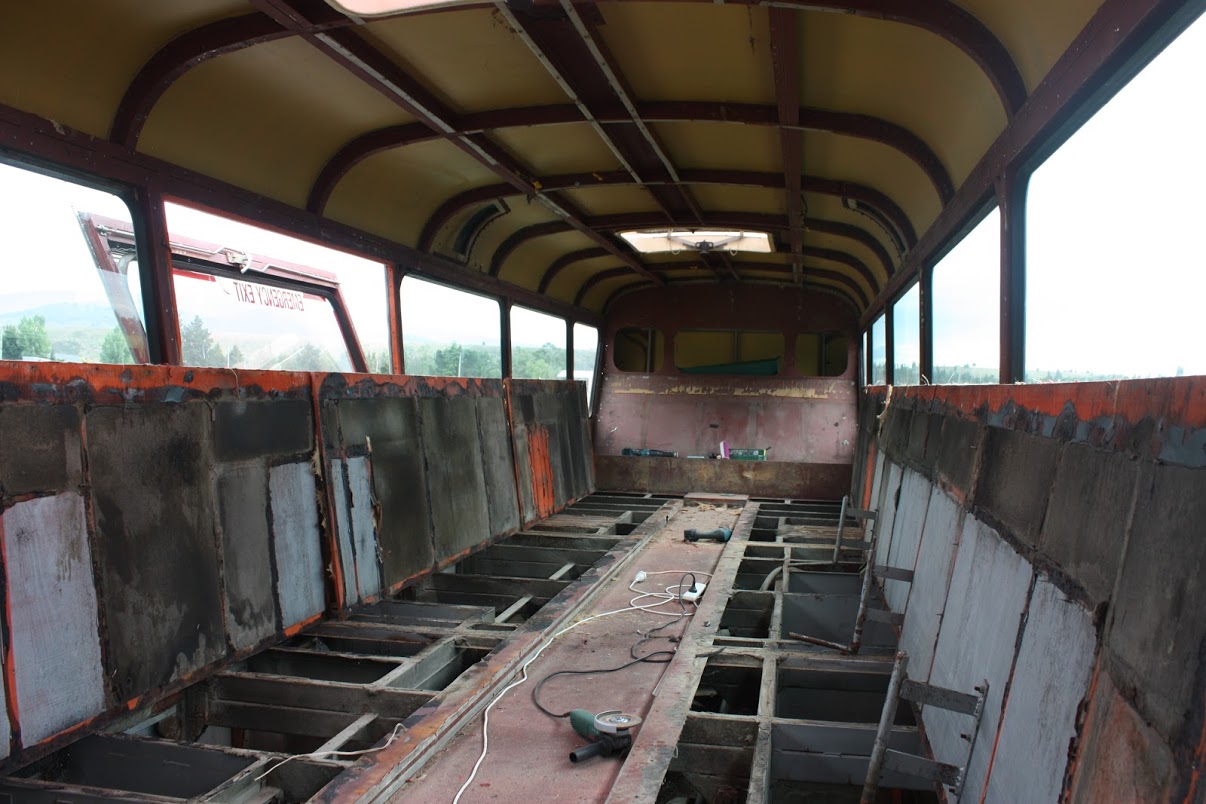
Once we were finished, we could see that even though it seemed that there was no pattern to the screws location, they followed the structural beams underneath the floor. It seems obvious now, but if you’re having trouble locating screws in your floorboards, have a quick look underneath the bus to see if you can make any sense of it. It took us days and days to figure this all out and find the best method. As you can imagine, pulling that last floorboard up felt great!
Hopefully, you gained something out of our post today, and if not, thanks for reading :-)
Until next time.