Hello again, and welcome to another of our projects - our pallet grandstand (the grandest of stands). We had a lot of fun building it and gained heaps of valuable skills and experience. Feedback so far is good, although some people ask why…
It’s a fair question. It is a rather random piece of furniture.
A random piece of furniture with two very important purposes.
As you may already know, Bridget and I have a small swimming pool at our house. Living in the middle of what can sometimes feel like such a grey, monotonous city, it really is a blessing to have our own little backyard oasis. It gives us a healthy dose of nature/greenery while providing us with the privacy we need with its lush leafy canopy. It’s also a game changer during the hot, sticky summer months here in Queensland. If we didn’t have the pool we’d probably end up swimming in a puddle of our own sweat.
 See how it complements the pool? ;-)
However, the pool comes with its drawbacks. Well, mainly one. Our property is very small and the pool takes up more than half the space in our tiny backyard, leaving very little room for seating, especially when we have guests. So that would be reason number one why we decided to build this - extra seating using minimal space.
Reason number two was that we really needed to do something about our wood storage situation; the situation being that the storage was non-existent. Our propensity for recycled wood means our wood pile grows by the day, as does our collection of woodworking tools, and the house was slowly but surely becoming littered with random lengths of wood, half broken down pallets, and the odd power tool. We just needed somewhere where we could dump all our scrap wood until we needed it, condensing it all into one neat(ish) pile.
This is what the space was used for before - definitely not the best use of space
As the saying goes, “necessity is the mother of all invention”, and necessity was definitely the mother of this invention. I get such a thrill out of creating something as a solution to a problem - the whackier the better!
One of the first things I noticed (and liked) that Bridget and I had in common when we first got to know each other was how creative we both got when we needed to. If we need to get something done, between us we find some creative solution to get it done. So if you ever find yourself struggling to find a project to start that you can love, and that can give you a great sense of satisfaction, start looking around for what you need, and ways in which you can improve your life. It’s immensely satisfying, and a pretty nifty life skill to have.
So after a few delicious sandwiches and a lot of brainstorming we came up with a plan for an embankment that would solve all our problems. Well, maybe not all, but definitely 3…
It would a) provide more seating around the pool, b) provide an easy-to-access-yet-unobtrusive place to store our wood, c) provide a storage space close to our workspace for our router table.
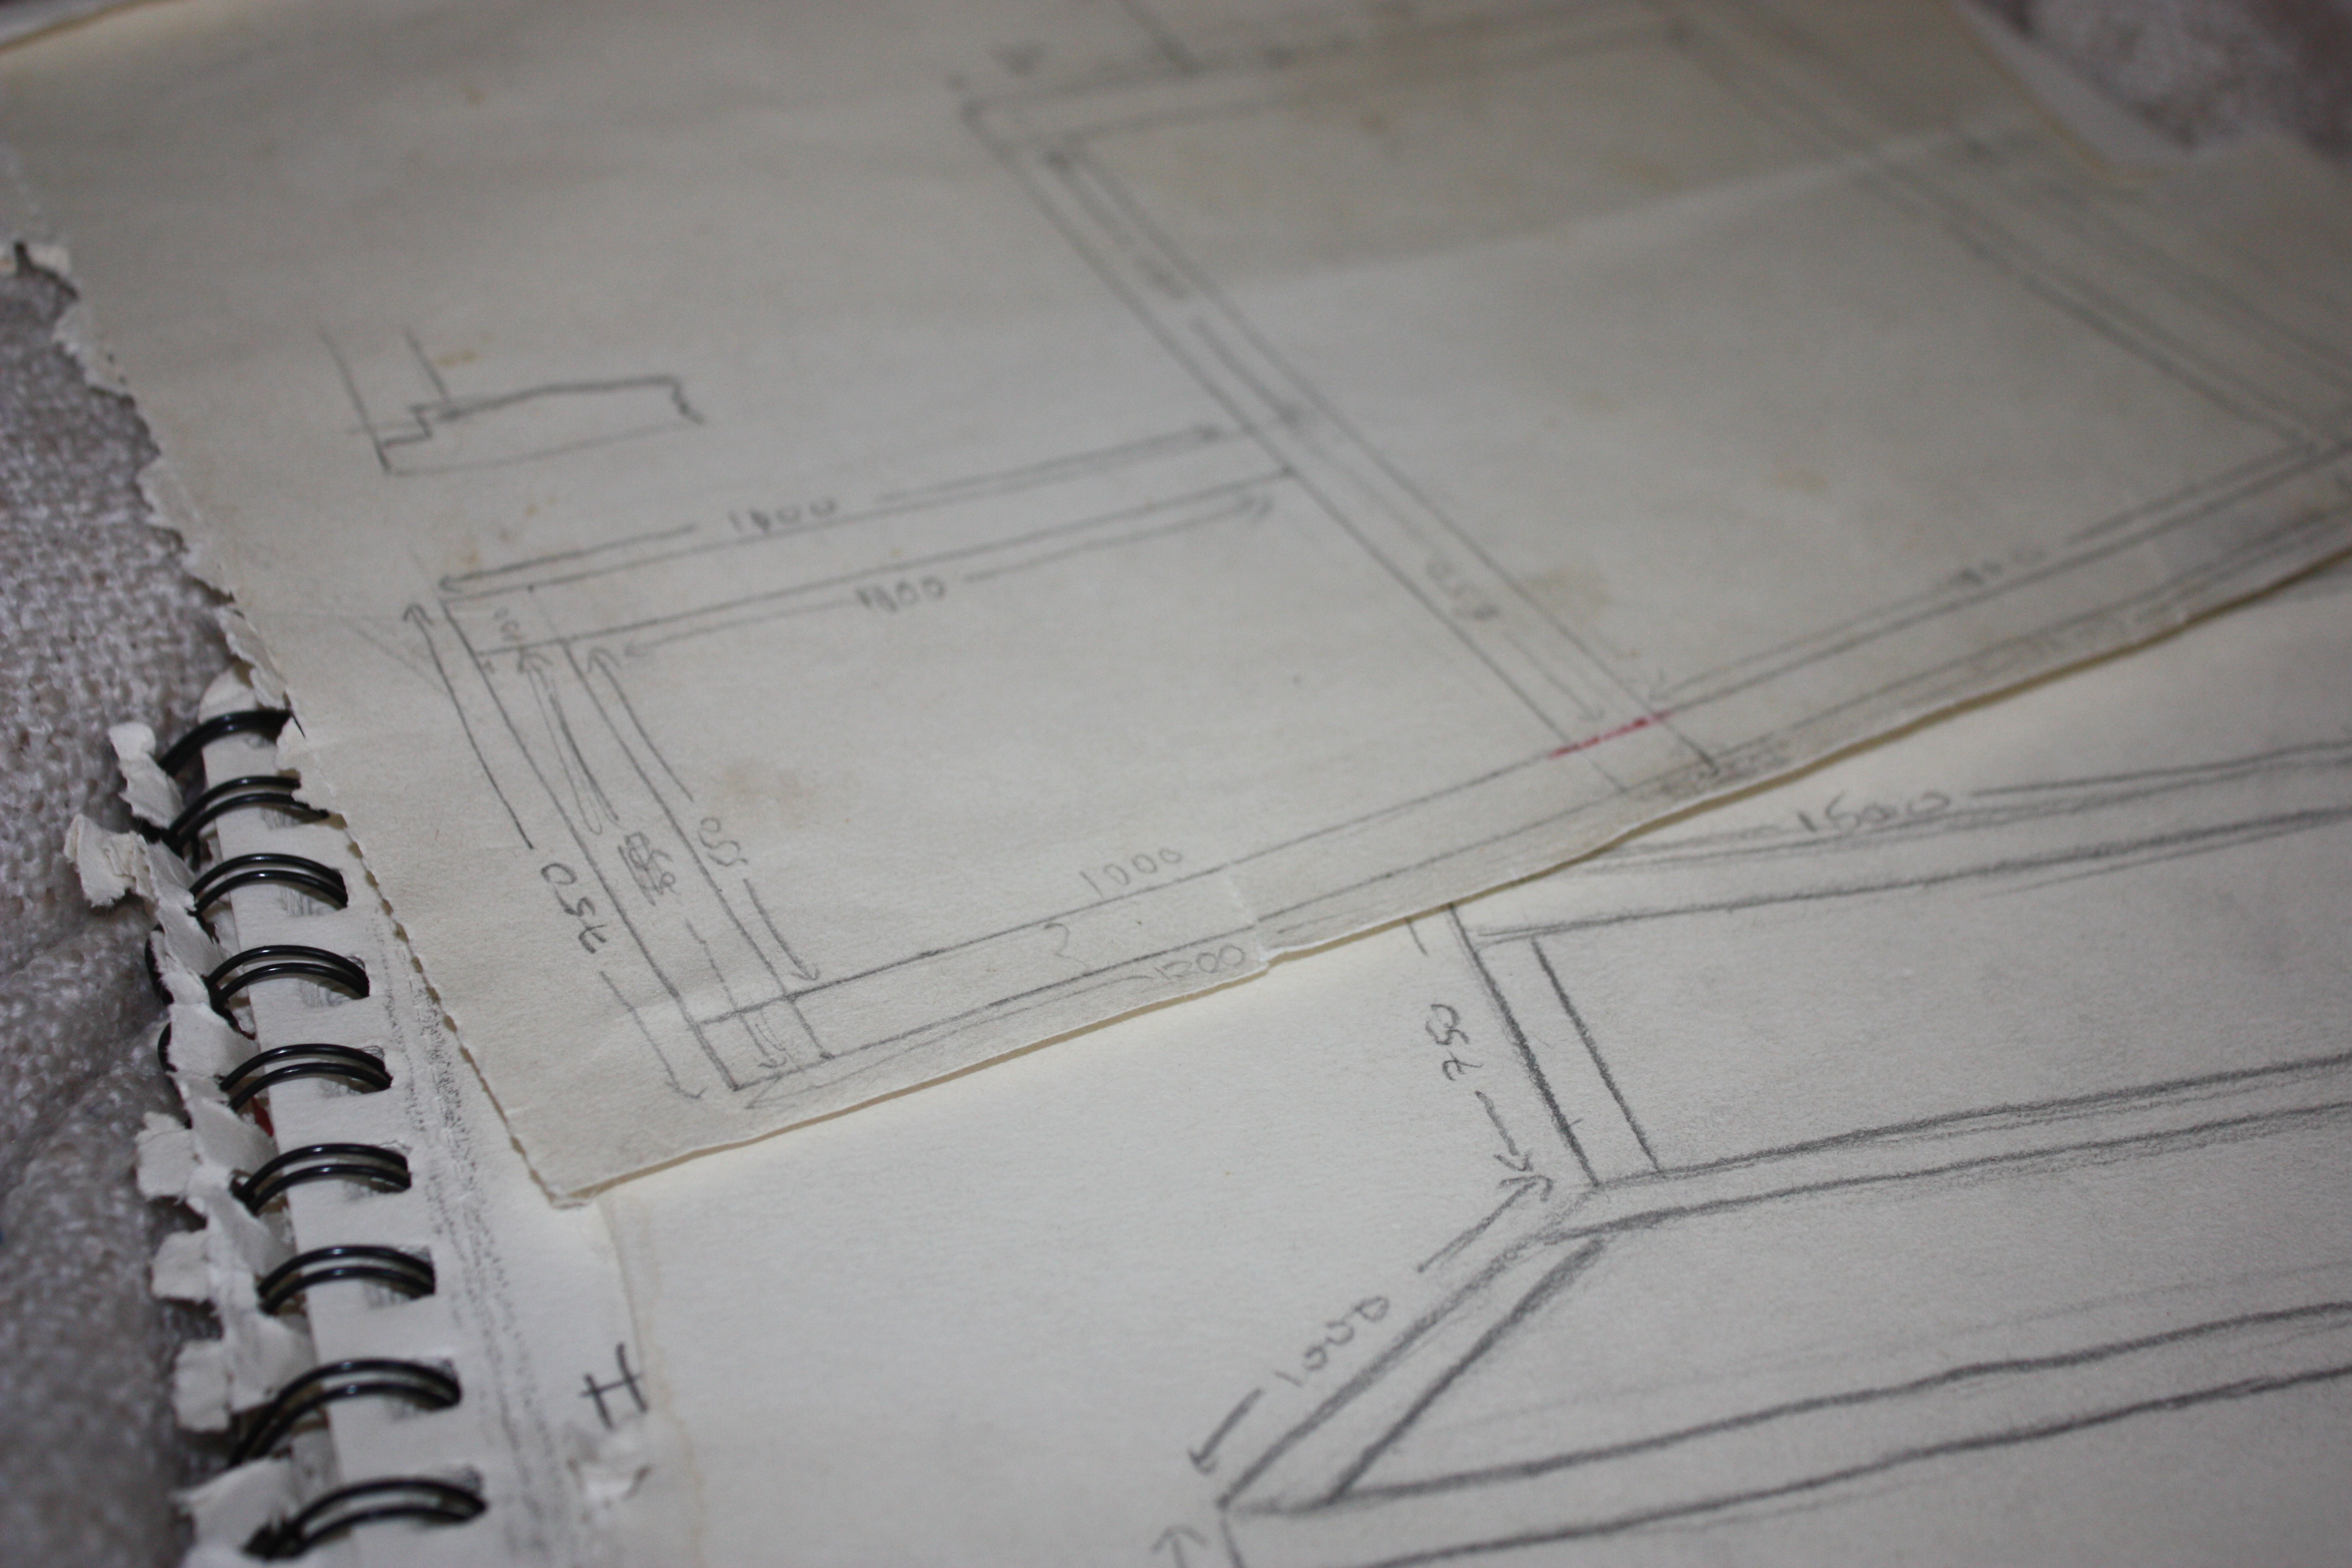
So, we measured the space we had available in the backyard, did a few quick pencil sketches, and started drawing up plans for what would be our biggest project so far.
recycling the recycled pallet table
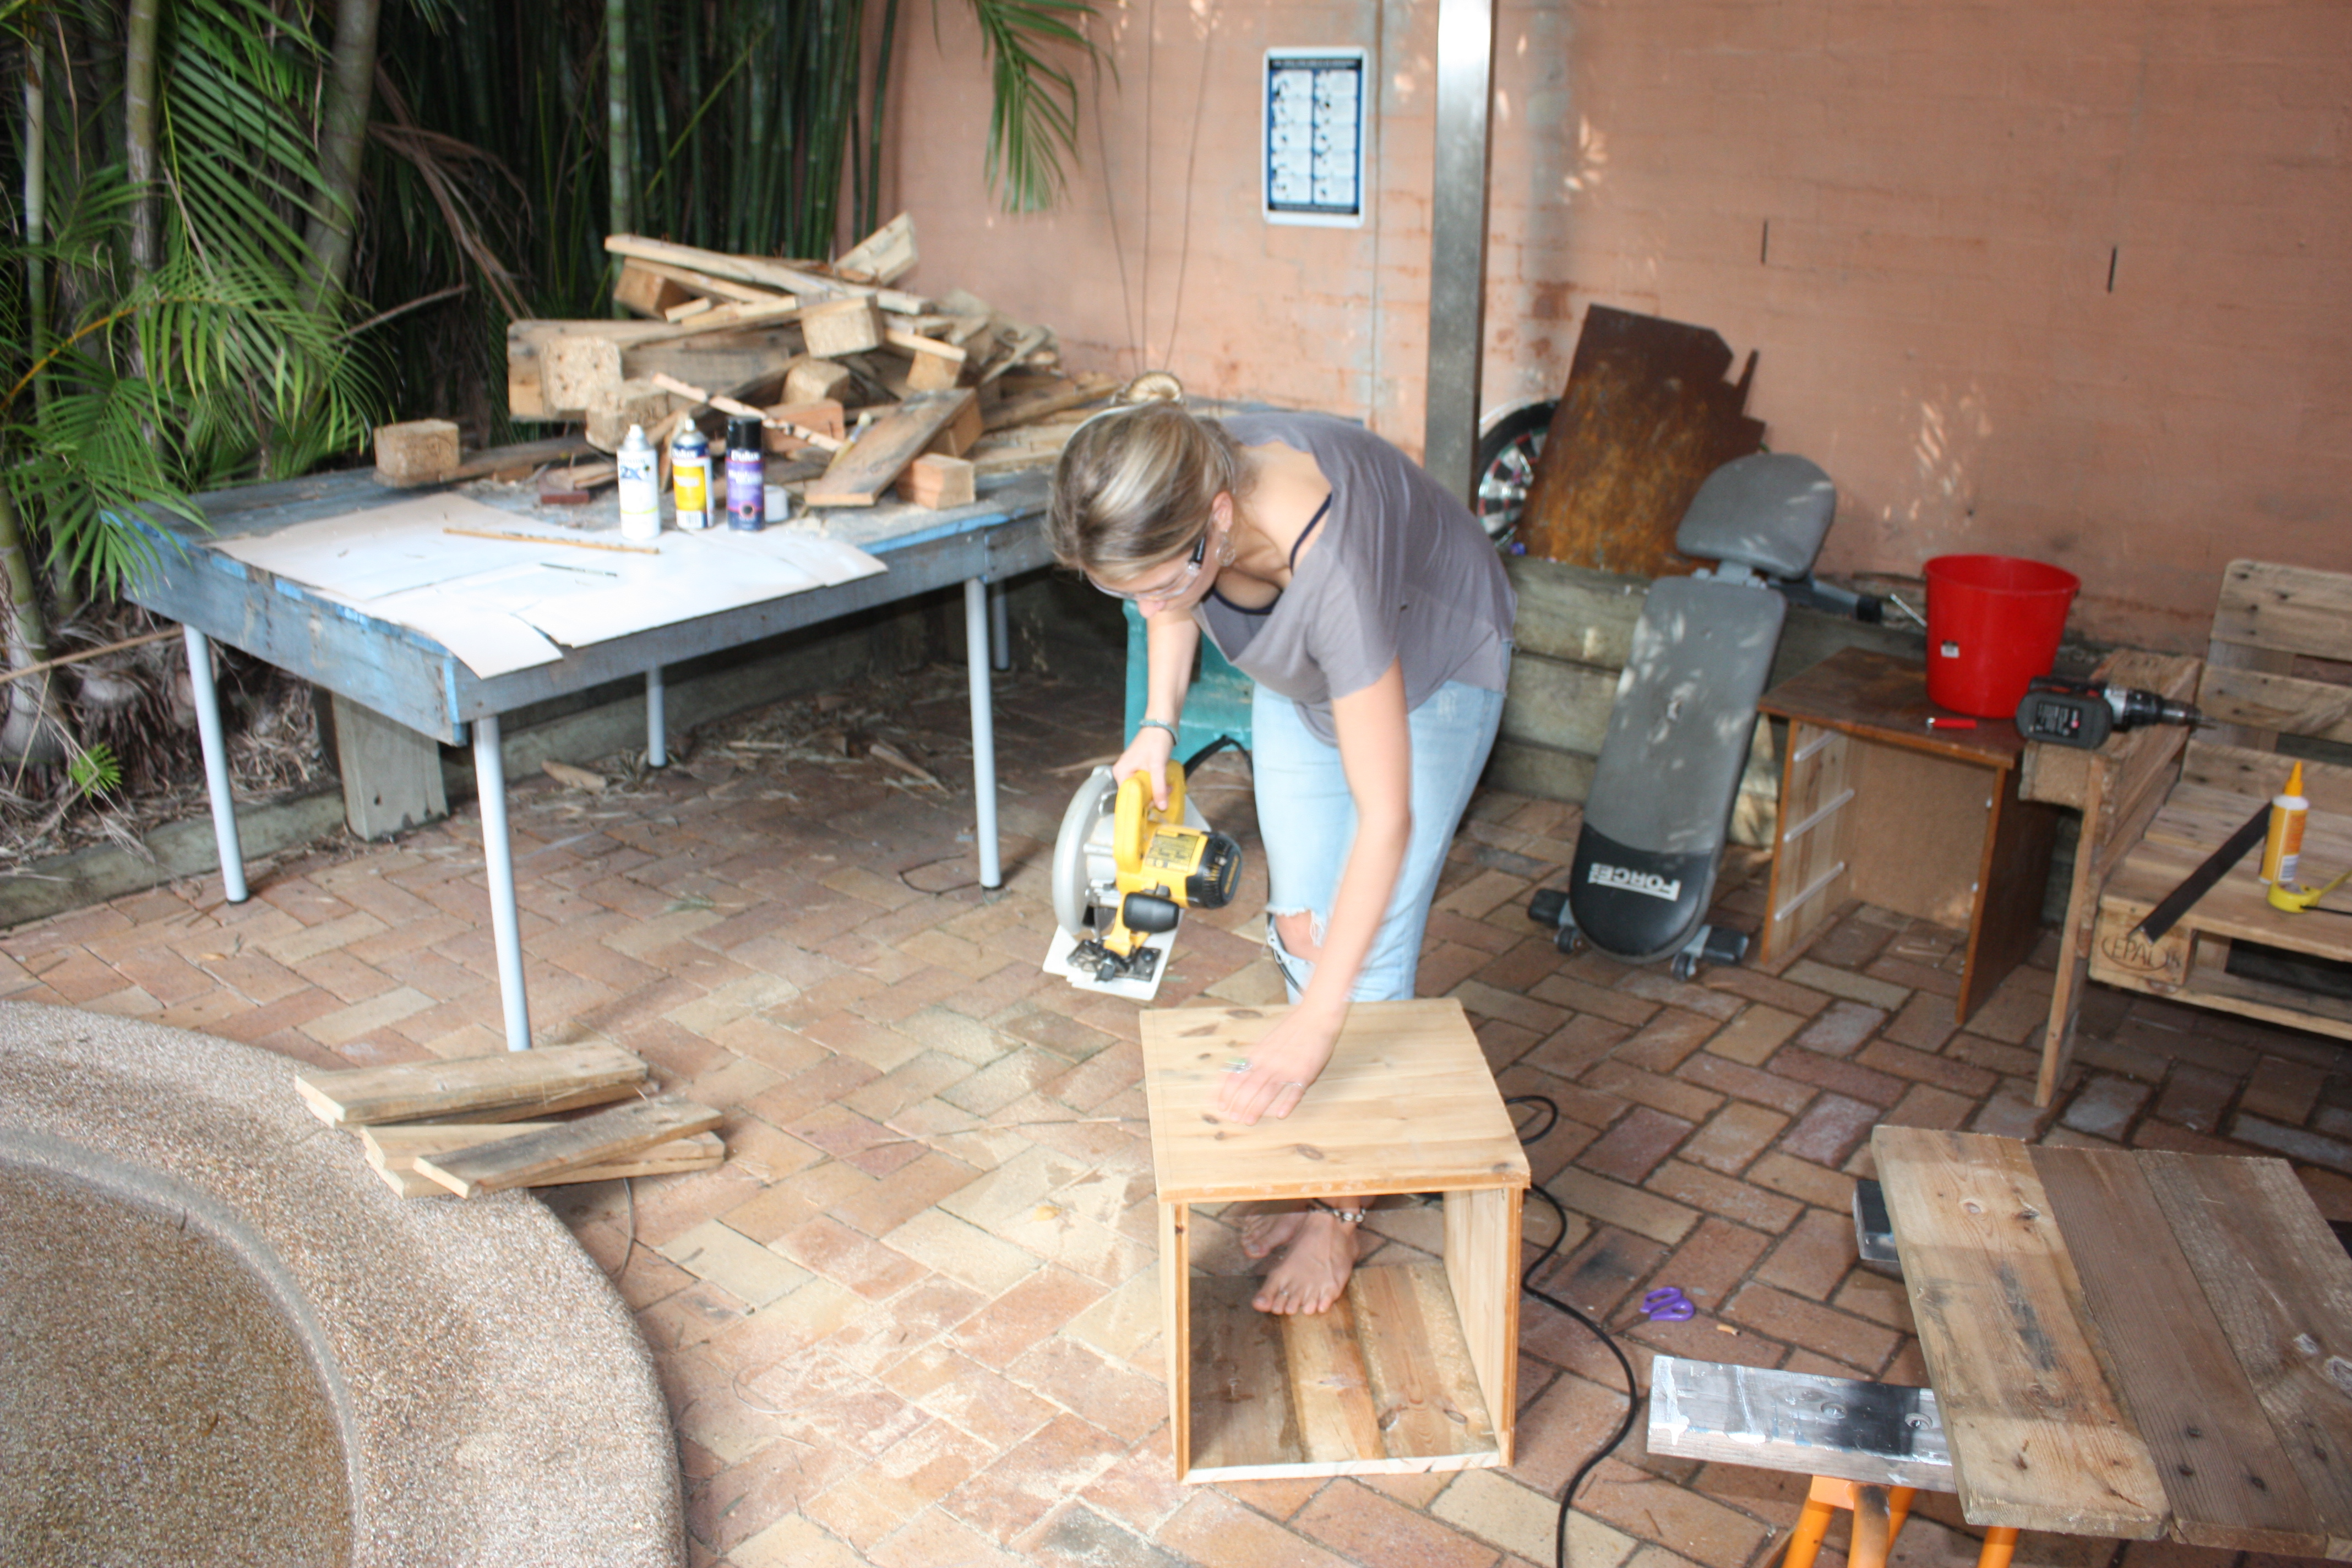
Naturally, as a result of us being tight asses and also being a pretty resourceful pair, we seem to have developed a theme over the last few projects - upcycling, recycling, and spending as little money as possible on new materials. So keeping with this theme, we decided to build the structure of this embankment with some very affordable 100mmx80mm pine posts.
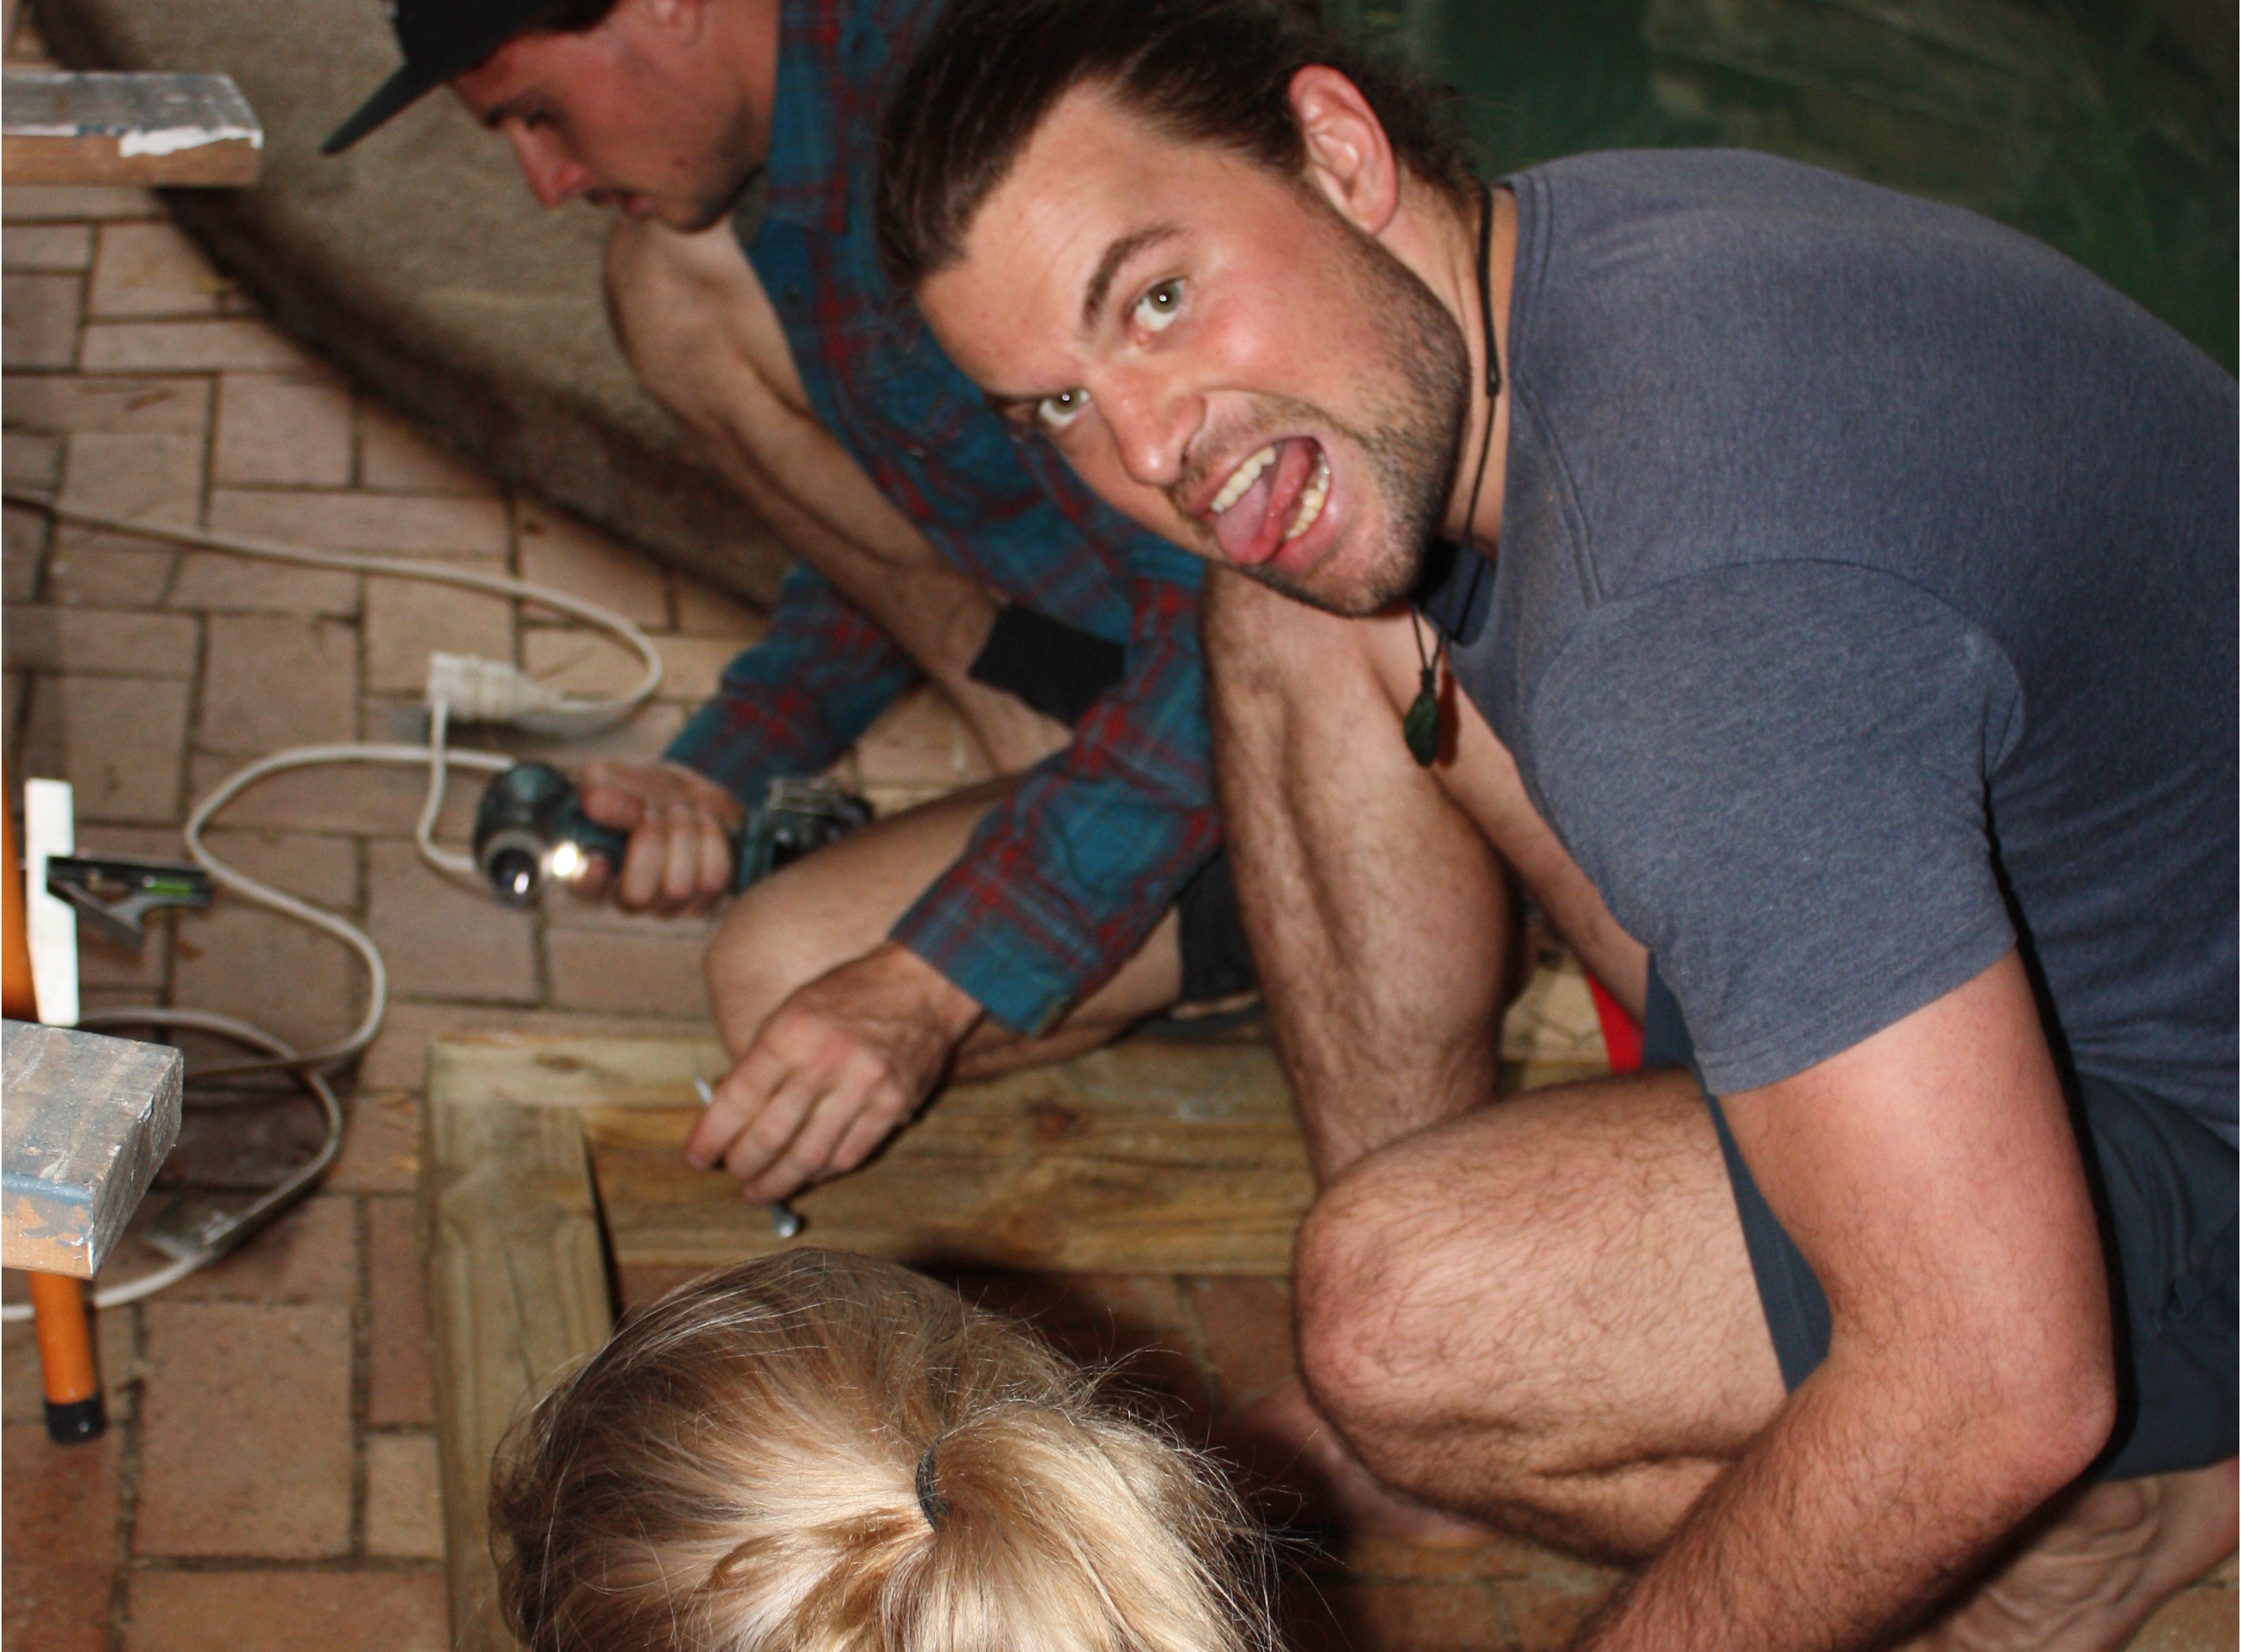
We encountered our first problem when we learned that our circular saw couldn’t cut 80mm, let alone 100mm. So we called in the big guns - our friend Joey, a qualified carpenter. He taught us countless tricks of the trade, including this precious little trick to cut wood that is deeper than your saw blade. You learn a great deal working alongside a professional - who’d have thought it?
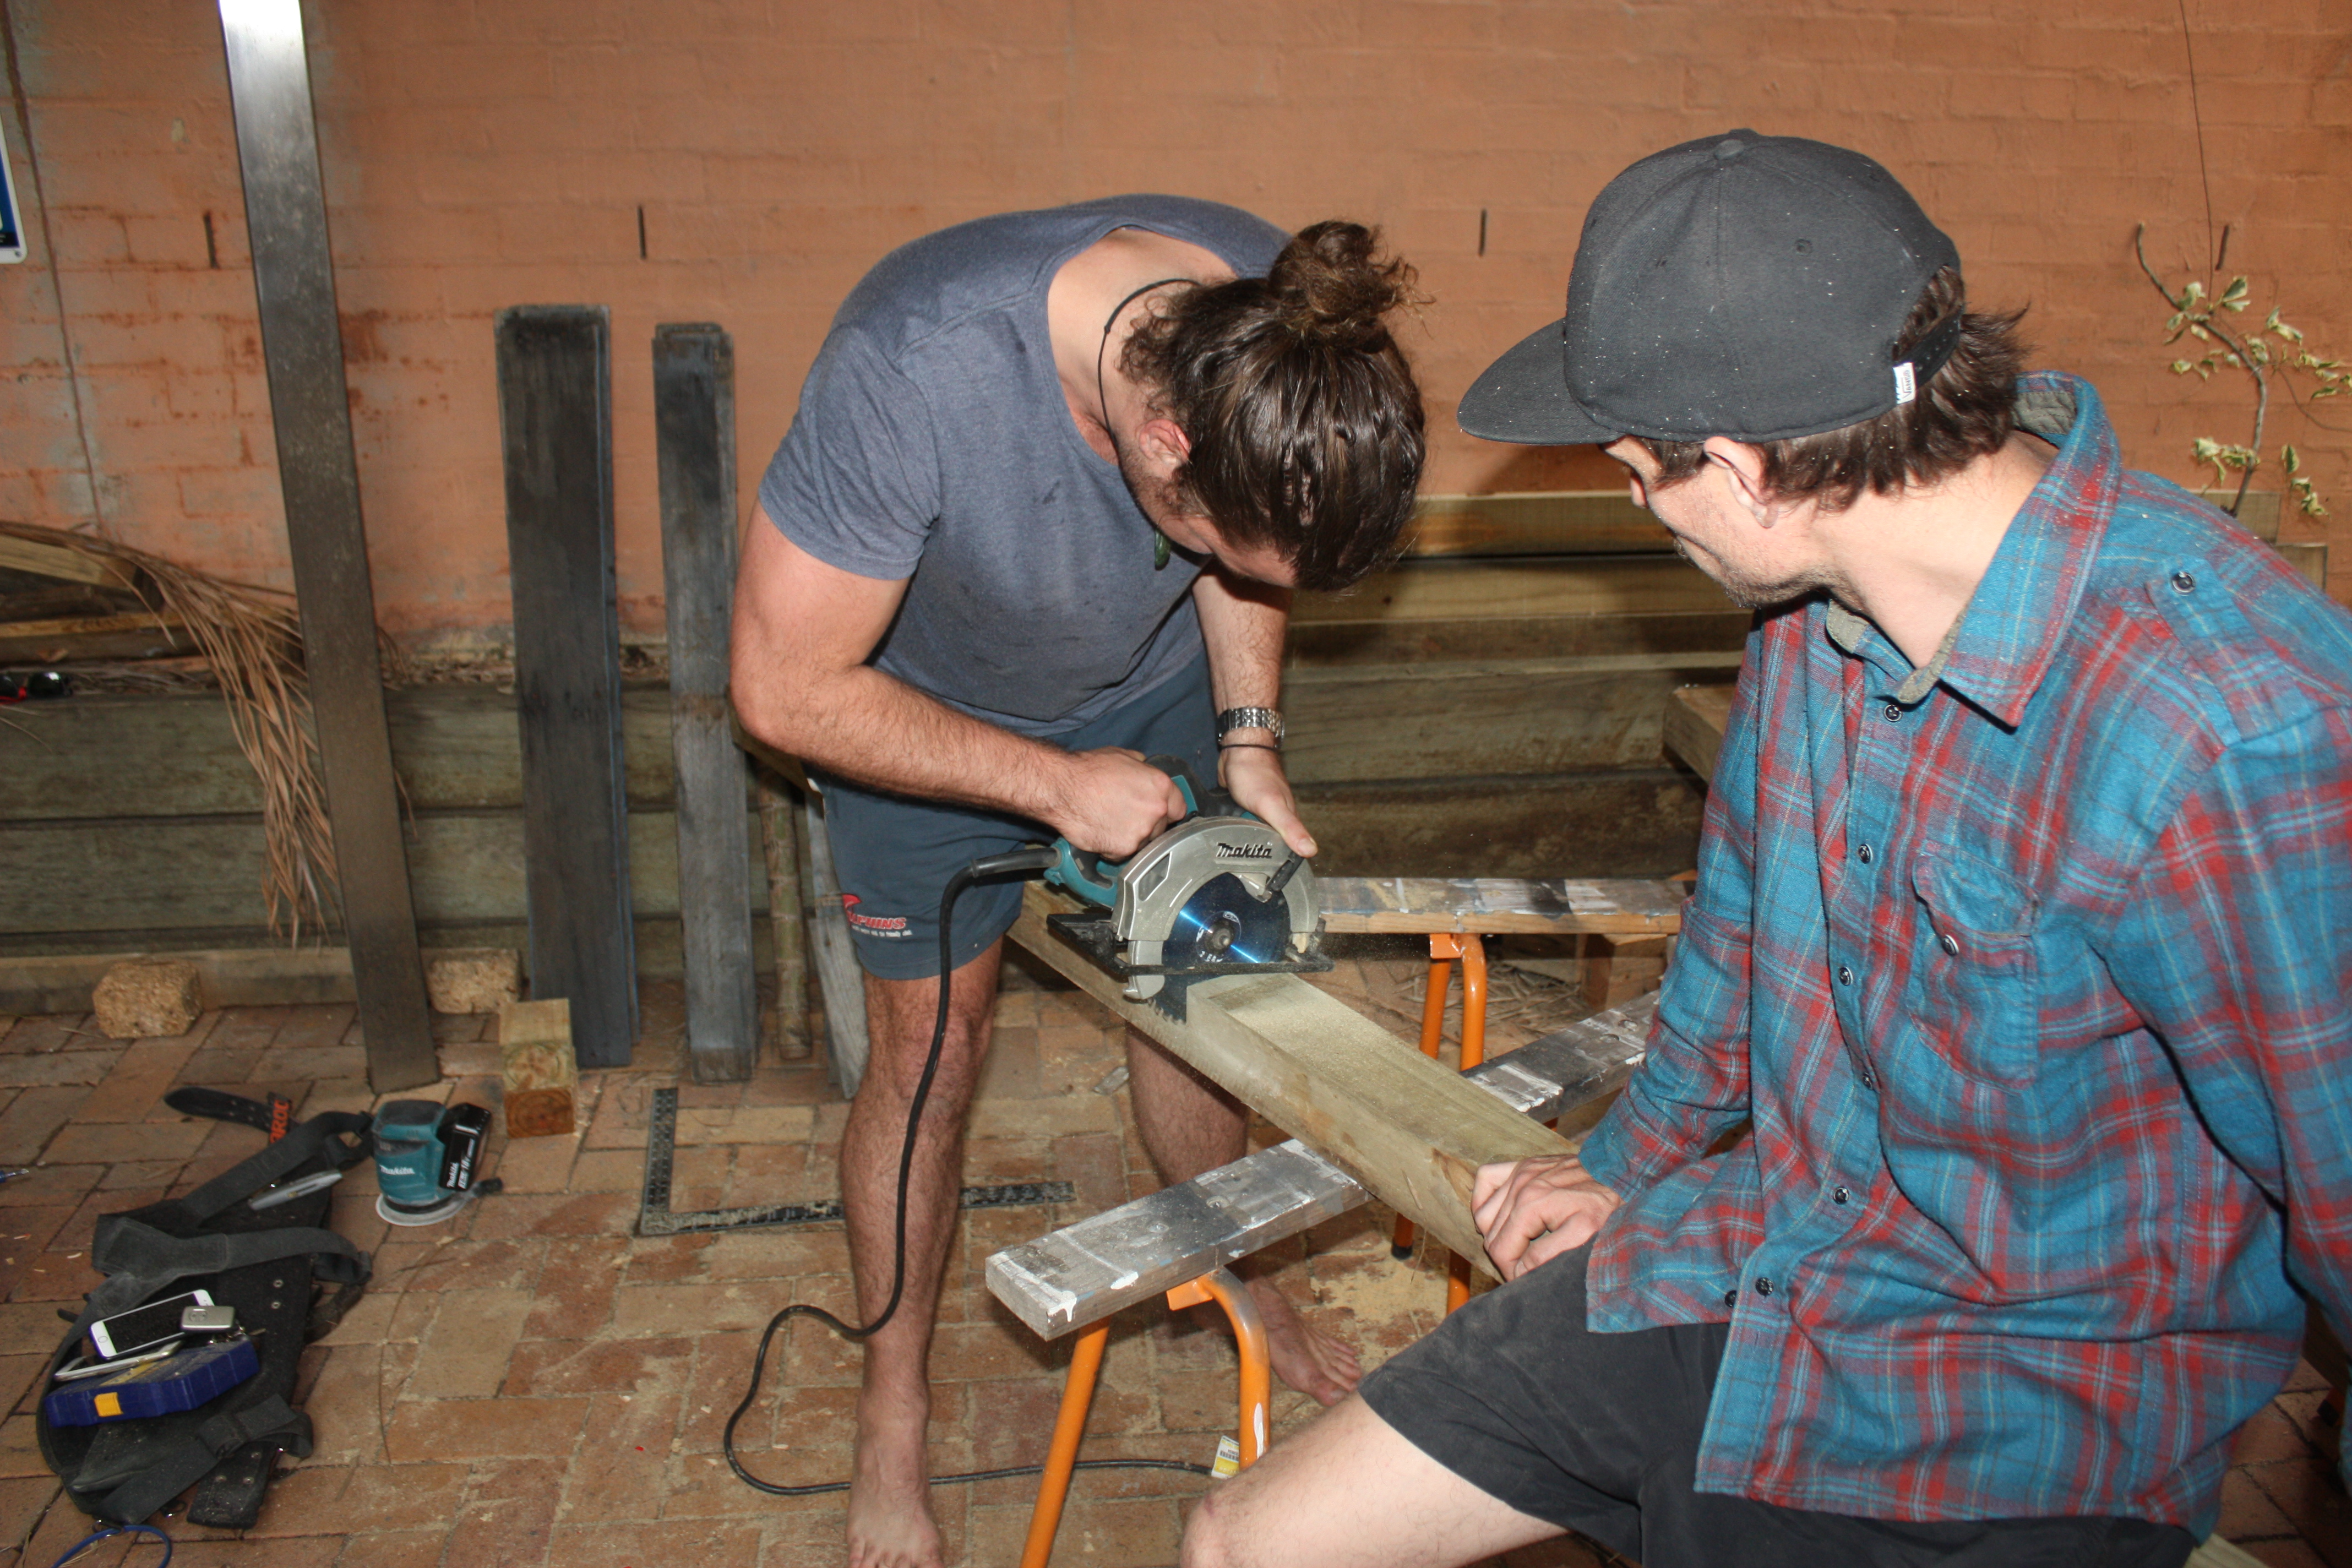 Joey teaching us how to cut thick posts with a small saw
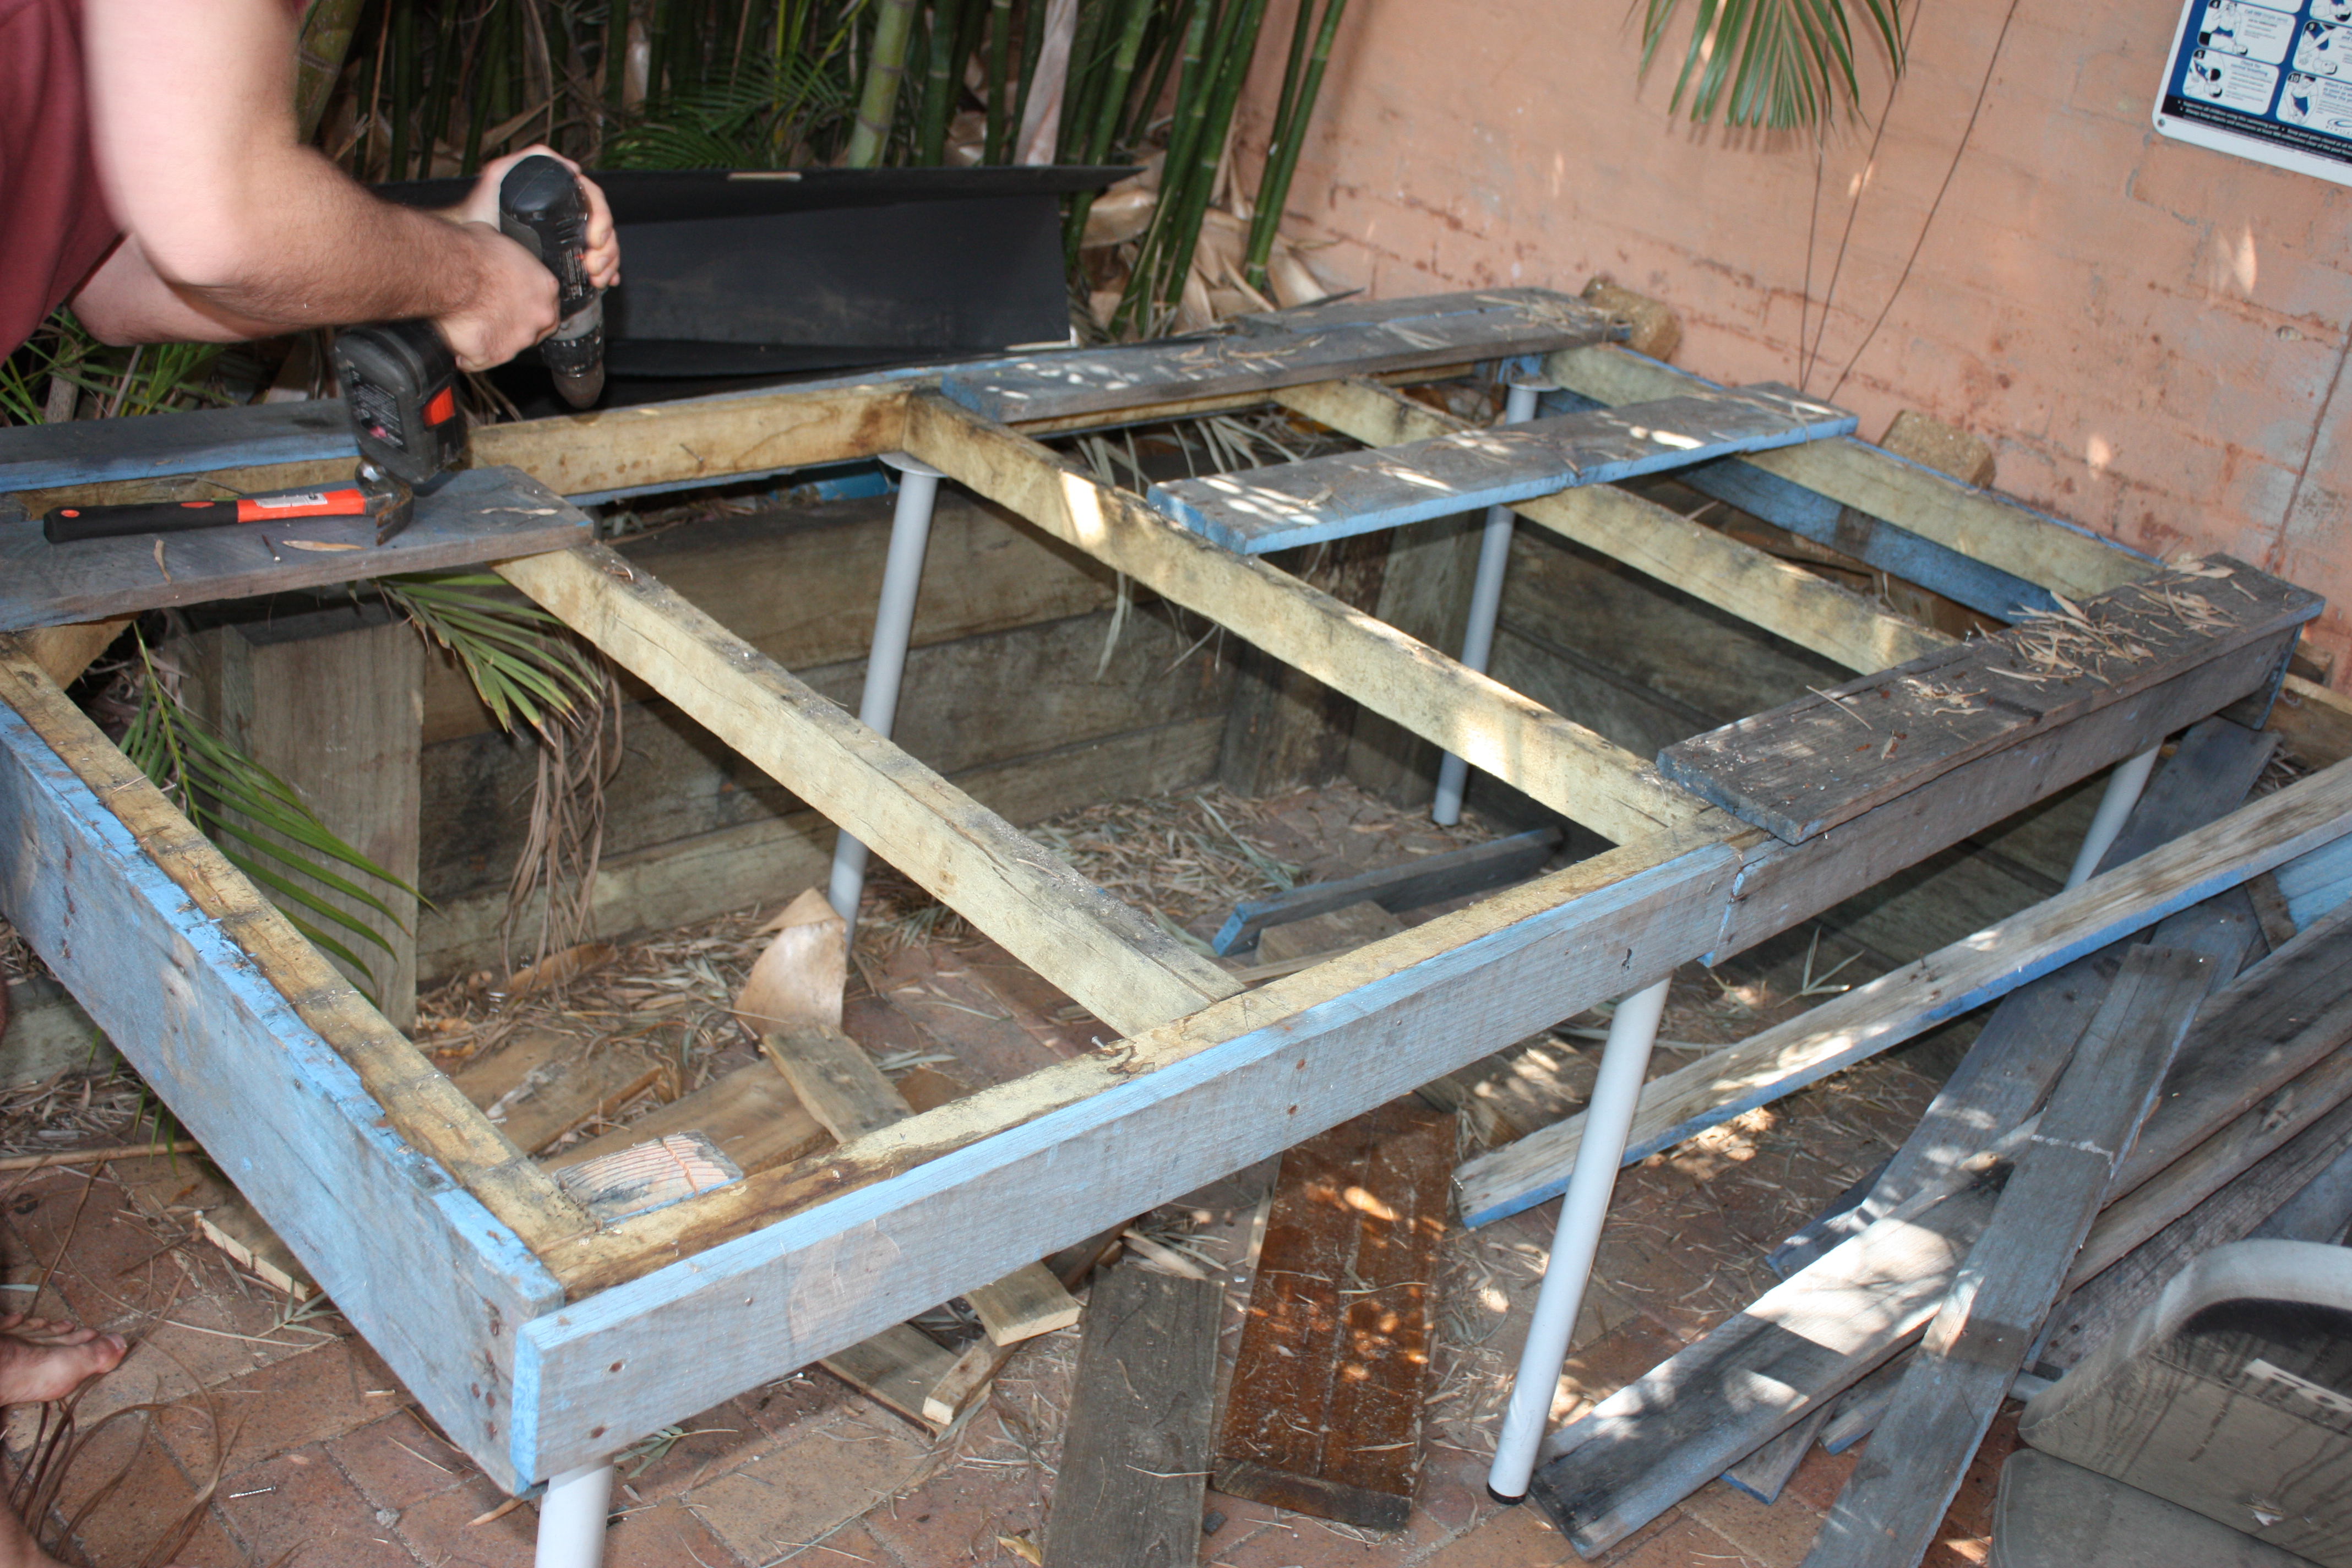
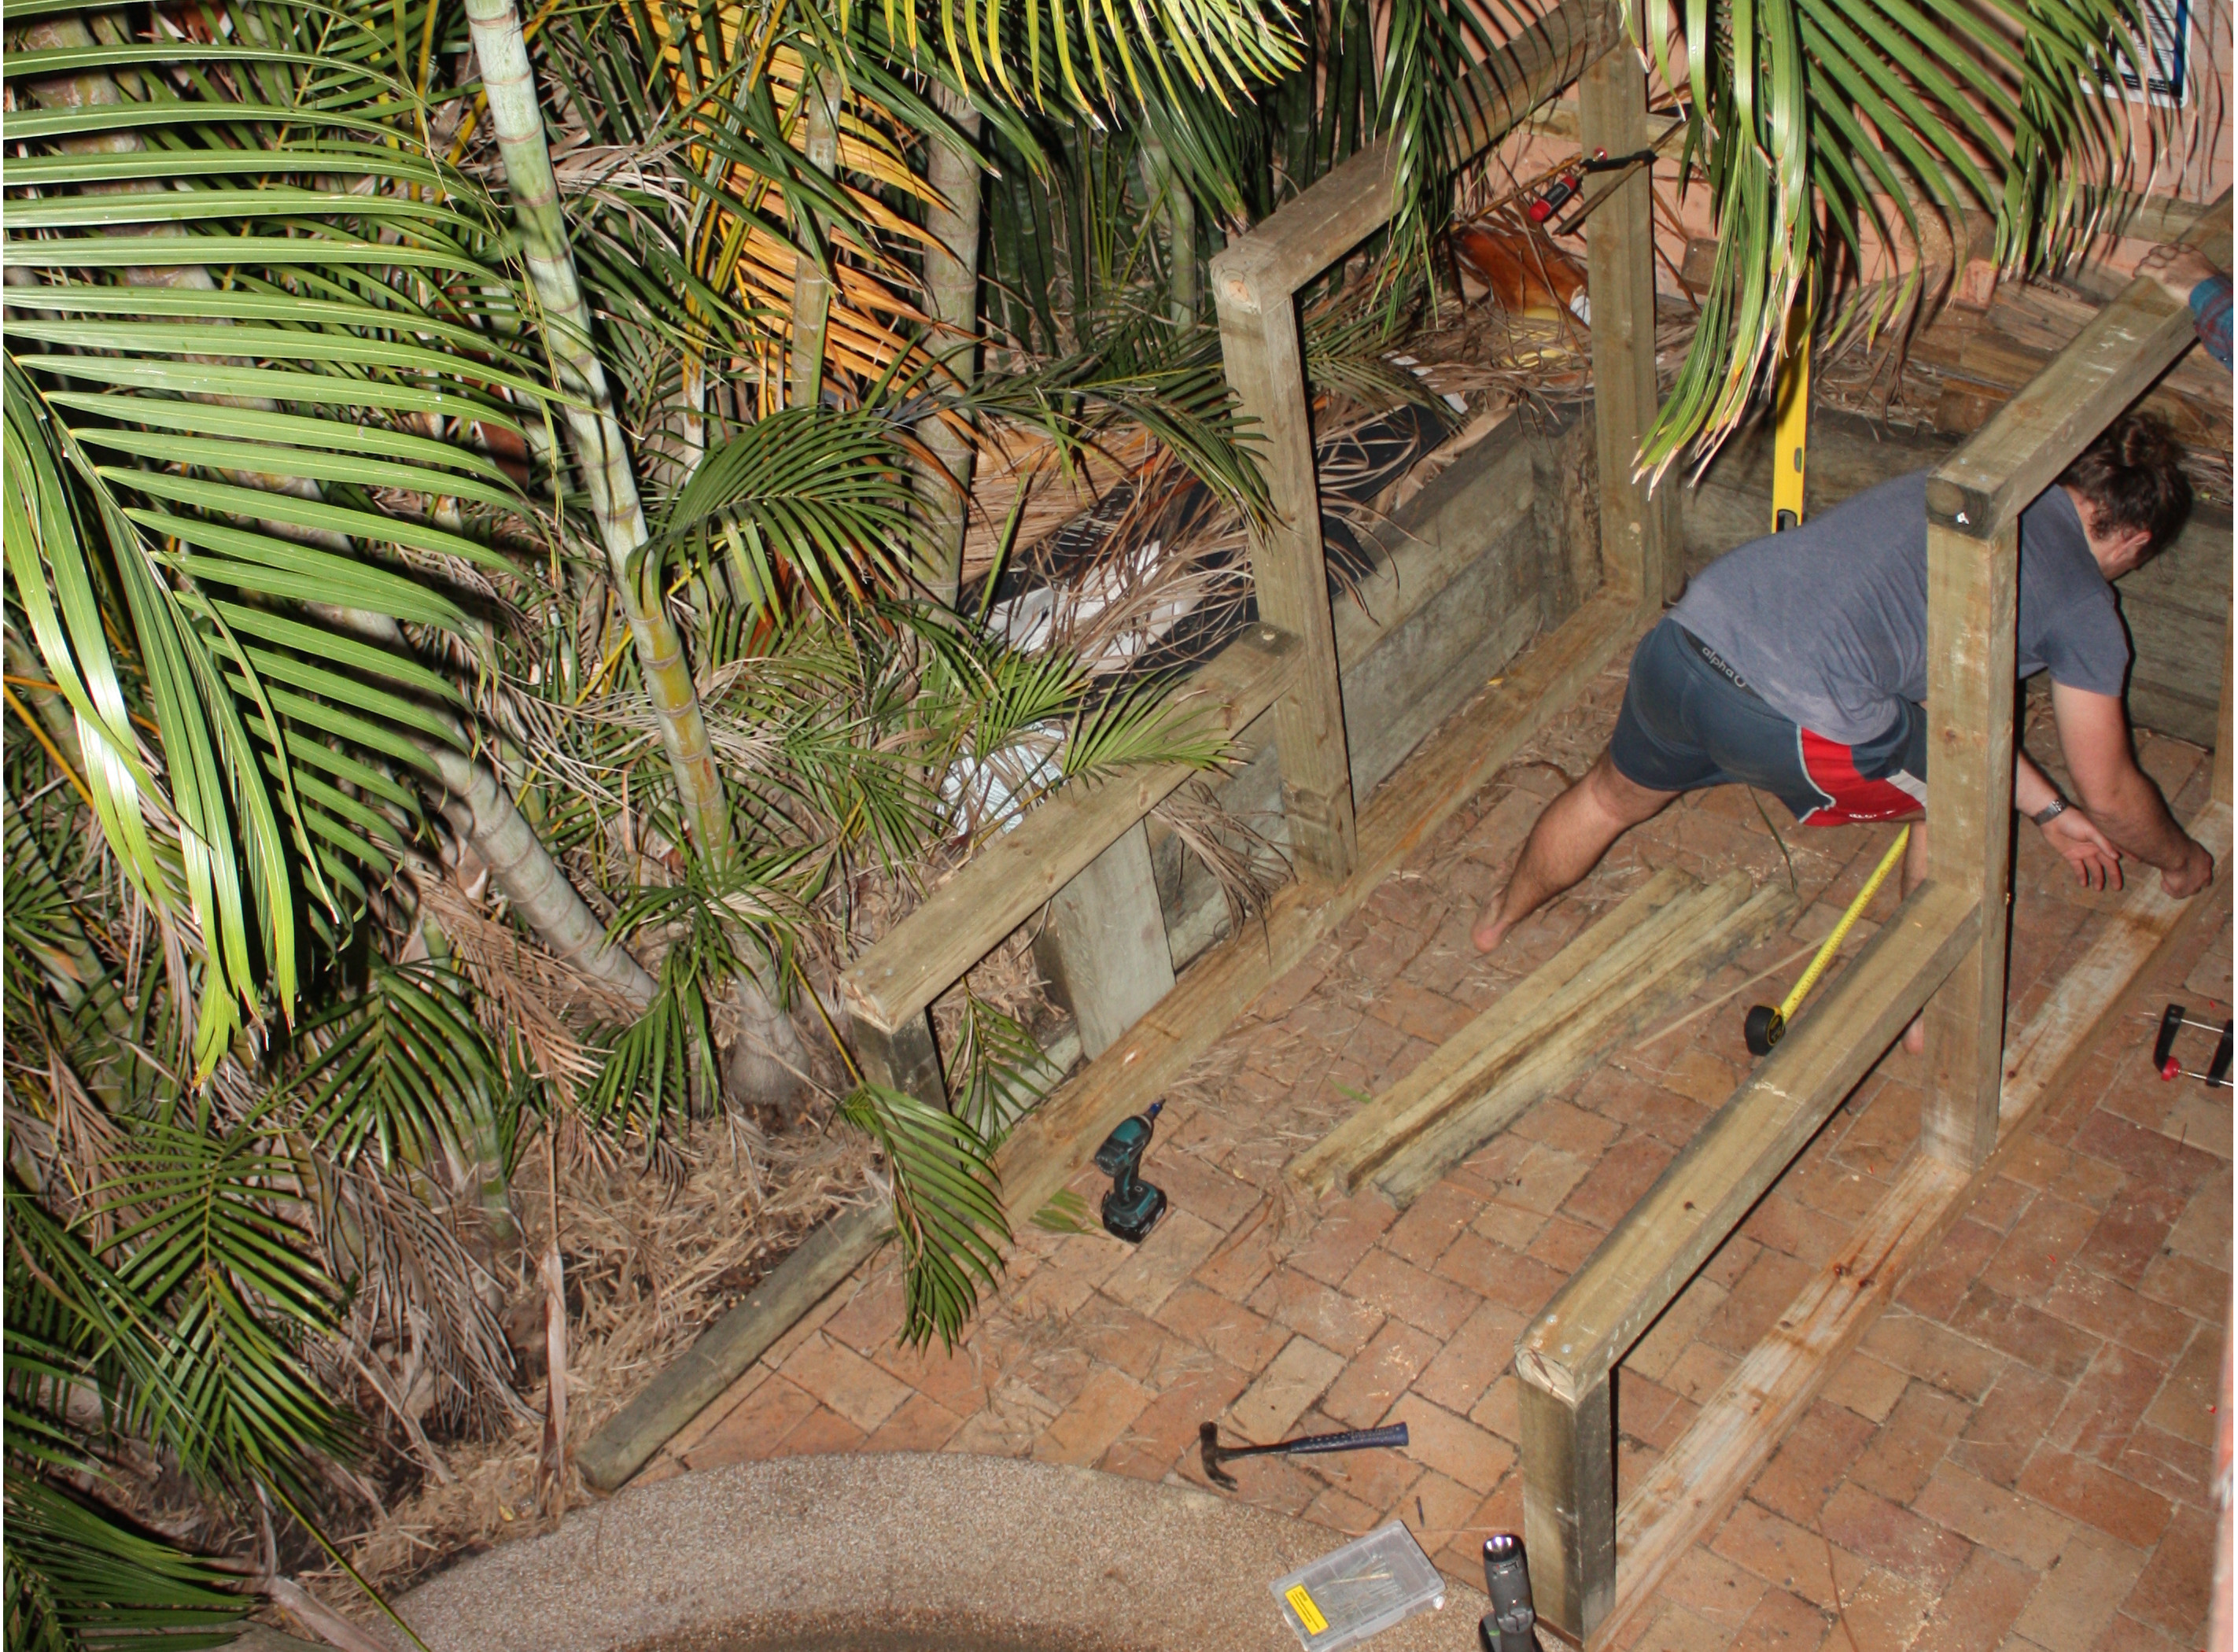
Once we had all the posts cut to length we assembled the two sides of the embankment. We fastened the posts together with 150mm batton/bugle screws, which gave our drill a fair run for its money. There were a few occasions when we were forced to take breaks, in order to give our poor drill a chance to cool down.
Then we had to figure out how to construct the frame that would hold the two sides together. I wanted to use more pine posts, but Joey said that would just make it unnecessarily heavy. As much as I like to be right, I was inclined to listen to his experience. We ended up going with 75x50 (2x3 for you imperial folk) treated pine to frame up the sides.
We also recessed the frame by just enough to make the pallet wood surface flush with the posts. This was a little post sandwich brainwave by me, which IMHO really makes the embankment pop.
To get the patchy faded effect on the pallet wood we ran the belt sander over each piece of wood a couple of times until we got the effect seen below.
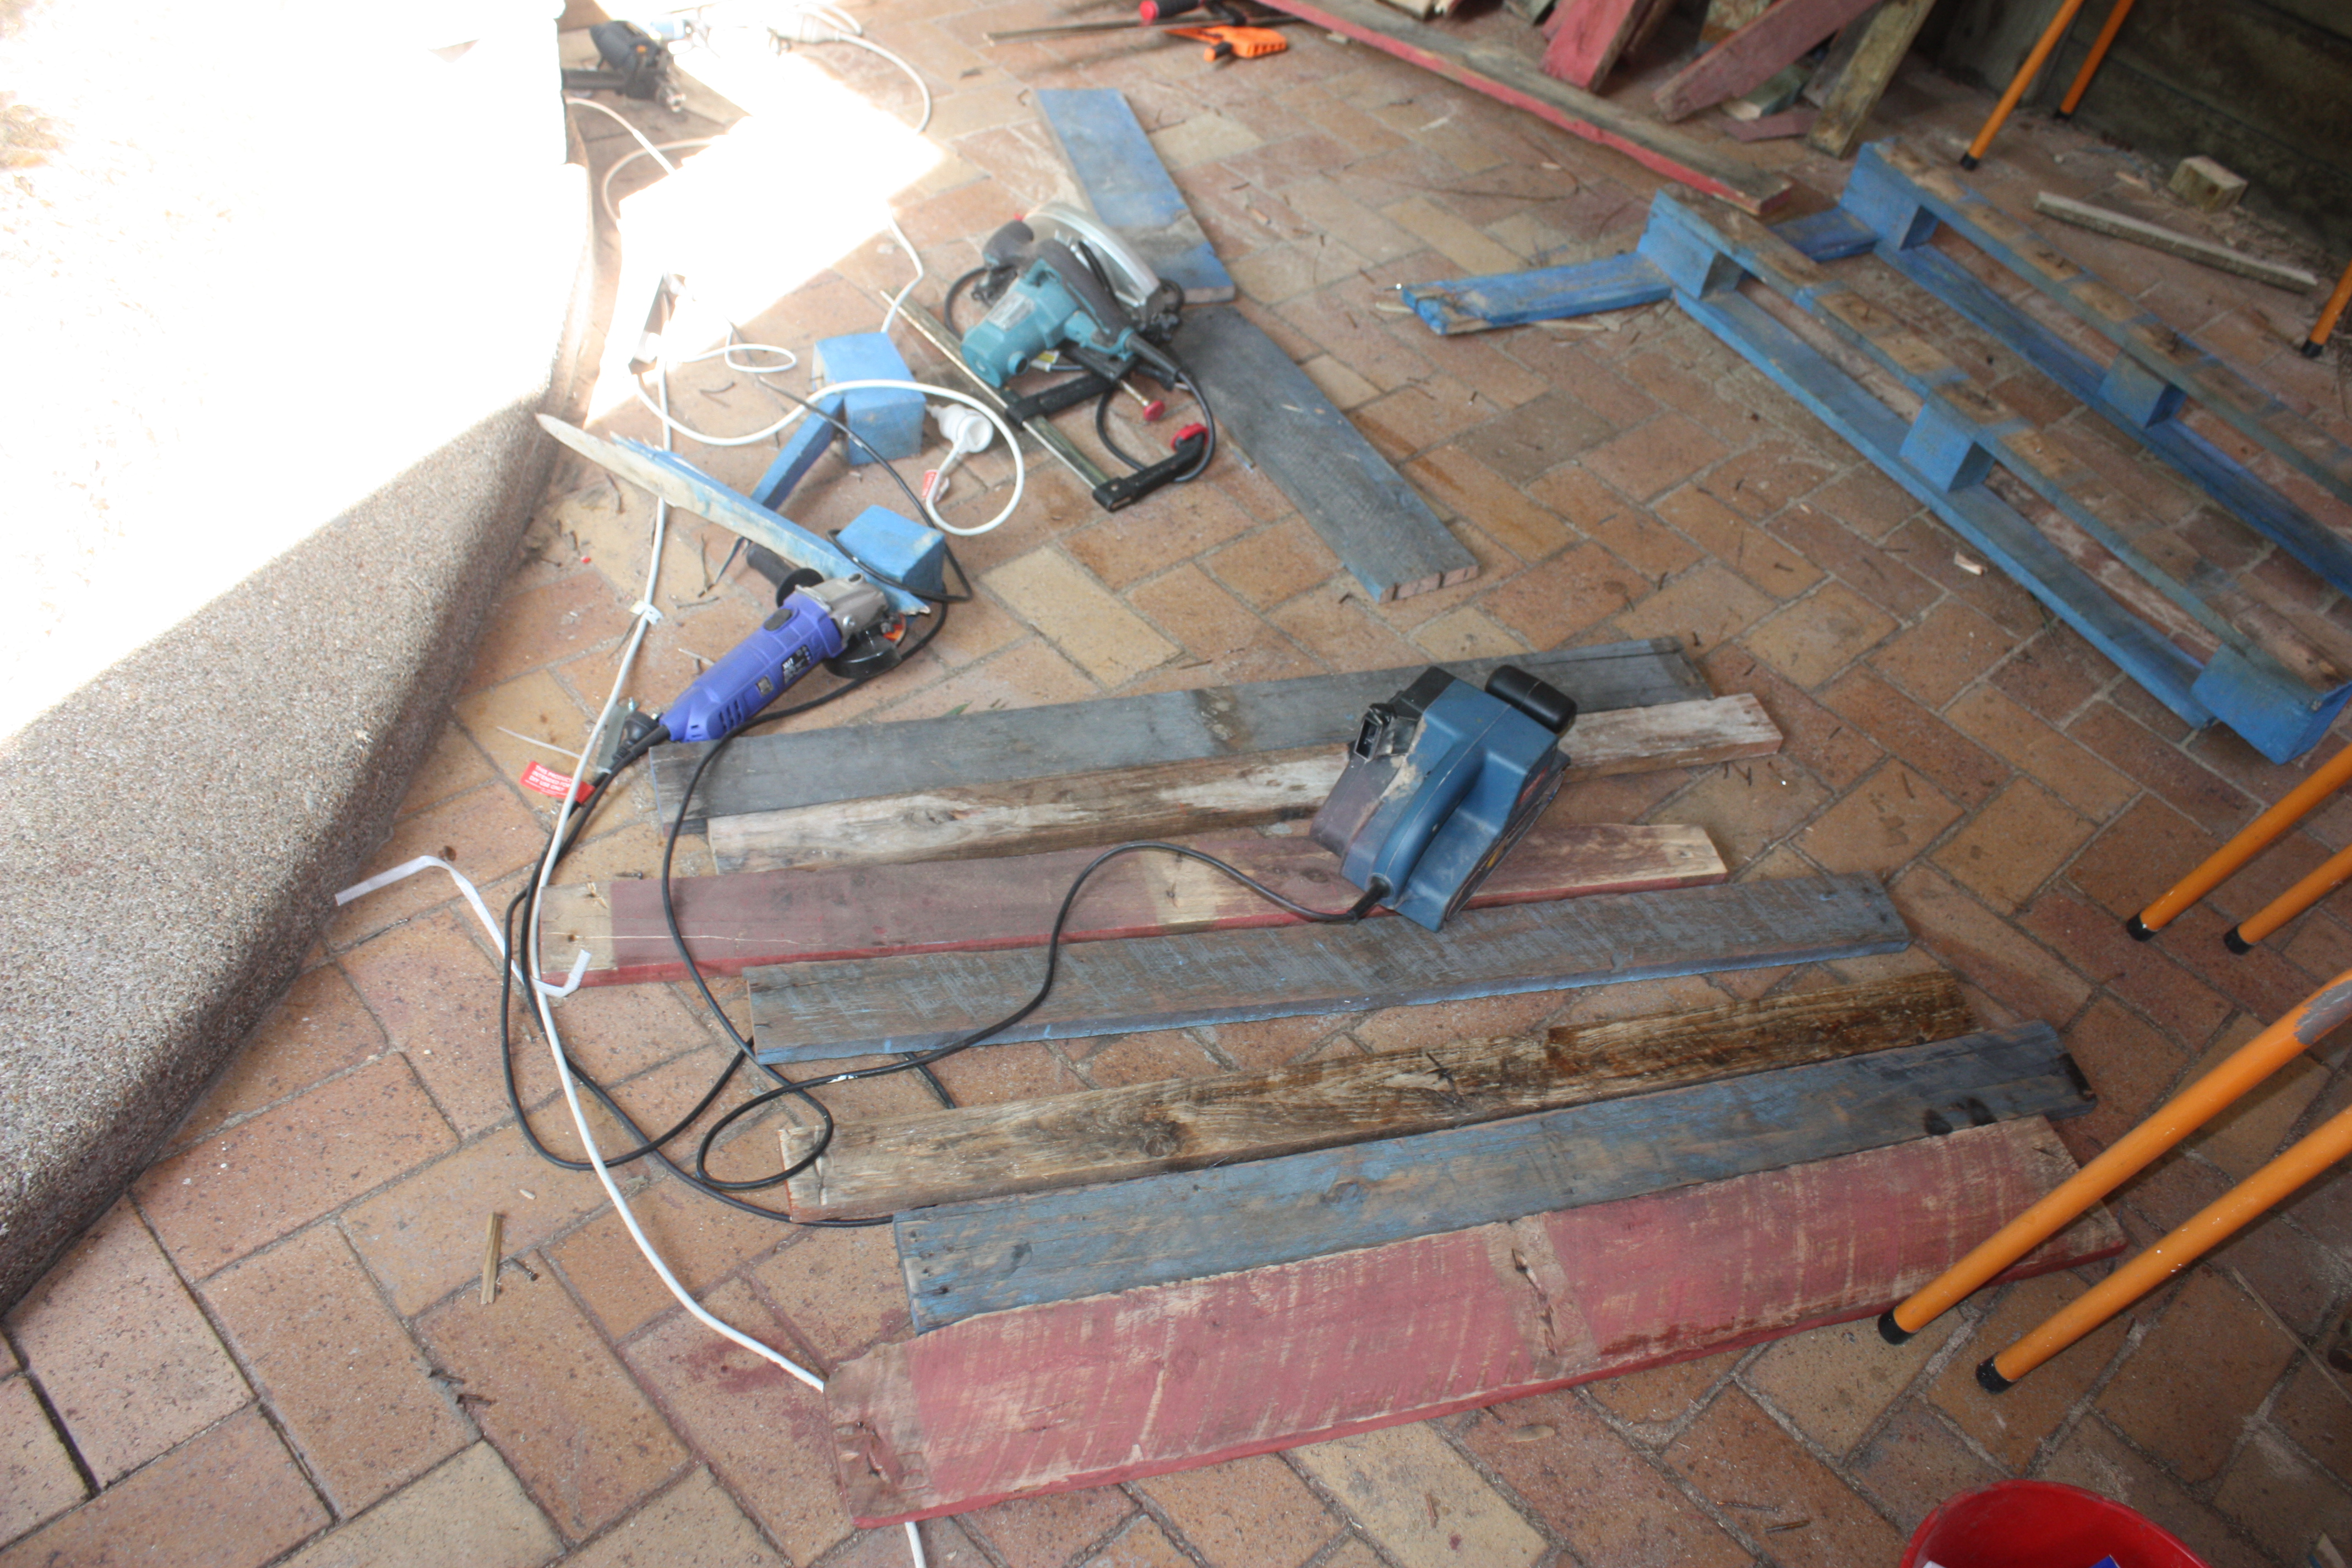 Weathered pallet wood = hours of sanding
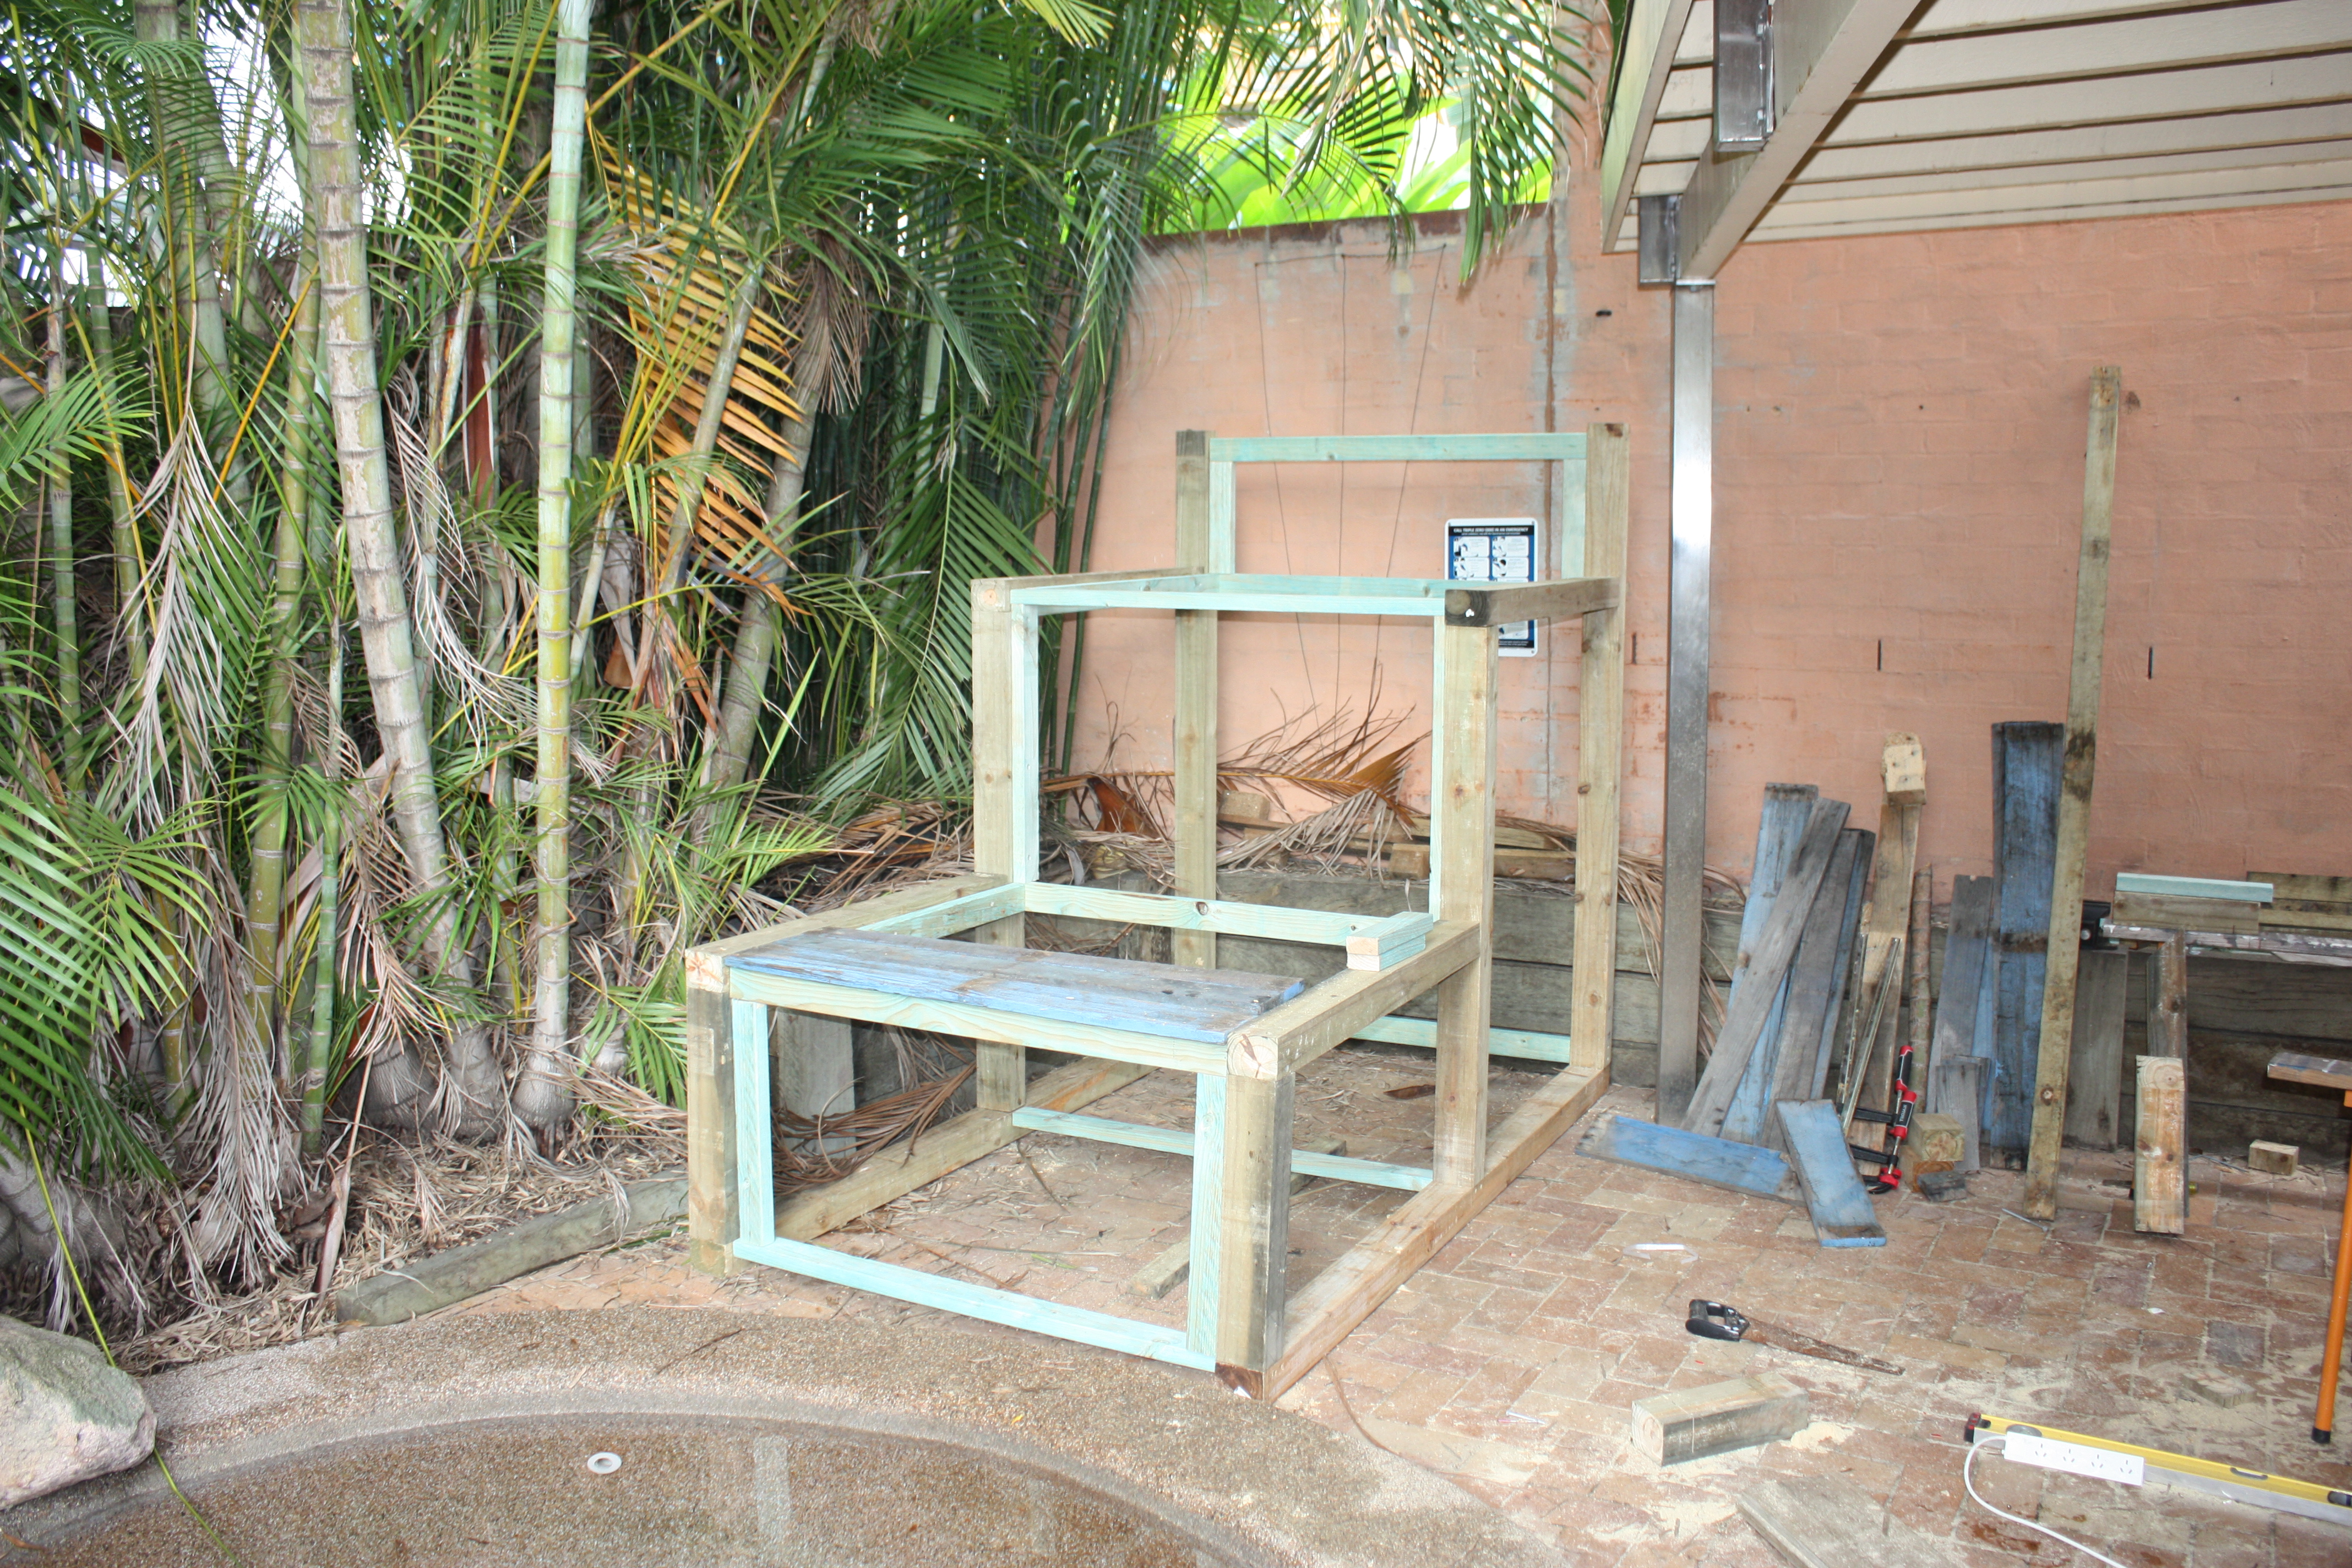
Once the recessed framing was in place, it was just a case of slotting and screwing in the pallet wood cladding. Finally, we gave the grandstand one last going over with the belt sander to remove any sharp edges.
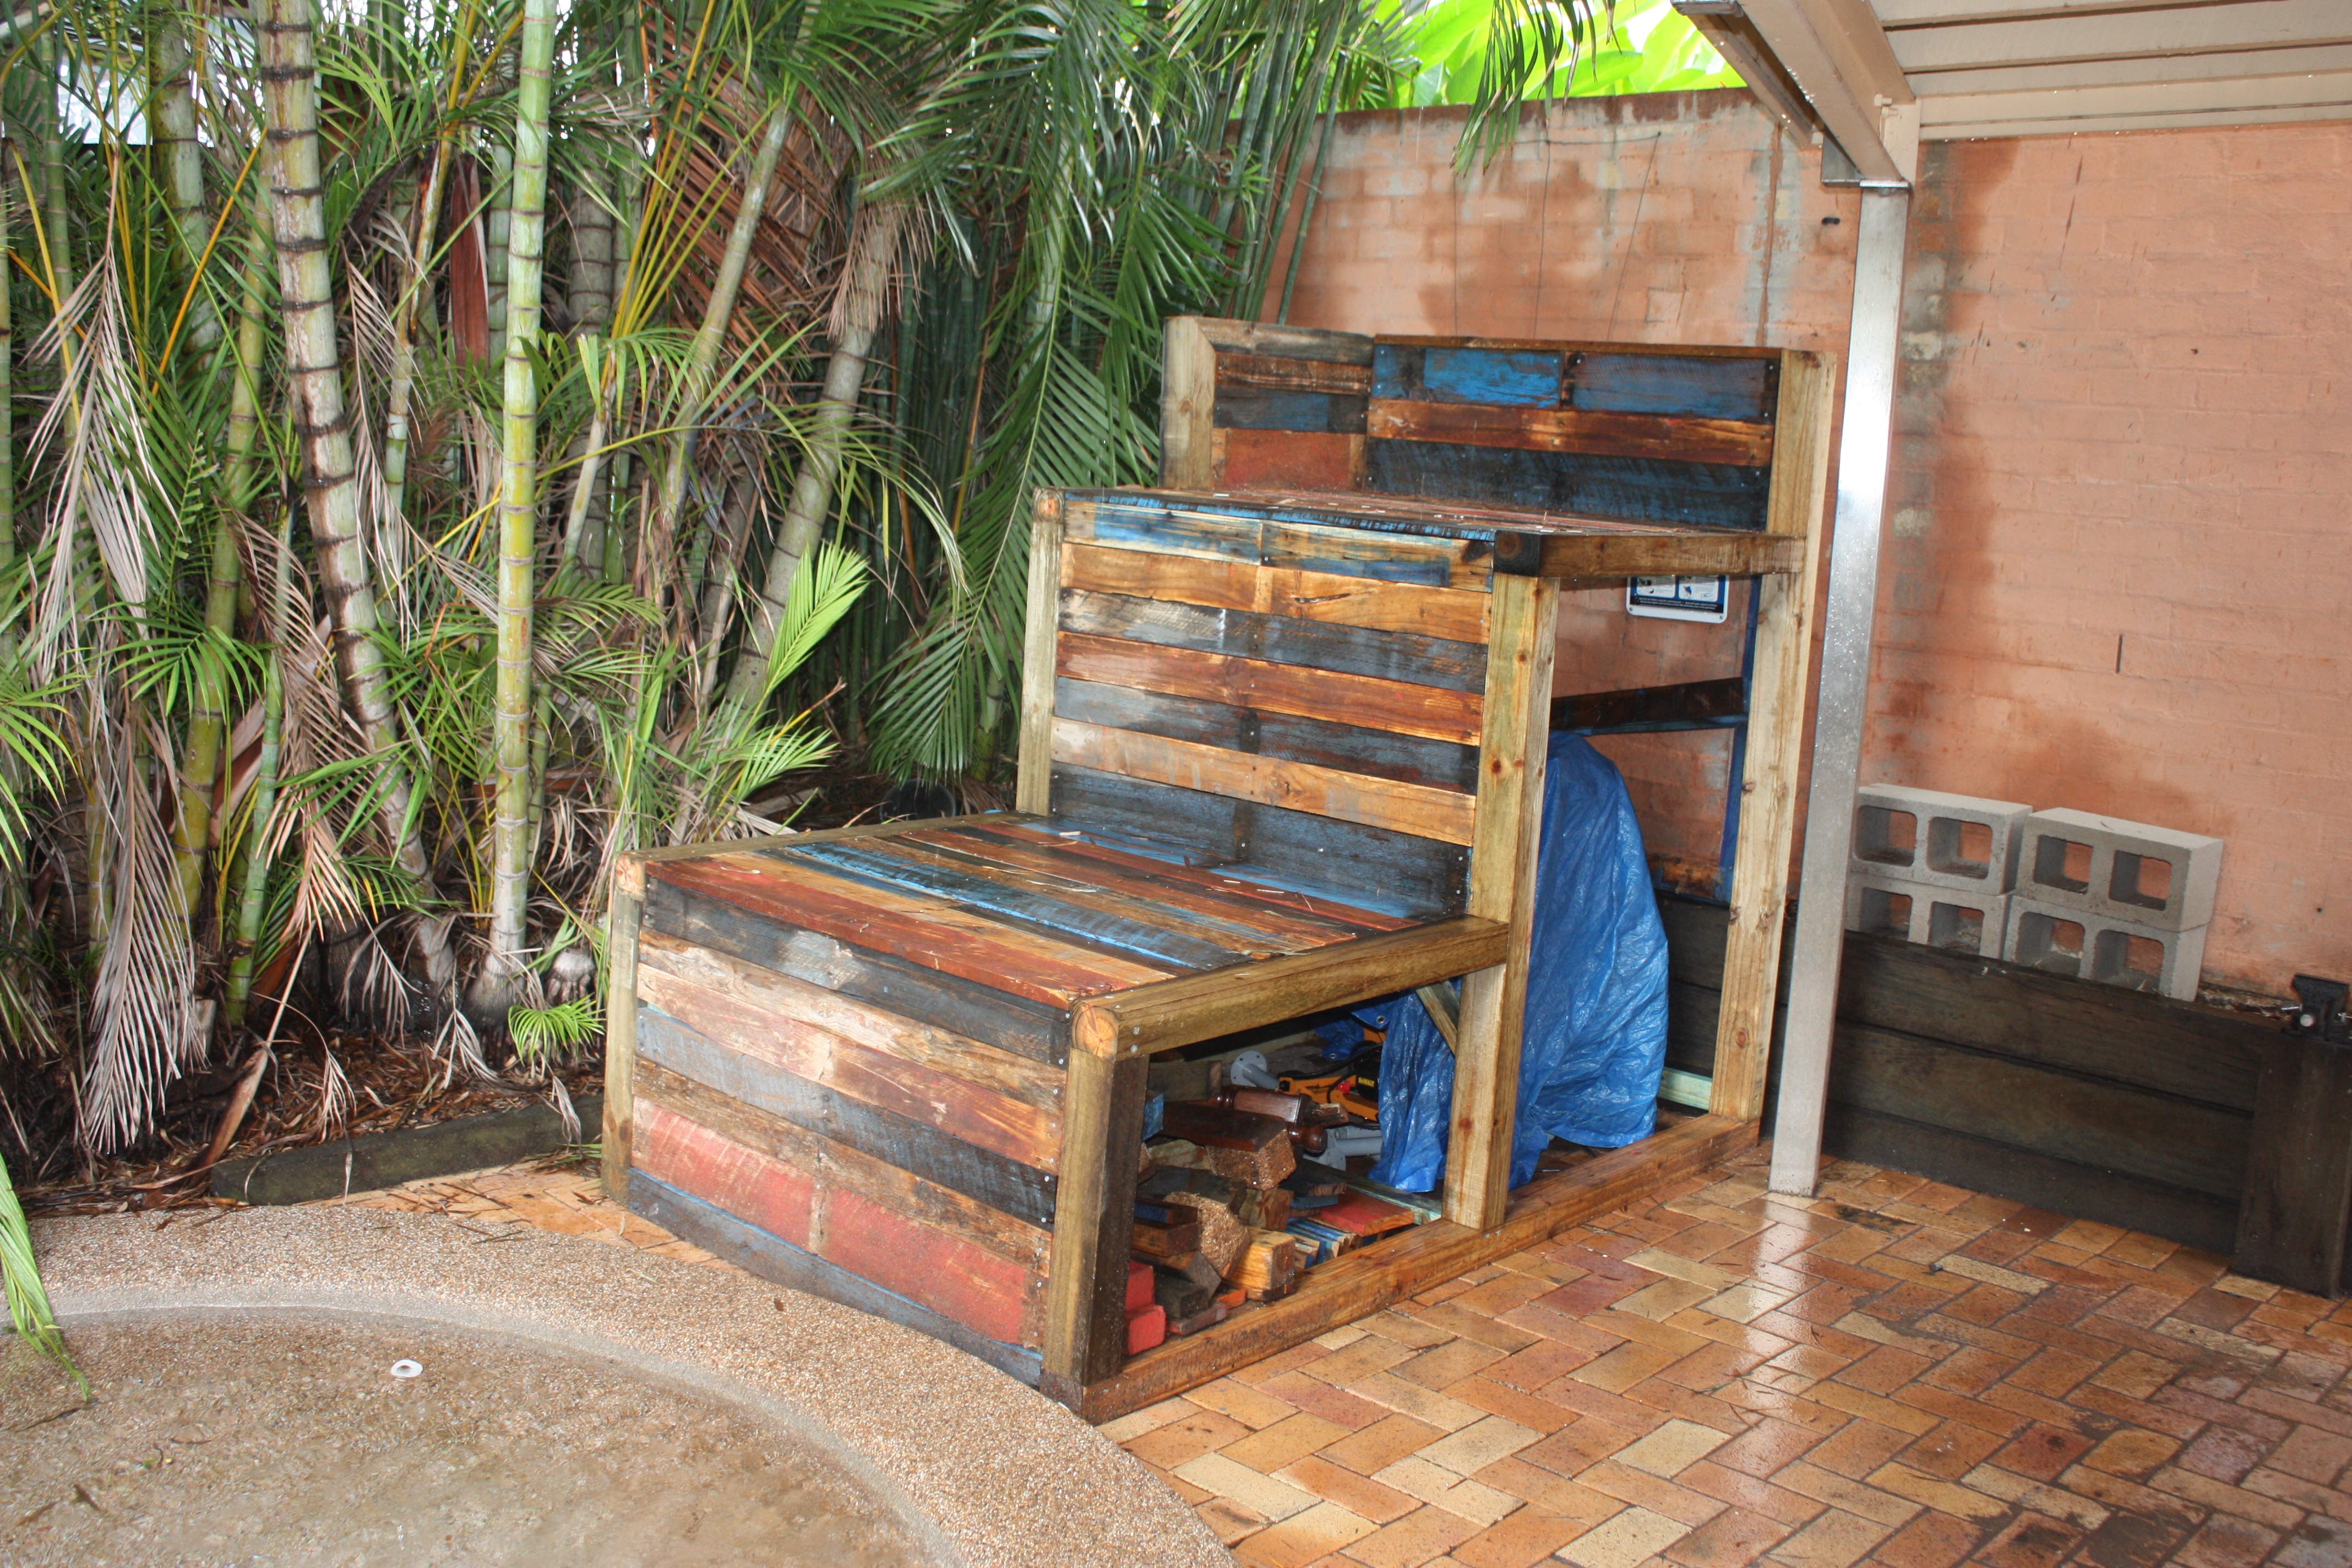
It took hours, days, weeks of blood (only a little), sweat (a lot) and tears (only a couple). While we didn’t run into any major problems building the grandstand, it was definitely our biggest project so far and our most valuable learning experience. Hopefully reading this post has inspired you to practice your woodworking, while and build something groovy with recycled wood. Or we hope you’ve enjoyed reading at the very least! :-)
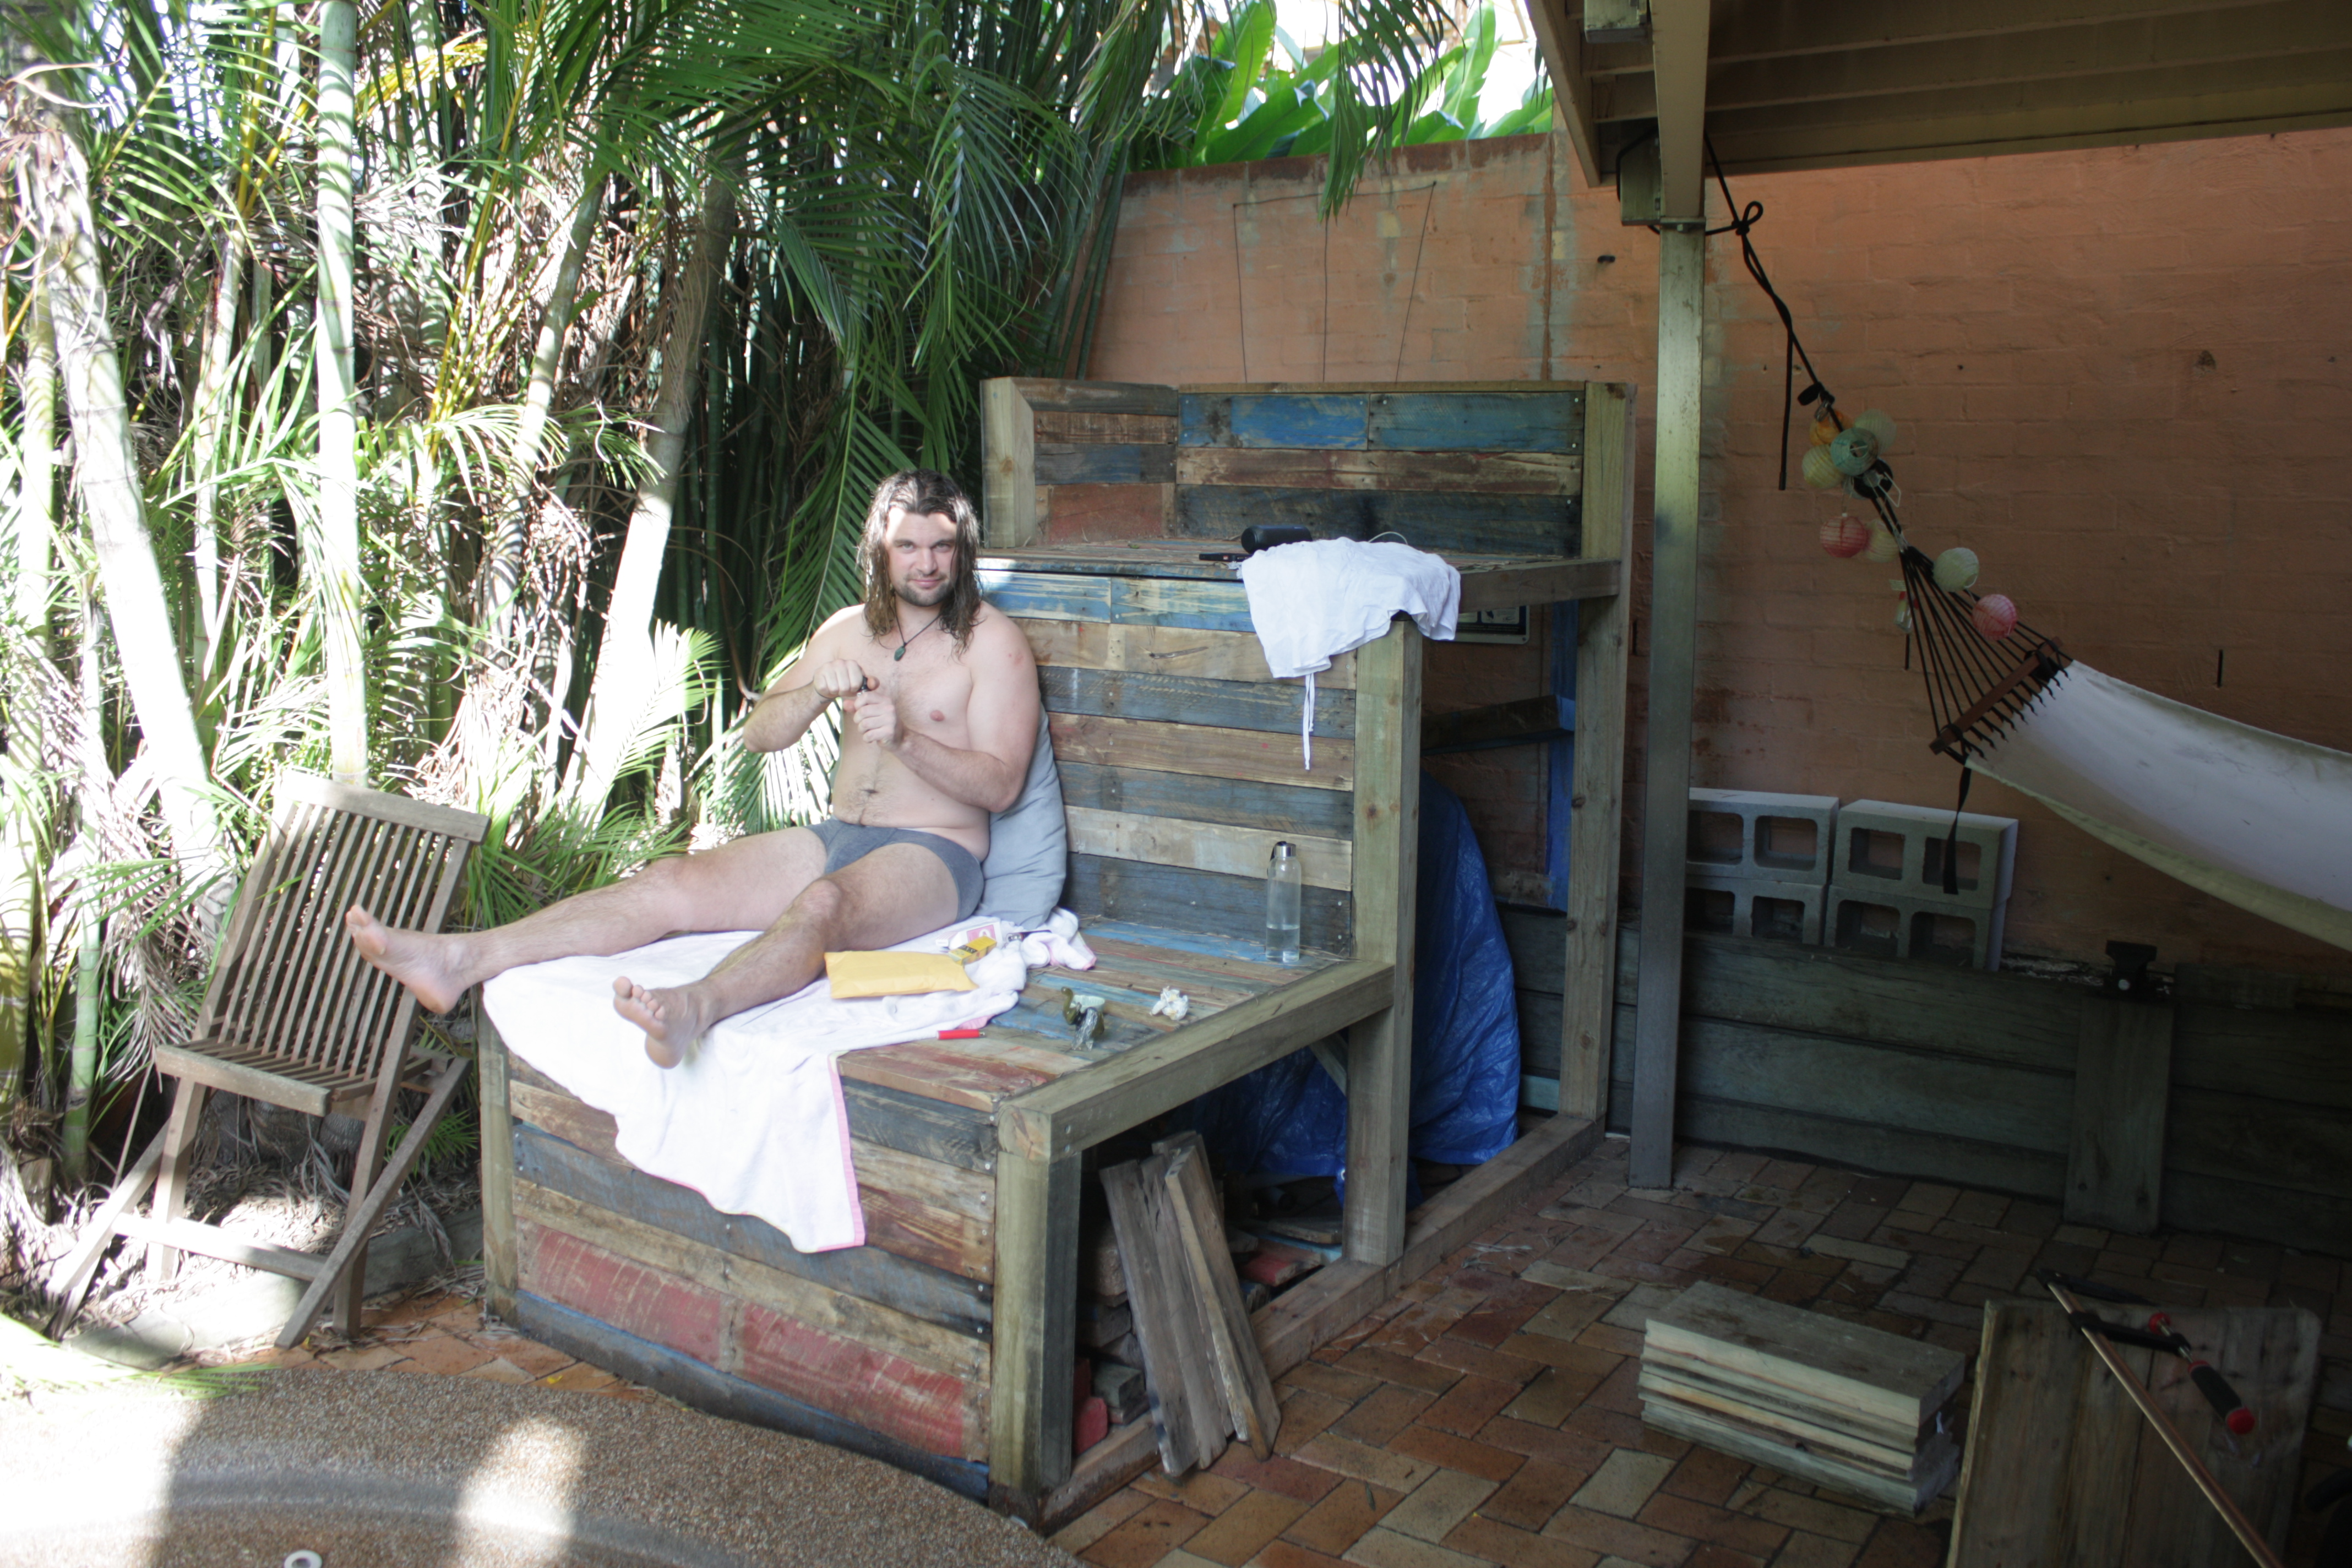 Just the grand stand doing what it does best..
Until next time!